


Using Your Refrigerator
To obtain the best possible results from your refrigerator, it is important that you operate it properly. This section
tells you how to set the controls, remove and adjust the features in your refrigerator, and how to save energy.
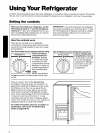
Setting the controls
When you first install your refrigerator, set the
Thermostat Control at -i- and the Air Balance
Control at -i-. Give your refrigerator time to cool
down completely before adding food. It is best to
wait 24 hours before adding food.
IMPORTANT: If you add food before the refrigerator
has cooled completely, your food may spoil. Turning
the Thermostat and Air Balance Controls to a higher
than recommended setting will not cool the com-
partments any faster.
How the controls work
There are two controls in your refrigerator
compartment. Knowing how each works will help
you set the controls properly for your own house-
hold conditions.
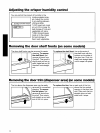
The Thermostat Control adjusts both the refrig-
THERMOSTAT
erator and freezer
compartment tem-
peratures. Settings
1-3 make the overall
temperature in both
compartments warmer.
Settings 4-6 make the
overall temperature in
both compartments
colder.
NOTE: Your product
will not cool when the Thermostat Control is set
to OFF.
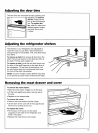
The Air Balance Control divides the amount of
AIR BALANCE
I
cold air entering both
compartments. Settings
1 and 2 direct more cold
air into the refrigerator
compartment. Settings 3
and 4 direct more cold
air into the freezer
compartment.
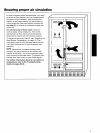
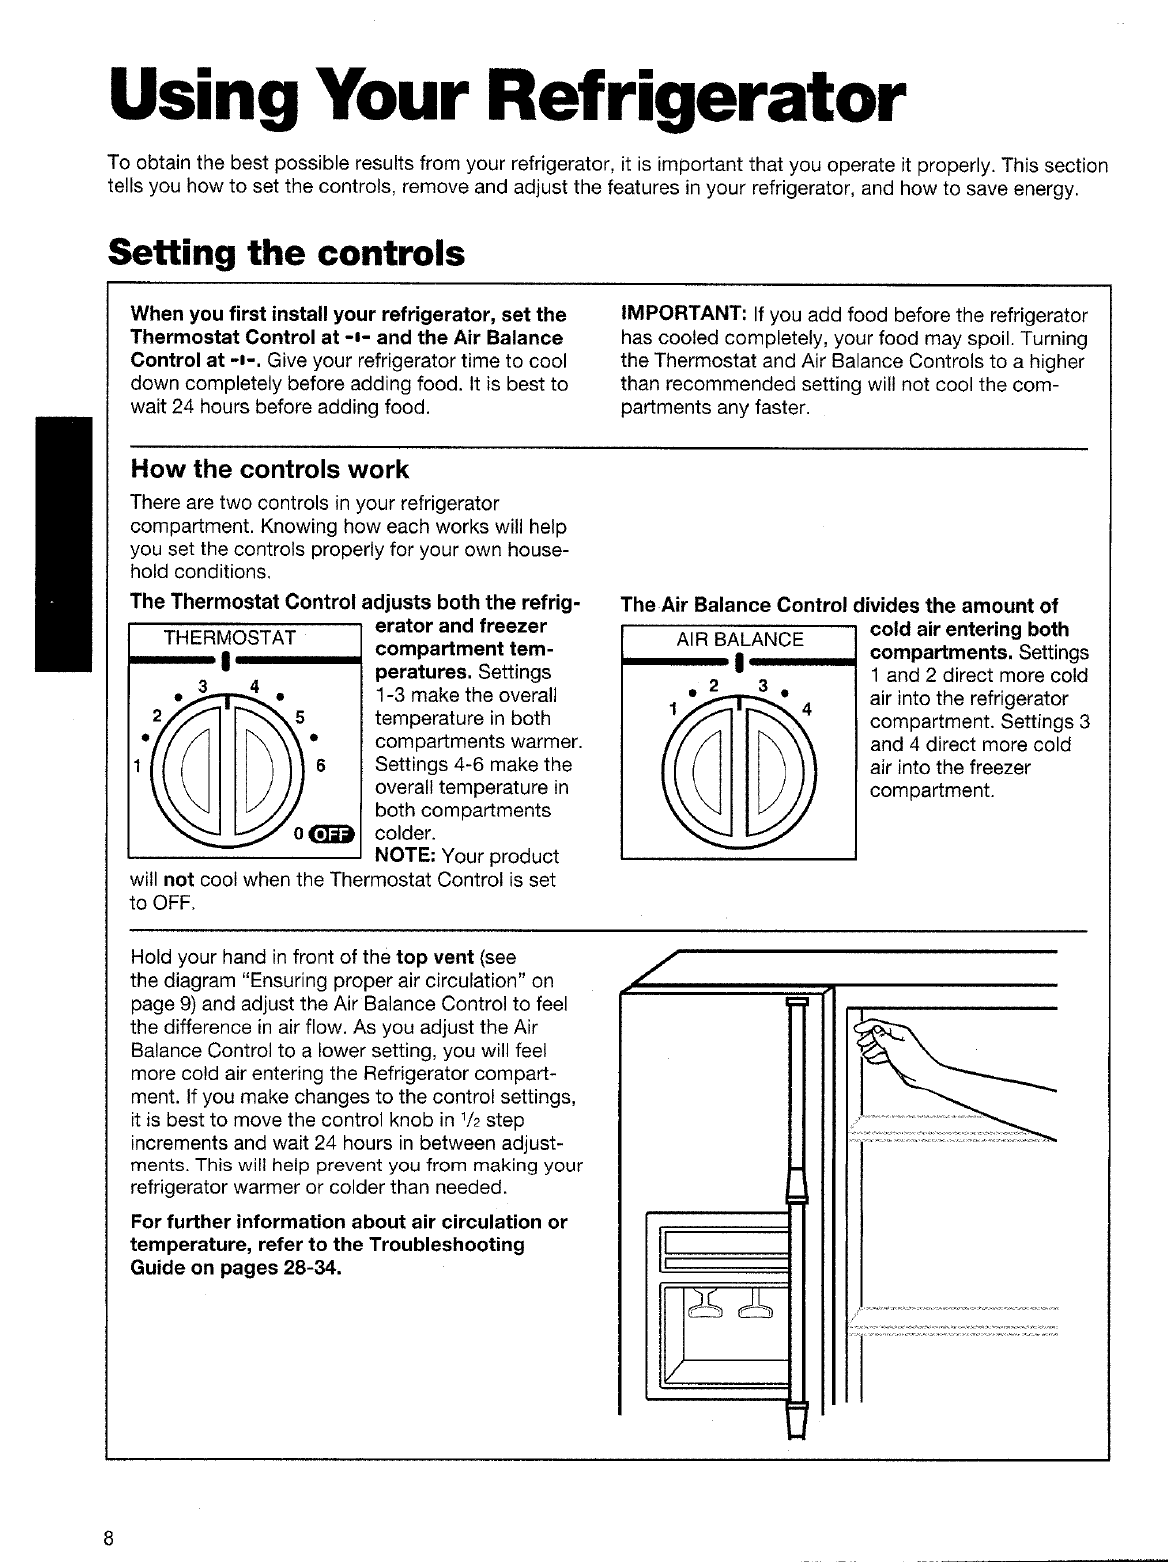
Hold your hand in front of the top vent (see
the diagram "Ensuring proper air circulation" on
page 9) and adjust the Air Balance Control to feel
the difference in air flow. As you adjust the Air
Balance Control to a lower setting, you will feel
more cold air entering the Refrigerator compart-
ment. If you make changes to the control settings,
it is best to move the control knob in 1/2step
increments and wait 24 hours in between adjust-
ments. This will help prevent you from making your
refrigerator warmer or colder than needed.
For further information about air circulation or
temperature, refer to the Troubleshooting
Guide on pages 28-34.
/
.....i ..........................................................................................