


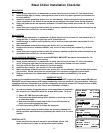
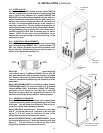
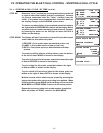
III. n - INSTALLING RBC50 CONTROL PANEL:
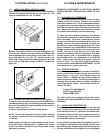
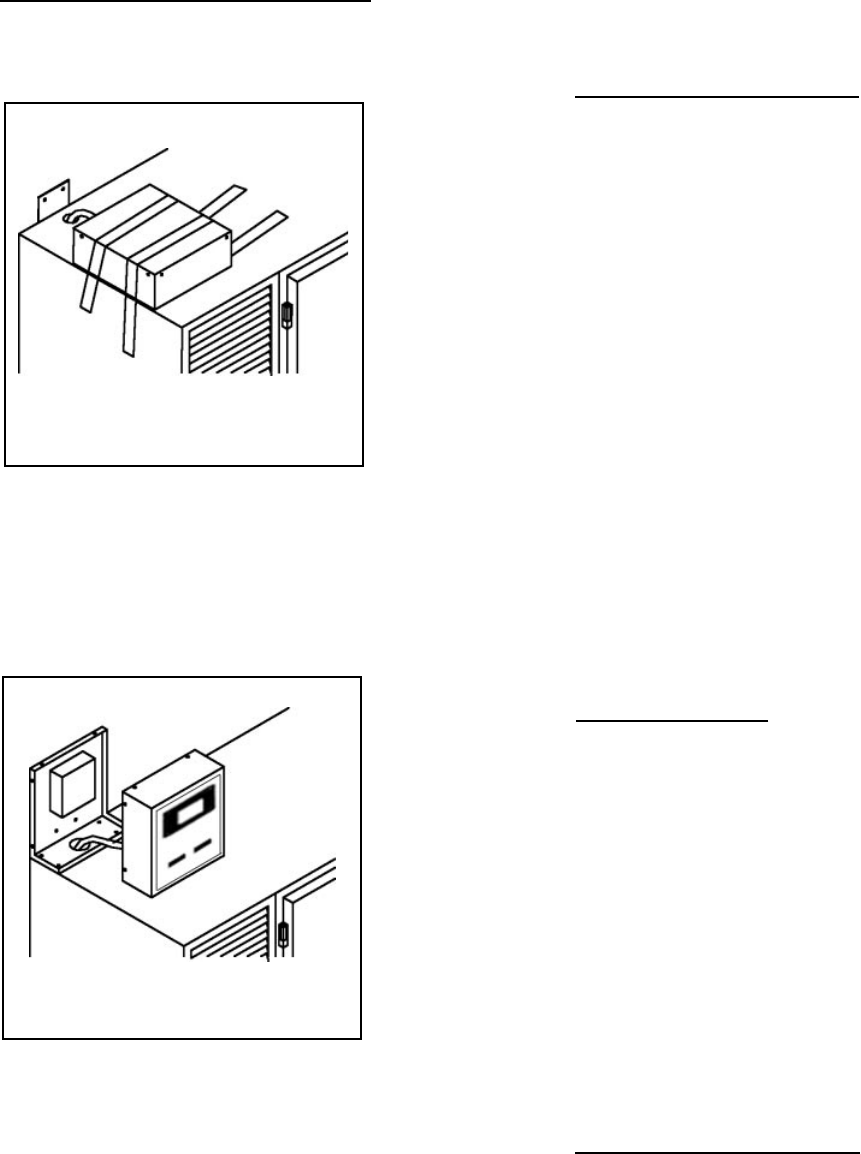
Model RBC50 is shipped with the control panel detached,
and laid flat, taped to the cabinet top (see figure 9). This
must be installed before use. To install:
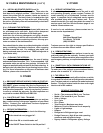
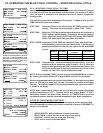
Remove the packing material and tape holding the con-
trol to the top. Remove and retain the six (6) Phillips head
screws attaching the control cover to the frame. Also, re-
move and retain the 1/4- 20 x 1/2” screws found in the
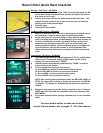
cabinet top. Next, position the control frame over the hole
in the unit top and attach using 1/2-20x1/2” screws (see
figure 10).
NOTE: Extreme care needs to be taken to insure that:
a- all wires connecting the control cover to the RBC50 are
not damaged in any way, nor mistakenly mounted between
the cover and cabinet during installation, which could re-
sult in a short circuit, or...
b- that no connections are pulled off the control.
NOTE: Ensure that grommet is firmly in place, aligning
round hole in bottom of control housing with round hole
in unit top.
Inspect paper roll, label roll, and spindles from rear of con-
trol panel before installing panel. Reattach the control
cover to the frame using the six (6) Phillips head screws
previously removed.
III. INSTALLATION (continued)
-8-
Fig. 9
Fig. 10
IV. CARE & MAINTENANCE
WARNING: DISCONNECT ELECTRICAL POWER
SUPPLY BEFORE CLEANING ANY PARTS OF THE
UNIT.
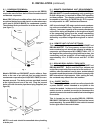
IV. a - CLEANING THE CONDENSER:
The most important thing you can do to insure a long,
reliable service life for your Traulsen is to regularly
clean the condenser coil. The self-contained condens-
ing unit requires regularly scheduled cleaning to keep
the finned condenser clean of lint and dust accumula-
tion. Keeping the condenser clean allows the cabinet
to operate more efficiently and use less energy.
To clean the self-contained condenser, first discon-
nect electrical power to the cabinet and lift up the front
louver assembly. To lift this, remove the two screws
located on both sides at the bottom of the louver as-
sembly. Once the screws are removed, the panel can
be pivoted upwards allowing full access to the front
facing condenser (for model RBC50, remove the four
Phillips head screws from the front louver panel, and
lift-off). Vacuum or brush any dirt, lint or dust from
the finned condenser coil, the compressor and other
cooling system parts. If significant dirt is clogging
the condenser fins, use compressed air to blow this
clear. Lower louver assembly and replace screws to
hold it in place. For care of the remote condensing
unit(s) used for models RBC200 & RBC200RT, consult
the manufacturer’s product literature.
IV. b - PRINTER SUPPLIES:
Supplies to support the both standard SmartChill
®
control printers are available directly from our Parts
Department, or from your local Hobart Sales and
Service Office. In addition it may also be possible to
obtain one of these locally. The record printer paper is
standard thermal paper which is readily available at
most office supply outlets. Specifications are 2-1/2"
wide by 85" long:
Traulsen P/N 400-60003-00
Office Depot #302-224
Staples #PMF-5233
The label printer uses a special peel-off label stock,
Traulsen part number 400-60004-00. Each roll contains
225 labels.
IV. c - INSTALLING PRINTER PAPER:
To load the record printer paper, place a roll on the roll
shaft. Position the paper such that the paper feeds
from the back of the roll. This allows the thermal sen-
sitive side of the paper to be on the upper surface as it
feeds through the printer. The ends of the roll shaft
are installed in the two roll holders.
Gently pull the feed door down and slightly forward. It
is located on the bottom of the printer and will open
about 90 degrees. Feed the paper into the loading slot
directly behind the door and push it up until the paper