18
Important: To the Operator
Models QS12 & QS24
Note: A calibrated pyrometer must be used for
calibration.
Note: Calibration is allowed only when the item1
temperatures are within 50_ F(28_ C) of the set point.
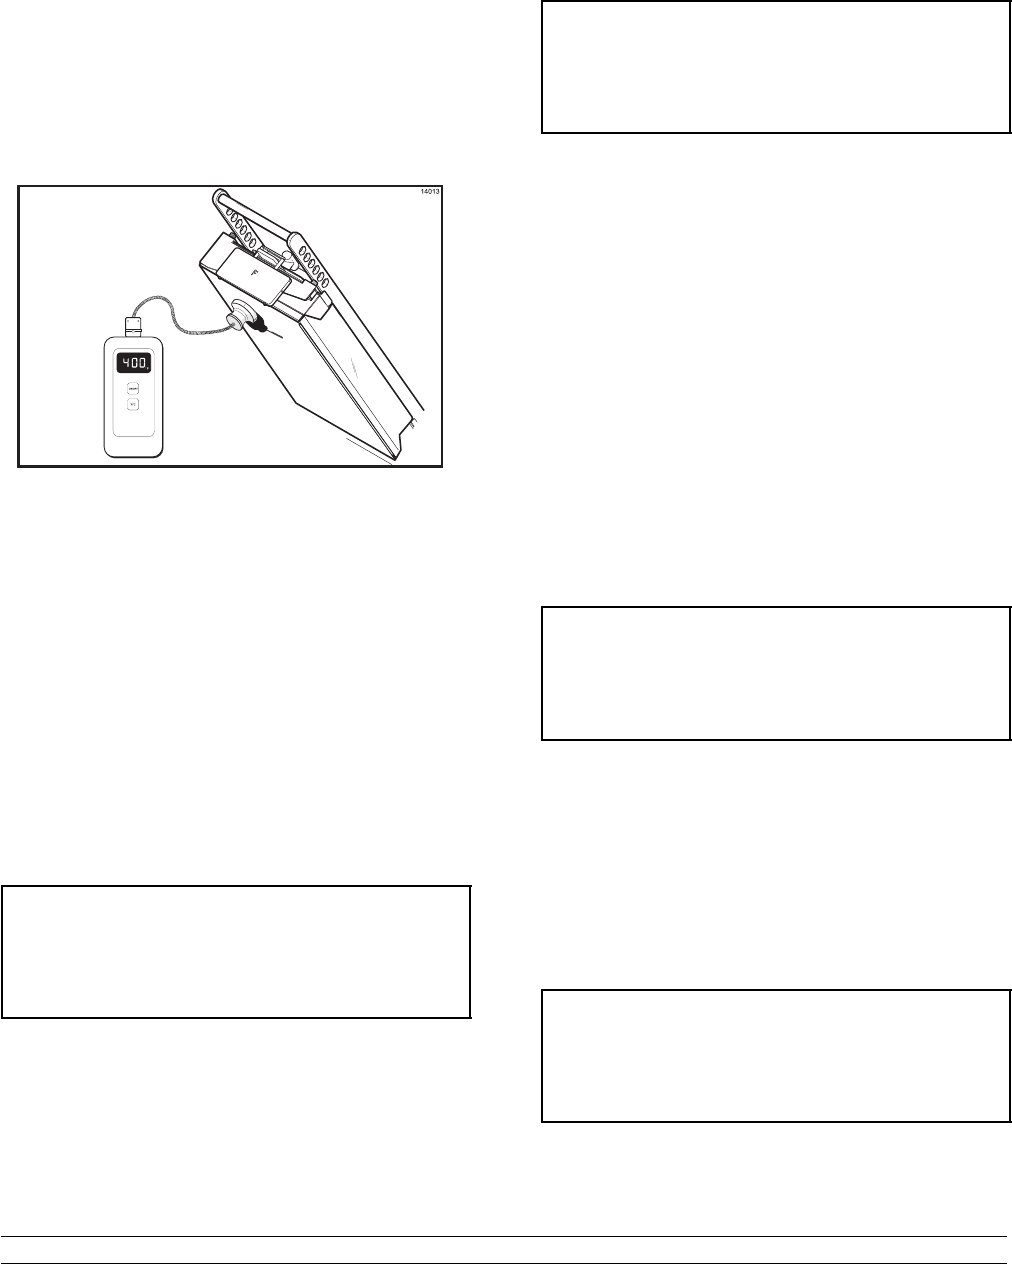
Step 2
Place the pyrometer disc on the upper front heating
element of the grill. Using the arrow keys, enter the
temperature reflected on the pyrometer for the upper ,
front heating e lement.
Note: The indicating lights should be lit when
calibration adjustments are made.
Figure 16
Step 3
Press the MENU key to display the calibration screen
for the upper middle heating element. Place the
pyrometer on the upper middle heating e lement. U sing
the arrow keys, enter the temperature reflected on the
pyrometer for the middle of the upper heating element.
Step 4
Repeat this procedure for the remaining upper rear,
and lower heating elements. When the l ast zone has
been calibrated, press the MENU k ey to return to the
CALIBRAT s creen.
Step 5
Press the UP arrow to display the “SCALE” message.
SCALE
Note: The CALIBRAT screen is the base
maintenance screen. All other maintenance
functions are accessible through the CALIBRAT
screen.
Step 1
Press the MENU key to display the current
temperature scale:
SCALE F or C
Step 2
If Fahrenheit is the desired temperature scale, press
the MENU key while SCALE F is displayed. If Celsius
is desired, press the UP arrow to display SCALE C.
Step 3
Press the MENU key to accept the scale and return to
the SCALE message.
Step 4
If desired, the names of specific products can be
programmed to appear on the display instead of ITEM
numbers. While at the SCALE message display, press
theUParrowtodisplaytheNAMES message.
NAMES
Step 5
While at the NAMES message display, press the
MENU key and the message “NAME1” will appear on
the display. This message indicates that the oper ator
can program a s pecific product name to appear for the
first item on the menu.
NAME1


