3
Models QS12 & QS24 To the Installer
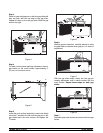
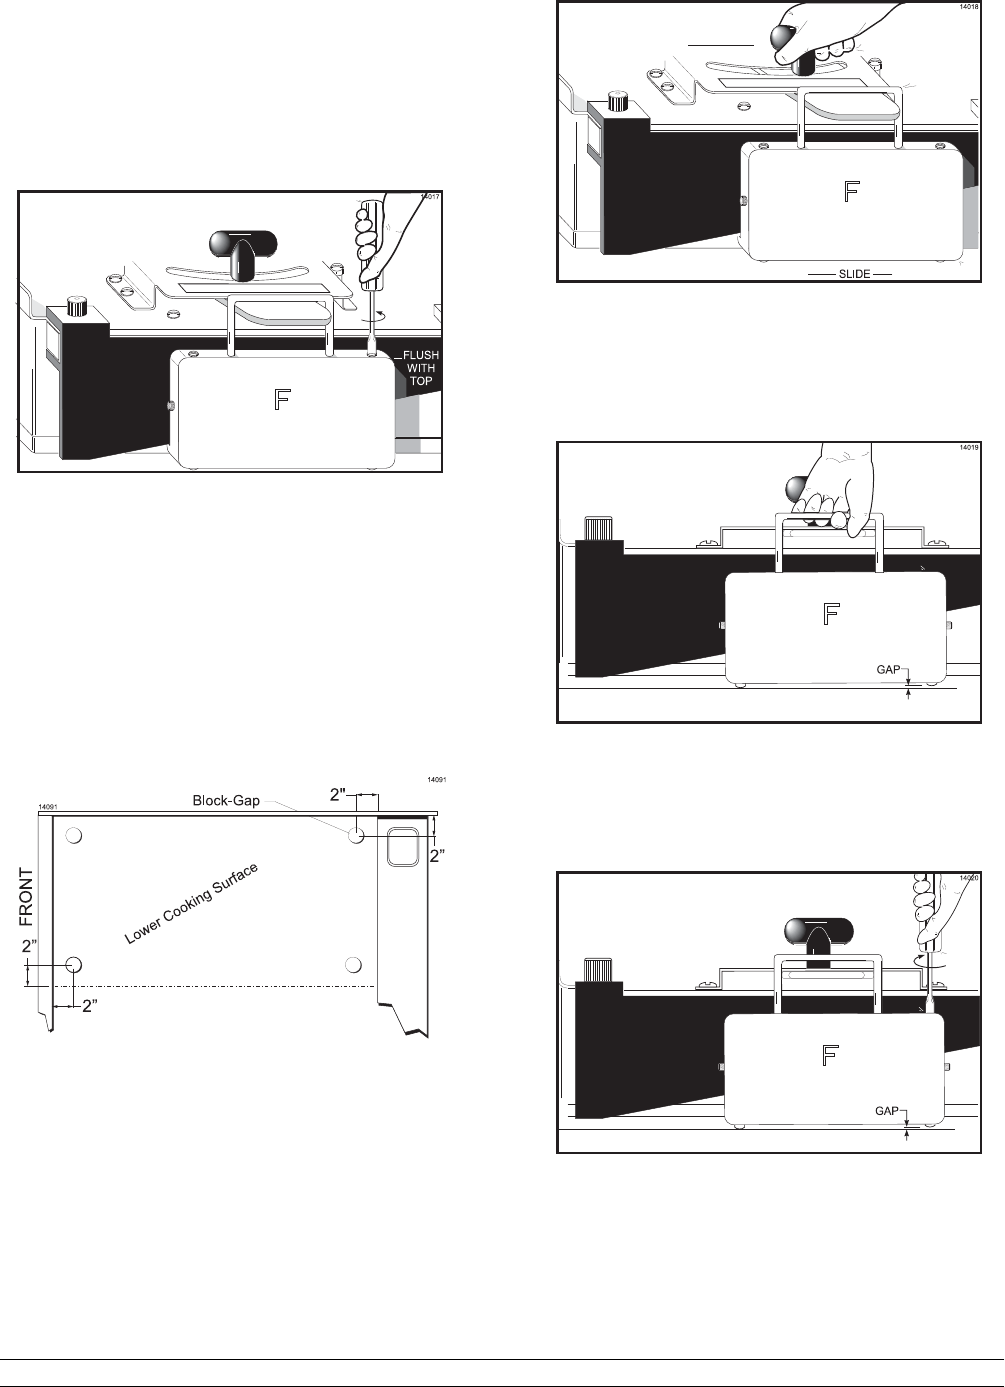
Step 3
Raise or lower both gap pins on the front gap slide until
they are flush with the top edge of the gap slide.
Repeat this step for the rear gap slide. Slide the gap
slide to the right.
Figure 4
Step 4
For each cook surface requiring adjustment, place 4
gap blocks on the cook surface, approximately 2”
(51 mm) in from each c orner.
Figure 5
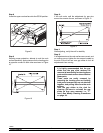
Step 5
Lower the cook surface assembly. Loosen and slowly
move the T-handle to the left until the gap pins in the
gap slides touch the cook surface, and tighten the
T -handle.
Figure 6
Step 6
Wearing proper protection, carefully attempt to raise
the gap slide to evaluate which gap pin is in need of
adjustment.
Figure 7
With the gap slide raised, slowly turn the gap pin
needing adjustment until it makes contact with the
cook surface. Repeat these steps for both gap
slides.
Figure 8
Step 7
Raise the upper cook surface and remove the four gap
blocks.


