25
Models QS12 & QS24 Operating Procedures
090401
Step 3
Using the rubber wiper squeegee, push the grease to
the rear of the lower surface into the grease trough. DO
NOT use the grill scraper for this step.
Step 4
When necessary, use a grill cloth to clean the back
splash shield and the bullnose areas.
Step 5
Repeat Steps 1 through 4 for other side of the grill
(QS24 only).
Note: Whenever the grill is idle and product is not
being cooked, keep the upper cook surface in the
raised position.
When necessary, use the trough scraper to clean the
rear grease trough. If a buildup of carbon is starting in
the g rease chute, use the hook end of the trough
scraper to push the carbon down into the gr ease tray.
Periodically, check the grease drawer for excess
grease and empty it as needed.
Figure 28
Cleaning the Grease Tray Partition
Occasionally, the grease tray partition must be
cleaned.
Step 1
Place the power switch in the OFF position.
Step 2
Carefully unplug the unit from the wall receptacle.
Step 3
Remove the grease tray.
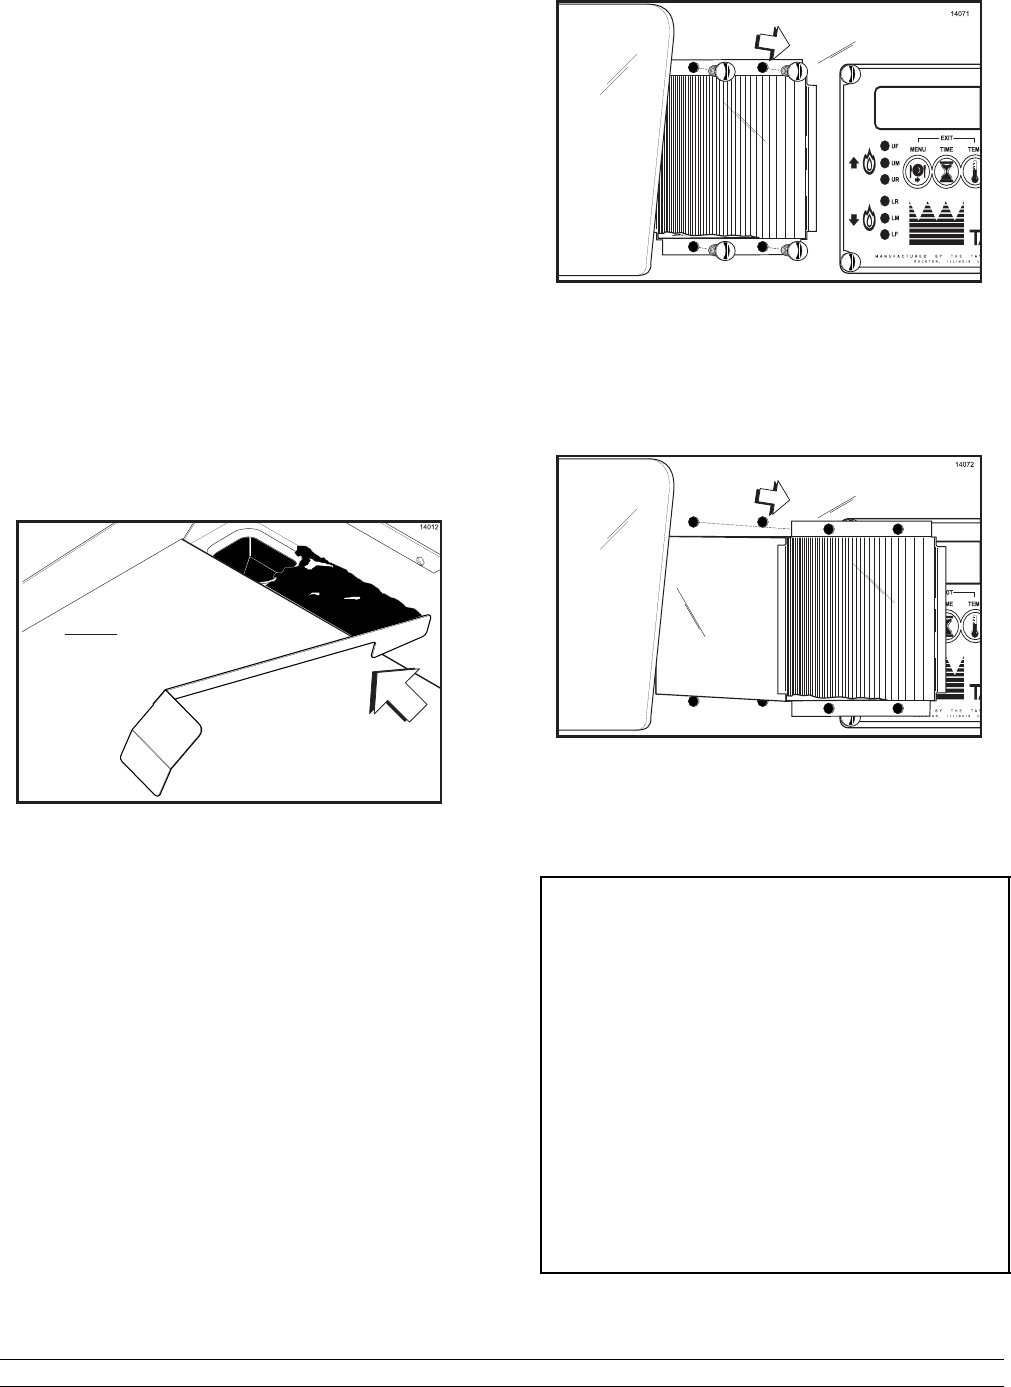
Step 4
Remove the four screws that secure the grease tray
partition.
Figure 29
Step 5
Carefully remove the grease tray partition. Take it to
the sink for cleaning.
Figure 30
Note: For installation of the grease tray partition,
carefully reverse the abov e steps.
It is highly recommended that the gap
slides and the gap slide retainers be
removed at least weekly for cleaning these
parts and the cook surface shroud behind
these parts.
These parts are easily removed by
removing the locating pins and holding
both parts, because they are not attached
together, and pulling them from the cook
surface.
Take the gap slides to t he sink for
cleaning. (Be sure to re-install the gap
slides as they were removed, i.e., “F”
front.) See Weekly Cleaning Procedures
on page 28.


