


Cooking with Convotherm by Cleveland
56
Notes:
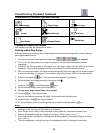
• Crisp & Tasty can be combined with other Extra Functions.
• Crisp & Tasty is programmable, and can be integrated into recipes.
• Crisp & Tasty can be turned on or off while the Combi is running.
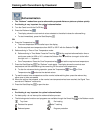
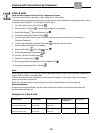
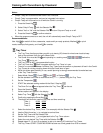
1. Press the Smart Key
.
2. Select Crisp & Tasty
with the Selector Dial
6019002_00
D
.
3. Select “Yes” or “No” with the Selector Dial
6019002_00
D
to turn Crisp and Tasty on or off.
4. Press the Smart Key
to confirm selection.
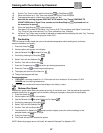
• When the program comes to an end, the unit will automatically reset Crisp & Tasty to OFF.
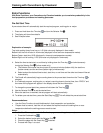
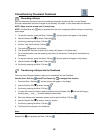
Recommendations:
Use: High
for moist fruit flans, casseroles, roasts and fryer ready products, Medium
for quick
roasts, escallops, flaky pastry, and Low
for omelets.
Tray Timer
• The Tray Timer function provides you with up to twenty (20) timers for mixed oven loads to keep
track of the optimum finish for each different dish.
• The Combi oven must be ON
and operating in a cooking mode before the
Tray Timer
can be set.
• The Tray Timer is NOT a programmable function.
• The Tray Timer icon
does not appear while the Tray Timer is in use.
• There is no connection between individual Tray Timers and the position or placement of food in the Combi.
• Tray Timers do not stop counting down while the Combi door is open.
• While this allows great flexibility in use, careful planning is strongly recommended to make best use
of the Tray Timer function.
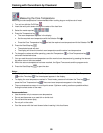
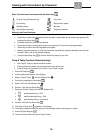
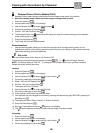
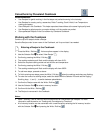
1. Select Mode: Steam
, Combi , Hot Air , or Retherm .
2. Set the standard oven timer to continuous time ( - - : - - ) before using the Tray Timer.
3. Set the Temperature
.
4. START the selected cooking mode with the Start / Stop key .
5. The Oven On icon
must appear before the Tray Timer can be set.
6. Press the Smart Key
.
7. Various options will appear in the display.
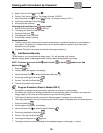
8. Select Tray Timer
with the Selector Dial
6019002_00
D
.
9. Confirm by pressing the Smart Key
.
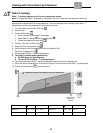
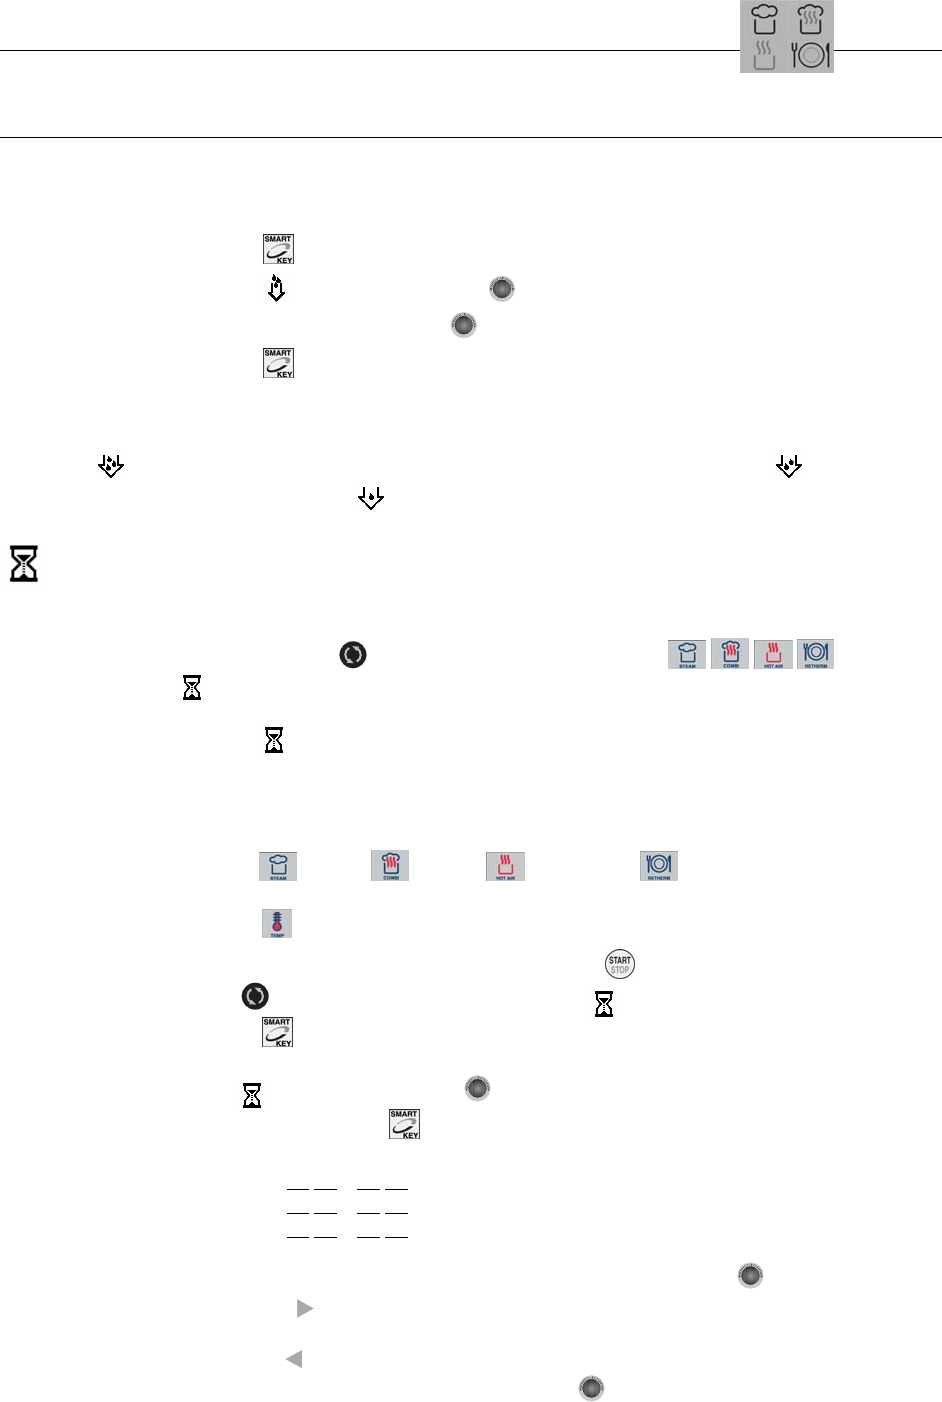
10. The display will show the nominal (set) time and time remaining.
Timer 1: 00
:00 00:00
Timer 2: 00
:00 00:00
Timer 3: 00
:00 00:00
11. Select the desired Tray Timer (Timer 7, for example) with the Selector Dial
6019002_00
D
.
12. Use the Right Arrow key
to navigate to nominal time.
13. Set the Tray Timer with the Selector Dial.
14. Use the Left Arrow key to navigate back to the Tray Timer column.
15. Select the next desired Tray Timer with the Selector Dial
6019002_00
D
.
16. Repeat steps 12, 13, and 14 as desired, to set up to twenty (20) individual Tray Timers.
17. The Tray Timers START COUNTING DOWN as soon as a time greater than 0:00 is entered.