CLEANING AND MAINTENANCE
Always unplug your Cuisinart
®
Premium 2 in 1 Blender from the electrical
outlet before cleaning. The blender is made of corrosion-resistant parts
which are easy to clean. Before first use and after every use, clean each part
thoroughly. Periodically check all parts before reassembly. If any part is
damaged or blender jar is chipped or cracked, DO NOT USE BLENDER. Remove
the blender jar from the motor base by lifting straight up and away. Twist off
the locking ring with cutting assembly by turning counterclockwise.
Remove the rubber gasket. Wash in warm soapy water, rinse, and dry
thoroughly.
Place the locking ring in the upper rack of the dishwasher or wash in warm
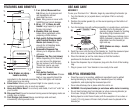
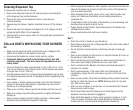
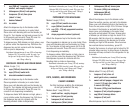
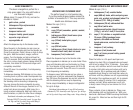
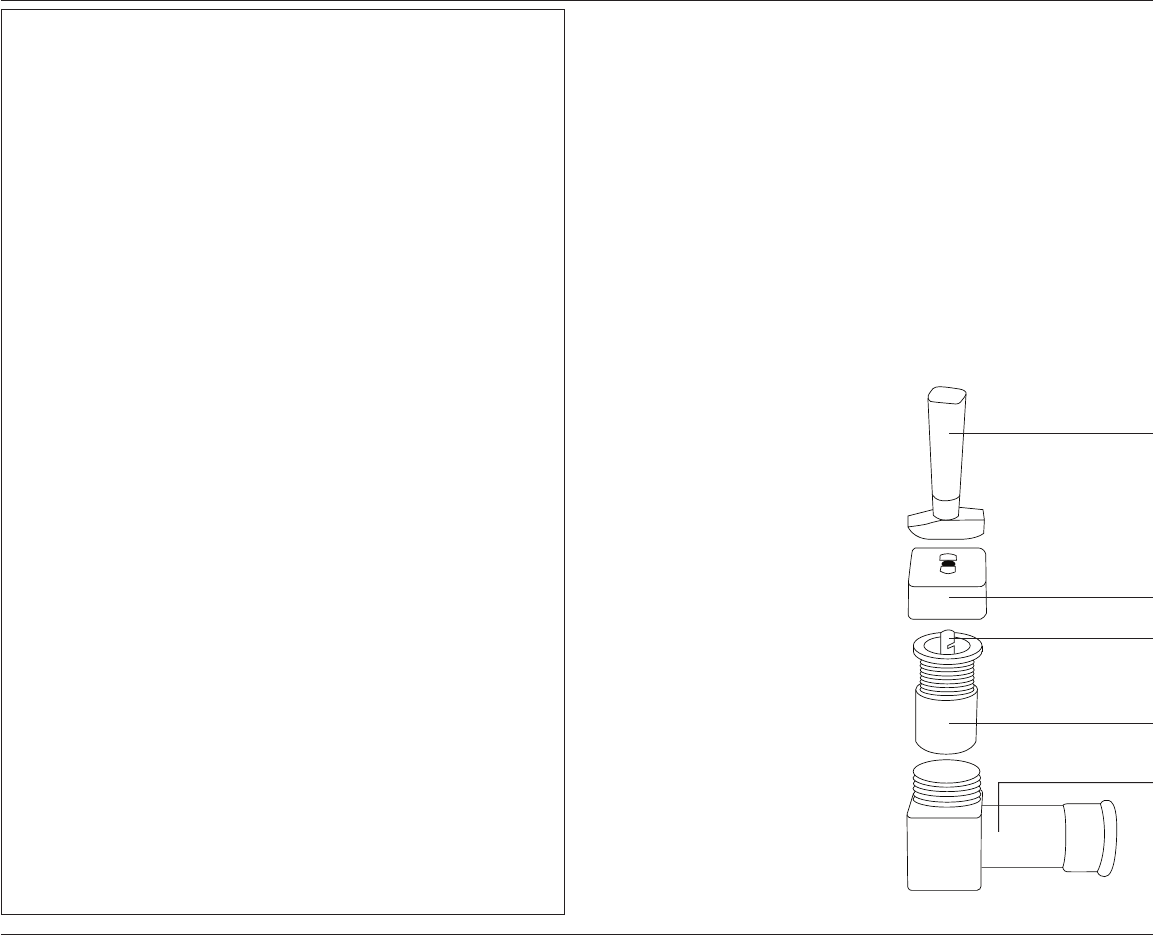
water. Disassemble dispenser tap from locking ring (see diagram and
instructions at right).
CAUTION: Handle the locking ring with cutting assembly carefully. It is SHARP
and may cause injury. Do not attempt to remove blades from
locking ring.
Remove the blender jar cover and the
measured pour lid or blending stick.
Wash in warm, soapy water; rinse and
dry thoroughly, or place in upper rack
of dishwasher. The blender jar must be
washed in warm, soapy water and rinsed
and dried thoroughly. The blender jar
can also be placed upside down in the
dishwasher, and the dispenser tap and
the plug can be washed in the top rack of
the dishwasher.
Finally, wipe the motor base clean with a
damp cloth to remove any residue, and
dry thoroughly. Never submerge the
motor base in water or other liquid, or
place in a dishwasher.
Tip: You may wish to clean your blender
cutting assembly as follows: Squirt a
small amount of dishwashing liquid into
assembled blender jar and fill halfway
with warm water. Run on LOW for 15
seconds. Repeat, using clean tap water.
Empty blender jar and carefully disas-
semble parts. Wash locking ring with cut-
ting assembly and gasket in warm, soapy
water. Rinse and dry all parts thoroughly.
5
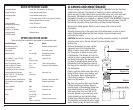
QUICK REFERENCE GUIDE
To activate blender Press ON - The blender is in ON mode.
To begin blending Press desired speed button.
To change speeds Press desired speed button.
To pulse In ON mode press PULSE, then press and release
desired speed button as needed.
To stop blending Press OFF button.
(and deactivate blender)
To stop blending Press HIGH or LOW button.
(in high or low speeds)
To stop blending Release button.
(in PULSE mode)
SPEED SELECTION GUIDE
Refer to this guide to choose the best speed for your desired result.
Ingredient/Recipe Speed Result
Reconstituting frozen Low Smooth and full-bodied
juice concentrates
Mayonnaise Low Thick and creamy
Salad Dressings Low or High Completely blended
and emulsifie
Nuts (shelled,
1
⁄
2
cup [125 ml] Low Coarse to fine
or less at a time) Pulse to chop
Heavy or whipping cream Low – pulse Thick creamy topping
Bread, Cookies or Crackers Low – Coarse to fine as desired
(
1
⁄
2
-inch [1.25 cm] pieces, pulse/blend
1 cup [250 ml] or less at a time)
Grating/chopping citrus zest Low – Uniformly fine
(add 1-2 tsp. [5 - 10 ml] sugar pulse/blend
or salt from recipe)
Smoothies, shakes, health drinks High Smooth, creamy and thick
Baby foods/fruit and vegetable High Smooth and creamy
purées
Frozen cocktails High Thick and slushy
Hard cheeses Low – Coarse to fine
pulse/blend
Spices Low or High – Coarse to fine
pulse/blend
Ice High, Coarse crush to snowy
pulse or continuous
Dispenser Lever
Cap
Stopper Pin
Stopper
Dispenser Body


