


Fig. 55
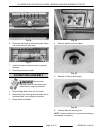
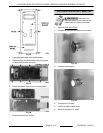
3. Disconnect wires from temperature sensor.
4. Pull temperature sensor out thru the opening in
oven wall.
5. Reverse procedure to install.
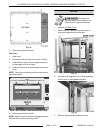
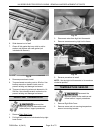
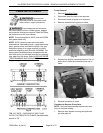
CONTACTORS
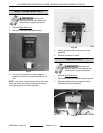
Disconnect the
electrical power to the machine and
follow lockout / tagout procedures.
1. Remove
Right Side Cover.
2. Disconnect lead wires from contactor being
replaced.
3. Push down on top of contactor and pull bottom of
contactor out then up to remove it from the din
rail.
PARTS REMOVED FOR VIEW
4. Reverse procedure to install.
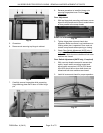
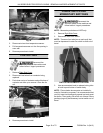
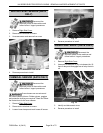
POWER SWITCH AND
MOMENTARY SWITCHES
Disconnect the
electrical power to the machine and
follow lockout / tagout procedures.
NOTE: Momentary switches on KA7E only.
1. Remove
Right Side Cover.
2. Disconnect wires from switch.
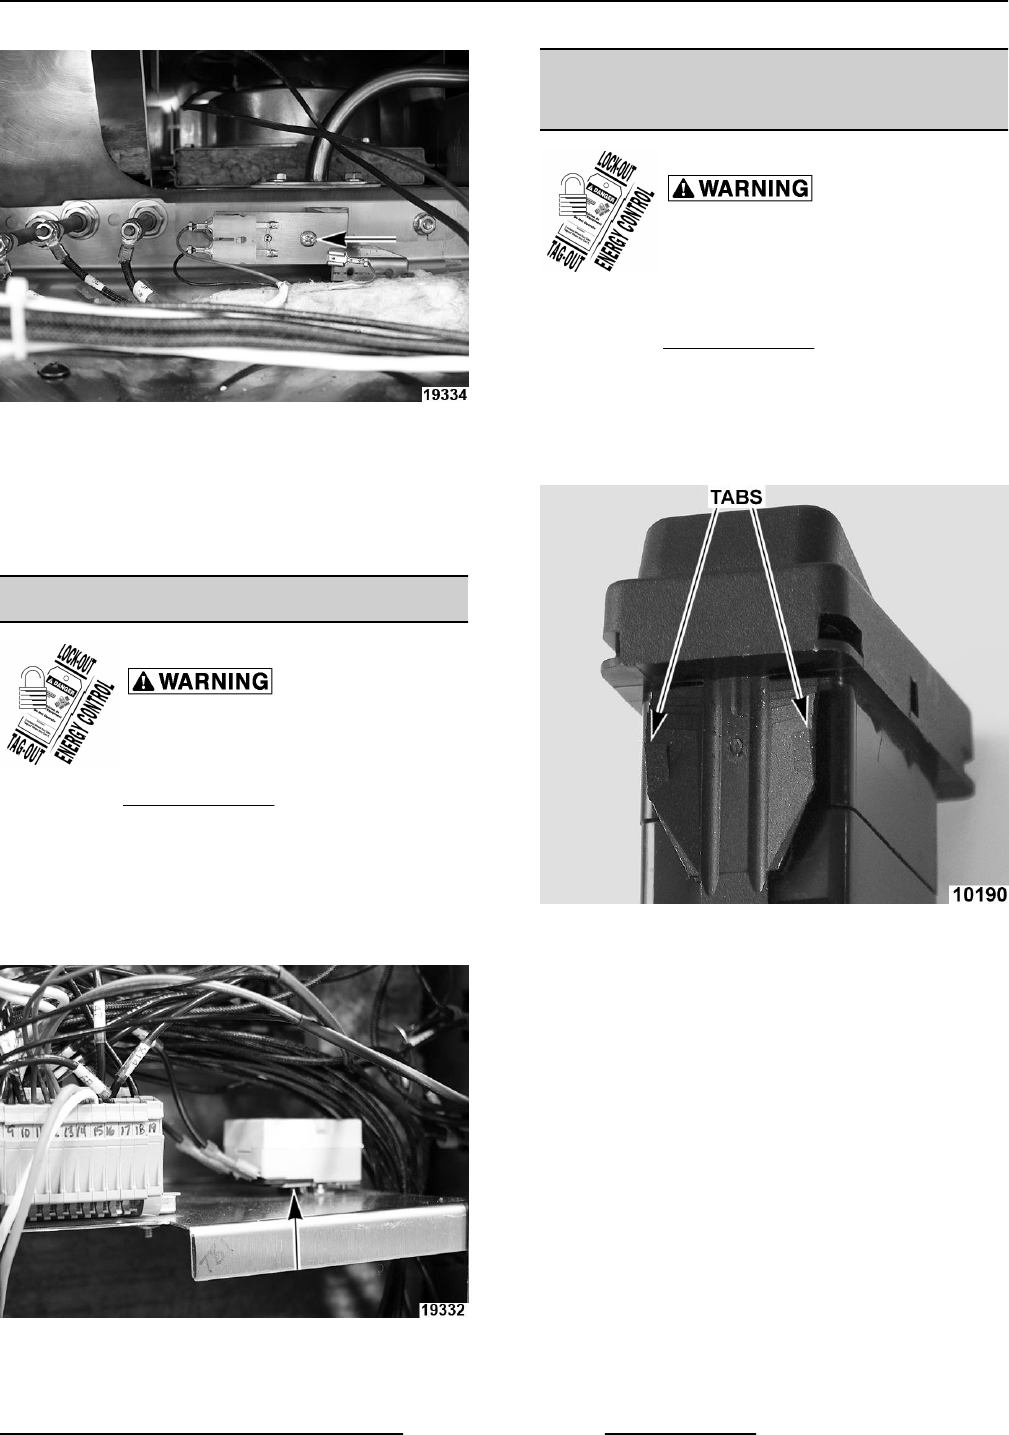
NOTE: There are four tabs (two at each end) that
must be depressed in order for switch to slide out of
bezel.
SWITCH DISASSEMBLED FOR VIEW
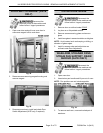
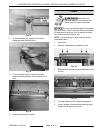
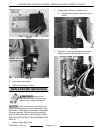
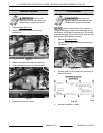
3. Use recommended tools to release locking tabs
at both top and bottom of switch body.
NOTE: Picture below shows parts not installed in
oven for illustration purposes. It is recommended that
you fully insert tools and gently spread tool ends apart
as shown. Then gently pull switch out of bezel. Some
gentle prying may be necessary to start switch out of
bezel.
KA SERIES ELECTRIC ROTARY OVENS - REMOVAL AND REPLACEMENT OF PARTS
Page 19 of 72 F25294 Rev. A (0412)