


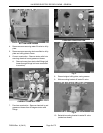


Fig. 23
5. Close door.
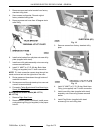
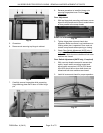
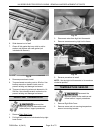
6. Remove nuts securing top hinge to cabinet.
Fig. 24
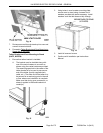
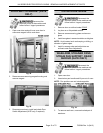
7. Carefully remove hinge plate while supporting
hinge backing plate and lift door off lower hinge
pin.
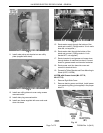
Fig. 25
8. Reverse procedure to install but leave nuts
securing hinge plate loose. Perform Door
Adjustment.
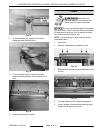
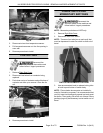
Door Adjustment
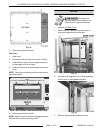
1. With top hinge plate mounting nuts loose, use an
object to shim handle end of door to make bottom
of door parallel to the sump facade.
Fig. 26
2. Tighten hinge plate nuts and check door
operation. Make sure there is no interference or
rubbing when door is operated. Door must not
contact sump facade when opening or closing.
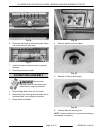
3. Check Door Switch Adjustment (KA7E only; if
required). LED at CPU board input X22 should
be on when both doors are closed and both door
switches are closed.
Door Switch Adjustment (KA7E only; if required)
1. With oven top facade removed to access door
switch, loosen switch mounting screws and
adjust switch as required. LED at CPU board
input X22 should be on when both doors are
closed and both door switches are closed.
2. Install all covers and check for proper operation.
Fig. 27
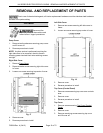
KA SERIES ELECTRIC ROTARY OVENS - REMOVAL AND REPLACEMENT OF PARTS
F25294 Rev. A (0412) Page 12 of 72