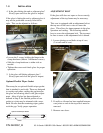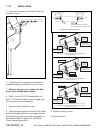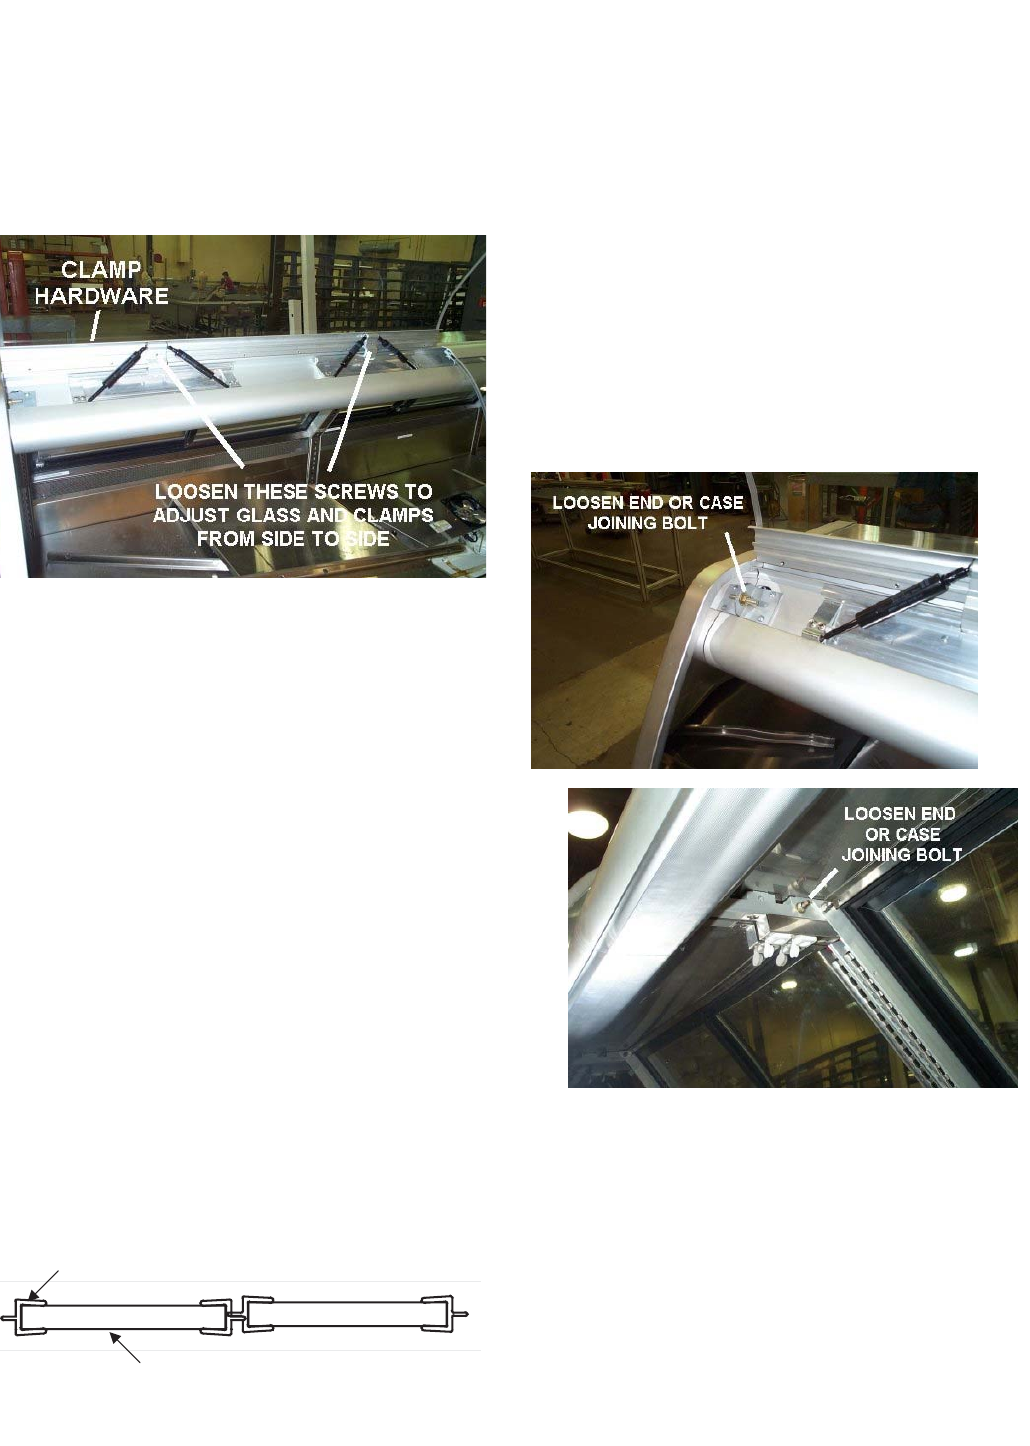
4. Is the glass hitting the end or adjacent glass?
Slowly open and close the glass to inspect.
If the glass is hitting the end or adjacent glass it
may not be positioned correctly from left to
right. This can be adjusted as follows:
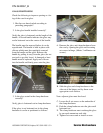
• Loosen the 2 screws holding the hinge to the
clamp hardware (Metric 3 millimeter screws).
• Slide the clamp hardware to either side as
needed.
• Tighten the screws and check glass for proper
operation.
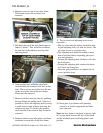
5. Is the glass still hitting adjacent glass?
Slowly open and close the glass to inspect.
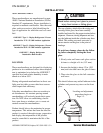
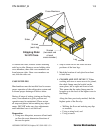
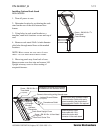
Optional Flexible Wiper Gasket
There may be an optional flexible wiper gasket
that is attached to each side. These are designed
to overlap each other, sealing the gap between
the glass and allowing side-to-side glass adjust-
ment. After all glass has been adjusted as
defined in Step 4, the flexible portion of one
gasket at a joint may be trimmed with a razor
knife. Be sure that the remaining wiper gasket
seals the gap. Verify proper operation.
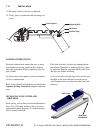
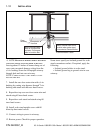
ADJUSTMENT BOLT
If the glass still does not open or close correctly,
adjustment of the top frame may be necessary.
This case is equipped with an adjustment bolt at
the top rear of the case to raise or lower the
glass. This allows for improvements in the glass
operation and sealing. The following outlines
how to access the adjustment bolt. The top must
be free to move as the adjustment bolt is turned.
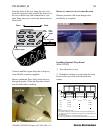
1. Loosen joining or end bolts at top of case,
(2 at each end of case).
2. If caulk or silicone has been applied between
case joints or ends in the top area it must be
removed.
3. Remove rear doors.
1-6 INSTALLATION
P/N 0420057_B
U.S. & Canada 1-800-922-1919 • Mexico 1-800-522-1900 • WWW.HUSSMANN.COM
Optional Flexible Wiper Gasket
Glass


