


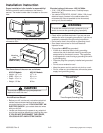

Installation Instruction
©2002 Maytag Appliances Company A–9 16021668 Rev. 0
Drilling Holes in the Wall and Upper Cabinet
WARNING
!
To avoid electrical shock or personal injury, be very
careful when drilling holes into the wall. Electrical
wires may be concealed behind the wall covering.
1. Find the points on the wall template labeled D, E, F,
and G. Drill a
3
/16" diameter hole at any points
located over a wall stud. Drill
3
/4" diameter hole at
any point over the wall without studding.
2. Drill holes into studded areas marked H and I on the
wall template using a
3
/16" drill bit. If wall studs are
not located within these areas, drill
3
/4" holes nearest
to the center of the areas as possible.
NOTE: If there are no wall studs within the areas
marked H and I, or behind points marked D, E,
F, and G, do not install microwave oven.
(Consult a building inspector.) There must be at
least one wall stud in the marked areas.
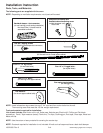
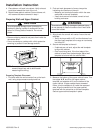
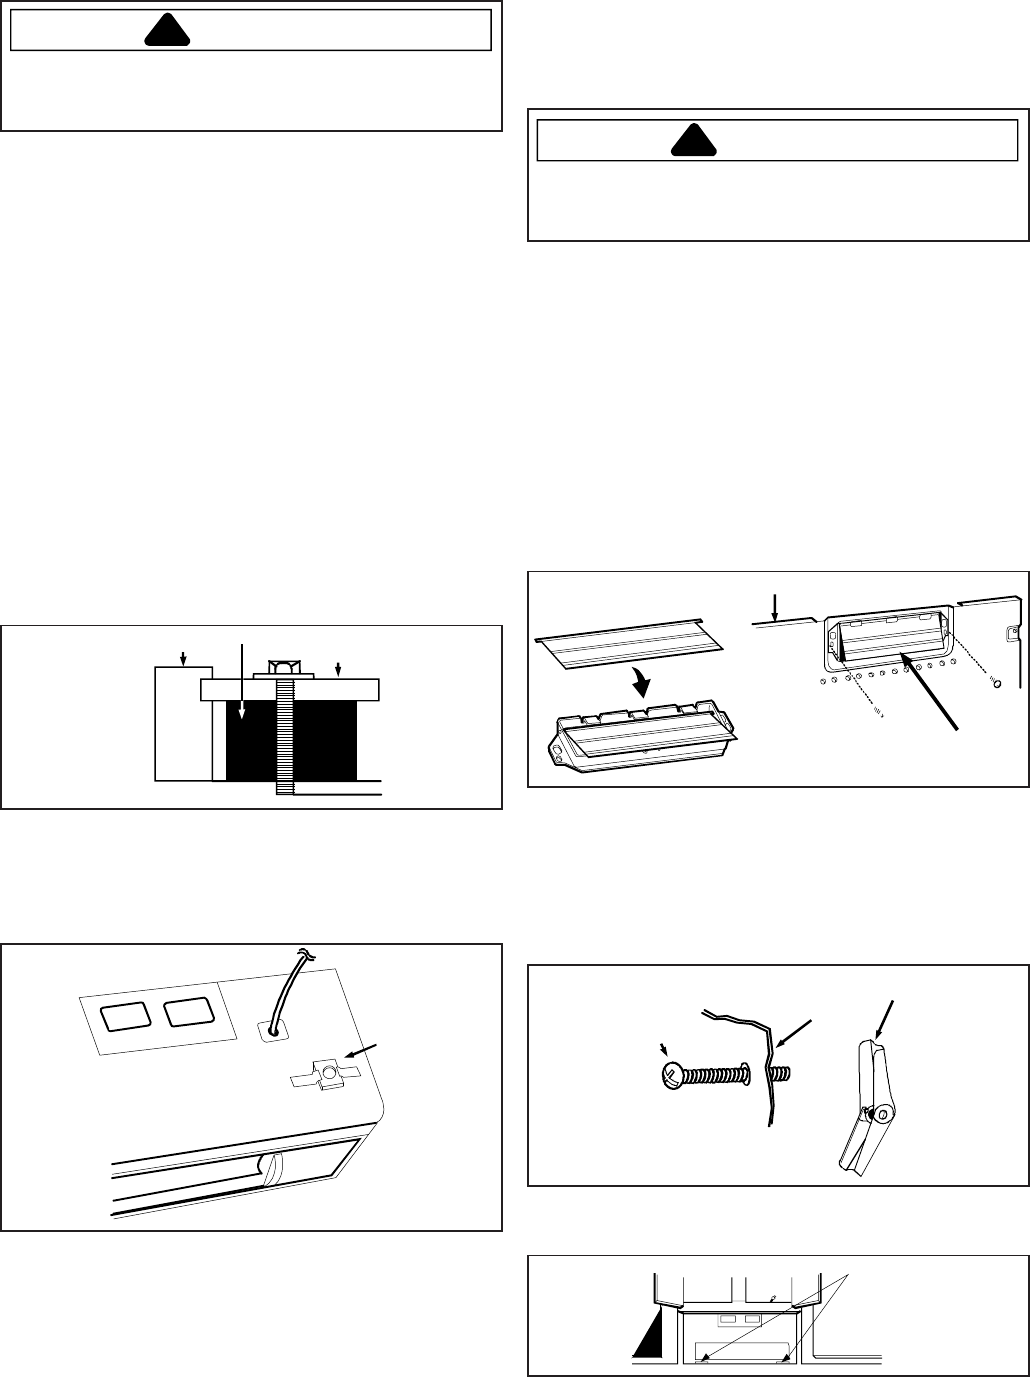
3. Drill a
3
/8" hole at points J, K, and N on upper cabinet
template.
NOTE: If the bottom of the cabinet is recessed
3
/4" or
more, filler block (not included) will be required
to provide additional support for the bolts.
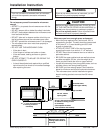
C
abinet front
Filler block Cabinet
bottom she
lf
• Mark the center of each filler block needed
and drill a
3
/8" hole through the block.
• Align the filler blocks with openings in the top
of the microwave oven cabinet and attach to
the cabinet with tape.
Fille
r
bloc
k
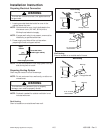
4. Cut or drill a 2" hole at the area marked M, for power
cord access into upper cabinet.
NOTE: If upper cabinet is metal, cover the edges of the
hole to prevent damage to the power cord.
WARNING
!
To avoid electrical shock or personal injury, cover
edges on metal cabinet to prevent damage to power
cord.
5. Cut out the venting area required for installation.
• Roof vented: Cut out shaded area marked L on
the upper cabinet template.
• Wall vented: Cut out shaded area marked O on
the wall template.
• Room vented: Proceed to “Installing Mounting
Plate” section.
6. Use caulking compound to seal the exterior wall or
roof opening around the wall or roof cap.
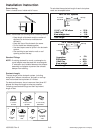
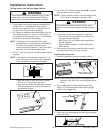
Installing Mounting Plate
1. Remove templates from wall and upper cabinet.
Mounting plate
Damper must be on top of
tab for proper venting.
NOTE: If venting through the wall, verify alignment of
damper on the rear of the mounting plate moves
freely.
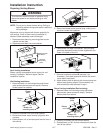
2. Place toggle bolts through mounting plate holes
where
3
/4" holes were drilled. Attach spring toggle
head on each toggle bolt.
T
oggle bolt
Mounting plate
Spring
toggle hea
d
3. Place mounting plate against the wall aligning toggle
bolts with holes.
Support tabs