A—2 16021875 Rev. 0 ©2003 Maytag Appliances Company
Packaging Material
Remove protective packing materials from oven. Tape
residue can be removed with a soft cloth and alcohol.
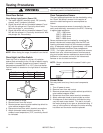
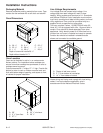
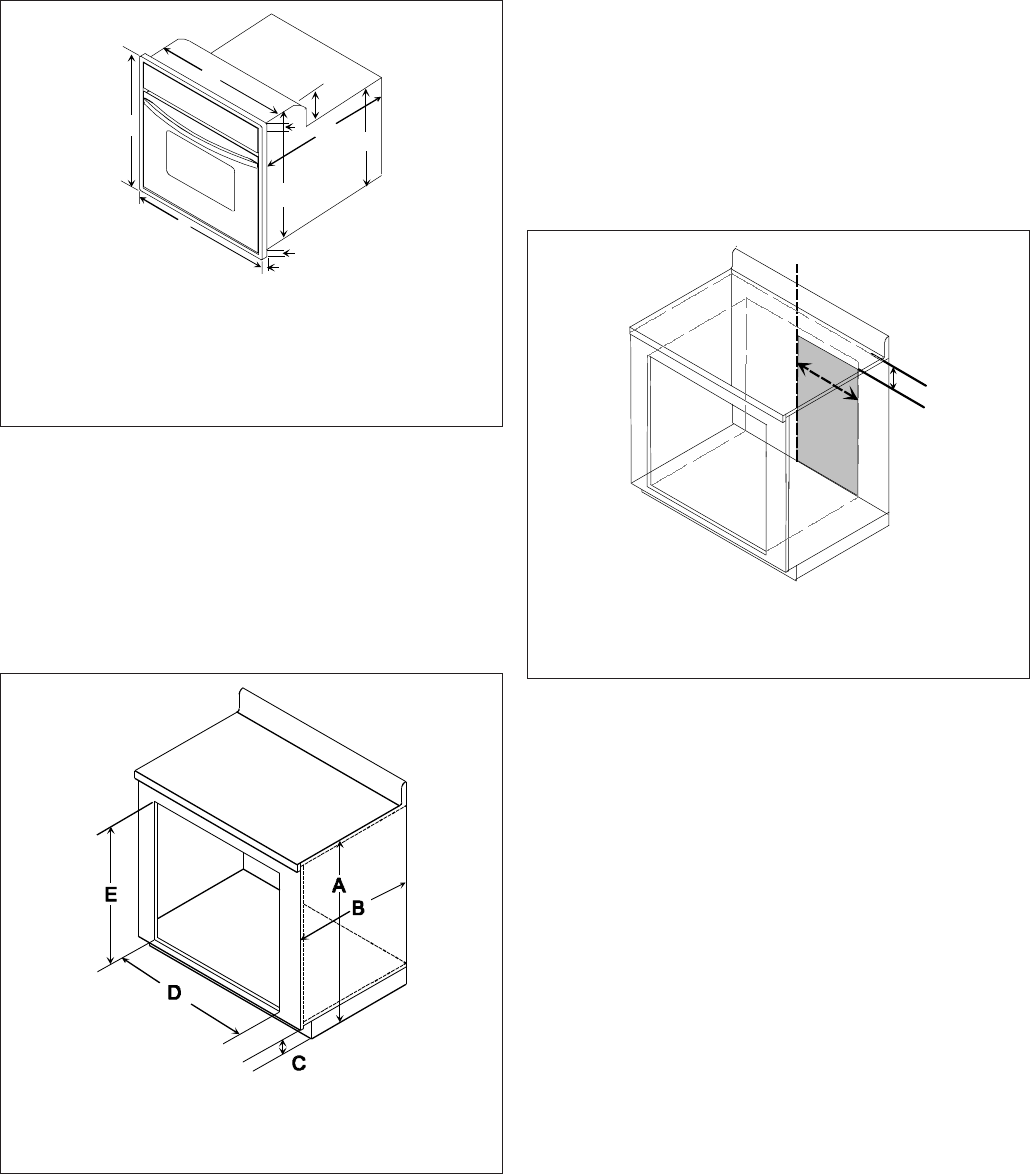
Oven DImensions
A
B
C
D
E
F
G
H
I
F
A. 28
1
/4"B.3
1
/2" C. 23
1
/4"
D. 23
1
/8" E.. 26
5
/8"F.1
1
/16"
G. 1
1
/4" H. 29
3
/4" I. 28
3
/8"
Depth of oven with handle 26
1
/2"
Depth without handle 24
1
/2"
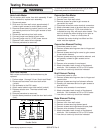
Oven Location
Oven can be installed in wall or in an undercounter
kitchen cabinet. For installation below cooktops see
source from whom cooktop was purchased, or refer to
cooktops owner’s manual.
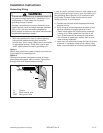
Cutout measures 28
1
/2" wide x 27
1
/4" high. Provide flat
bottom for oven to rest on. Bottom must be level and
flush with bottom edge of opening, and square to front
of cabinet for proper installation.
A. 36" B. 23
1
/2" minimum
C. 3
1
/2" from floor D. 28
1
/2"
E. 27
1
/4"
Line Voltage Requirements
Line voltage must not exceed rated voltage. Line
voltage less than rated voltage will result in slow
heating. Wiring system must conform to U.L. Standards
and National Electrical Code. Installation must conform
to all local, municipal and state building codes, and local
utility regulations. Oven must be connected only to a
supplied circuit as specified on rating plate.
This oven requires 3 wires, 115/230-120/240 volts, 60
Hertz A.C. Unit is equipped with a No. 10 ground wire in
conduit. Oven should be fused separately from other
appliances. Verify electric power is off from fuse box to
junction box until oven is installed and ready to operate.
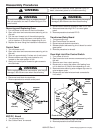
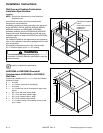
Junction box should be installed in shaded area as
shown and connected to a suitable ground.
A
B
C
A. Center of wall oven cutout
B. 2
1
/2" from bottom of countertop
C. 14
1
/4" from center of cutout
House wiring and fusing must comply with local wiring
codes. If no local codes are applicable, wire in
accordance with the National Electrical Codes.
Installation Instructions


