


15
Model 632 Operat ing Procedu res
081117
Section 6 Operating Procedures
We begin our instructions at the point where we enter
the store in the morning and find the parts
disassembled and laid out to air dry from the previous
night’s cleaning.
These opening proc edures will show you how to
assemble these parts into the freezer , sanitize them,
and prime the freez er with fr esh mix in preparation to
serve your first portion.
If you are disassembling the machine for the first time
or need information to get to this star ting point in our
instructions , turn topage 25, “Disassembly” , and start
there.
Prior To Set- Up For Units With A
Syrup Rail
(Optional Feature)
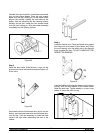
Step 1
Remove the two stainless syrup jars with topping
pumps from the syrup rail. Check the water level in the
heated syrup topping well. Make sure the water is filled
to the indicating mark on the bottom of the well.
Step 2
Place the heater switch in the ON position.
Note: This heating process will take approximately
2- 1/2 hours to reach temperatur e. The water level in
the topping wells must be checked at least once daily.
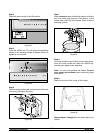
Step 3
Preparea pailof approved 100PP Msanitizing s olution
(examples: 2- 1/2 gal. [9.5 liters] of Kay- 5R or 2 gal.
[7.6 liters] of Stera- SheenR). USE WARM WATER
AND FOLLO W THE MANUFACTURER’S
SPECIFICATIONS. Sanitize the topping pumps by
placing the entire pump assembly in the pail of sanitiz-
ing solution. Pump the solution through the assembly
to thoroughly s anitize the pump.
Step 4
Remove the two topping pumps. Fill each stainless
syrup jar with topping. Replace the topping pum ps in
the syrup jars.
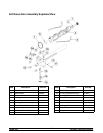
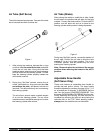
Freezing Cylinder Assembly - S o ft
Serve Side
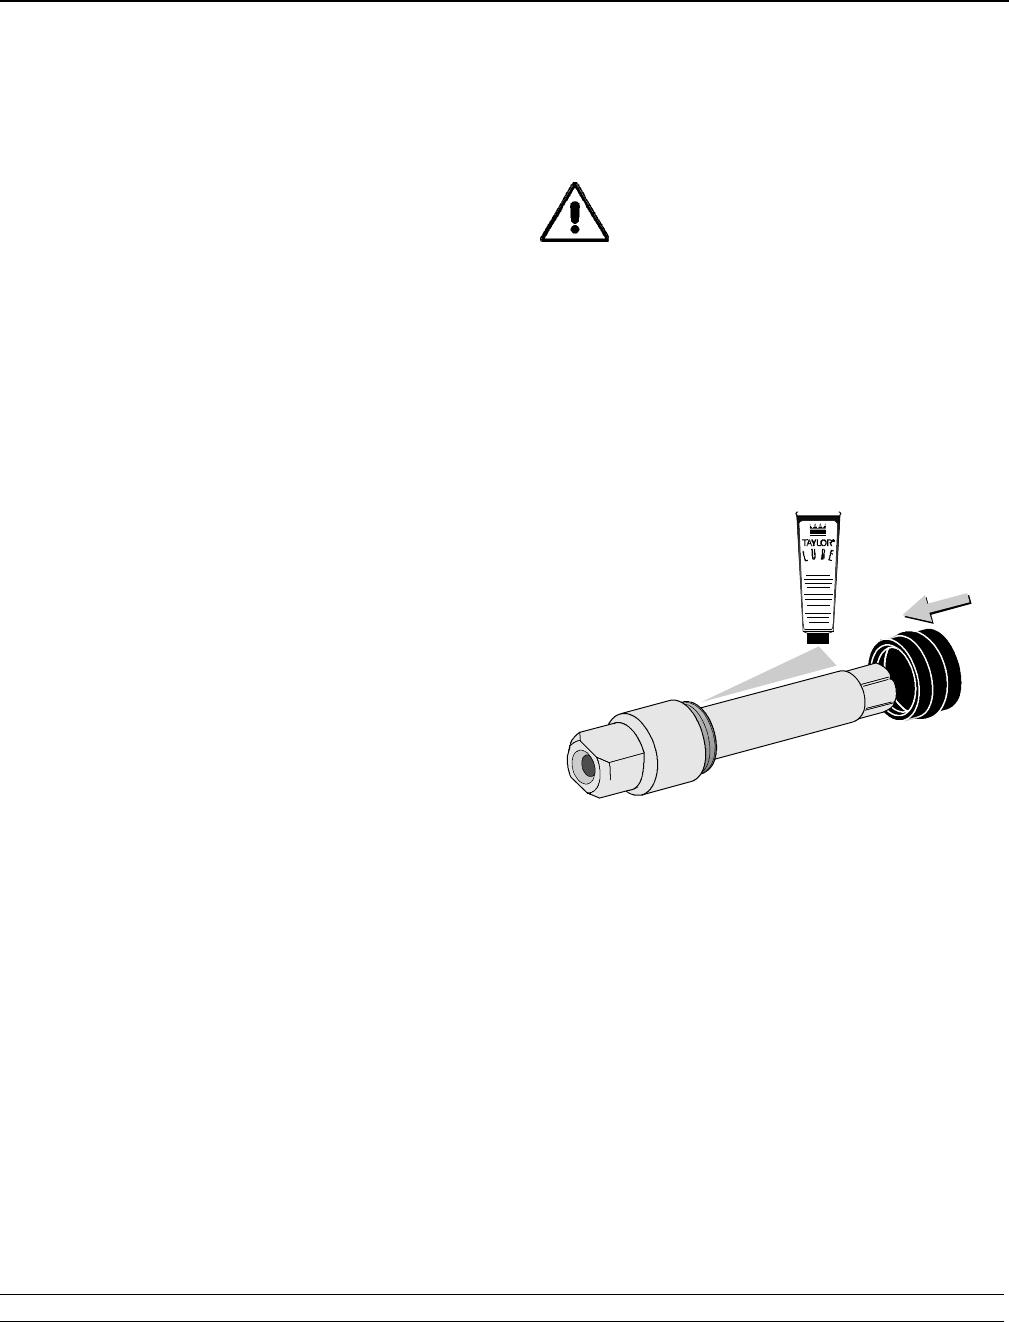
Note: When lubricating part s, use an approved food
grade lubricant (example: Taylor Lube).
MAKE SURE CONTROL SWITCH IS INTHE
“OFF ” POSITION. Failure to do so may cause injury
from hazardous moving parts, or elect rocution.
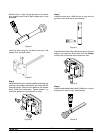
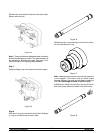
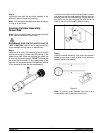
Step 1
Install the dr ive shaft. Lubricate the groove and shaft
portion that comes in contact with the bearing on the
beater drive shaft. Slide the seal over the shaft and
groove until it snaps into place. DO NOT lubr icate the
hex end of the drive shaft. Fill the inside portion of the
seal with 1/4” more lubricant and lubricate the flat side
of the seal that fits onto the rear shell bearing.
Figure 3