


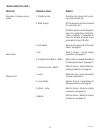
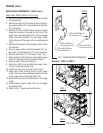

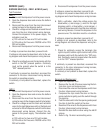
18
BALLAST - FMD-1 & FMD-2
P1666
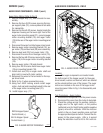
FIG. 8 BALLAST
SERVICE (cont.)
AUGER DRIVE COMPONENTS - FMD-2 (cont.)
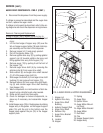
Auger Drive Motor (Refer to Fig. 5 or 6)
1. Remove all hopper assemblies (20) and set aside
for reassembly.
2. Remove the four #8-32 screws securing the hop-
per support plate (19), remove plate and set aside
for reassembly.
3. Remove the four #8-32 locking screws, located
inside the dispenser housing on the front of the
auger motor mounting panel (14), securing auger
motor mounting bracket (15) and auger motor
(16) to the rear of the auger motor mounting panel
(14).
4. Disconnect the wires from the auger motor (16) to
be removed.
5. Remove auger motor mounting bracket (15), au-
ger motor (16) and dust seal (17) as an assembly.
6. Remove dust seal (17) from auger motor (16).
7. Remove the four #8-32 screws securing the auger
motor to the auger motor mounting bracket.
8. Remove auger motor and discard.
9. Using four #8-32 screws install new auger motor
(16) on mounting bracket (15).
10. Install dust seal (17) on auger motor shaft.
11. Using four #8-32 locking screws install auger
motor, dust seal and mounting bracket to the rear
of the auger motor mounting panel (14)
12. Reconnect the wires to the terminals on the auger
motor.
13. Install hopper support plate (19) and all hopper
assemblies (20).
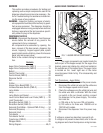
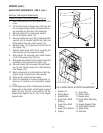
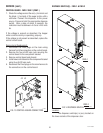
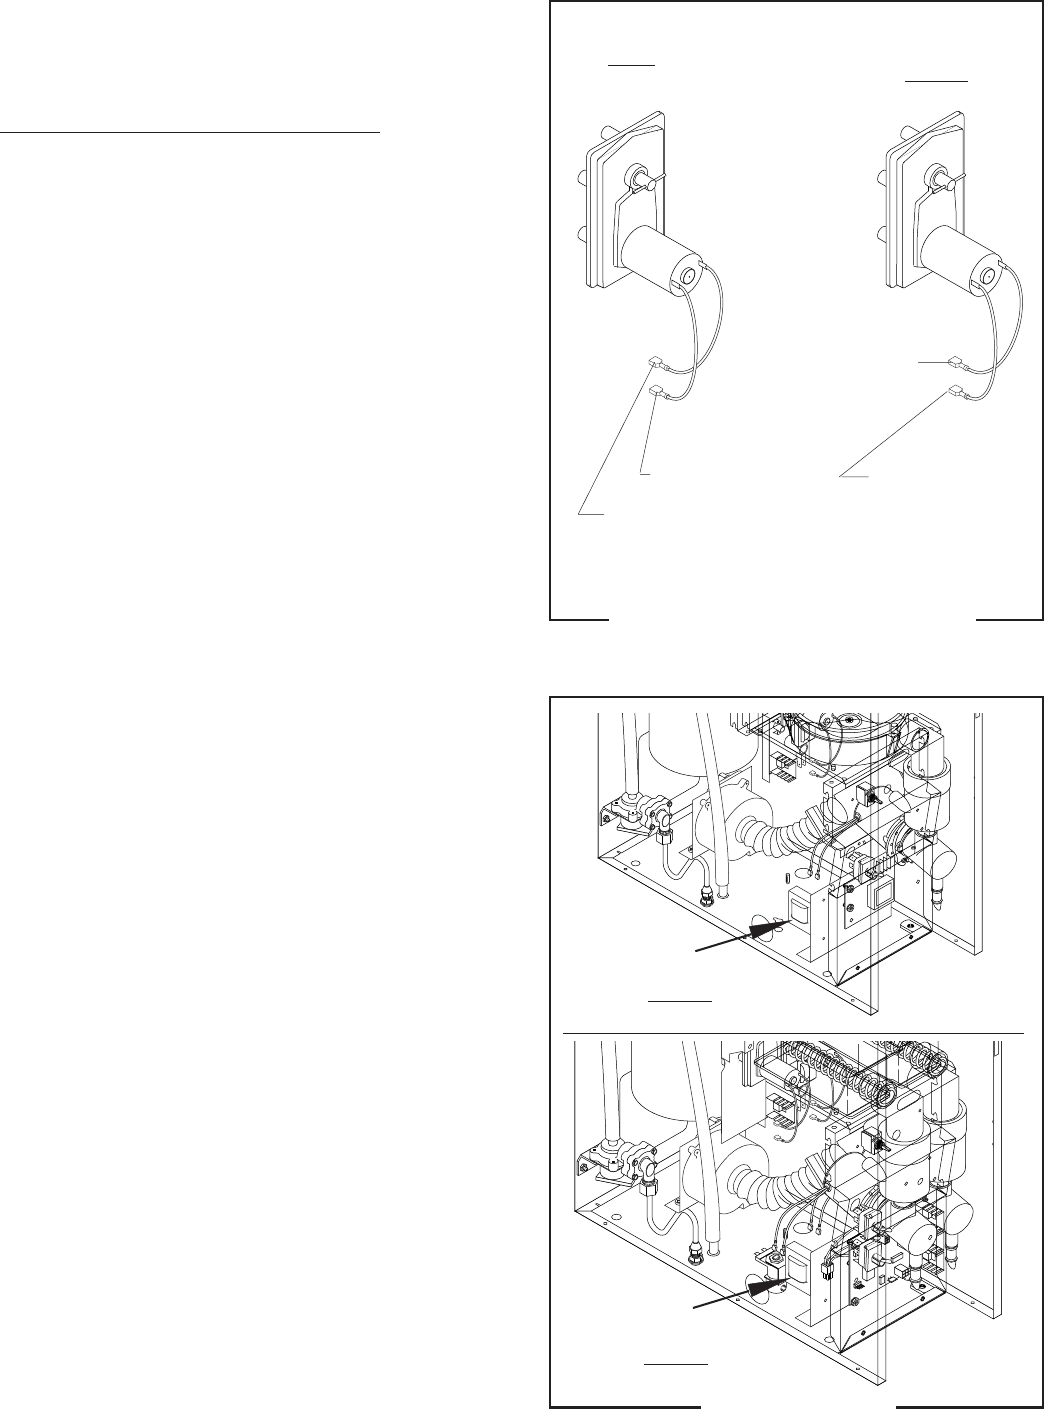
14. Refer to Fig. 7 when reconnecting wires.
LEFT
RIGHT
RED to WHI/RED from
Control Board J3-3
RED to WHI/ORN from
Control Board J3-2
BLK to GRN from
Control Board J3-4
BLK to GRN from
Control Board J3-4
P1639
FIG. 7 AUGER MOTOR TERMINALS
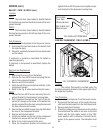
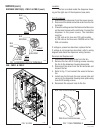
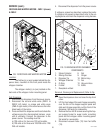
P1665
12
11
9
8
7
J4
J1
J2
J3
J1
FMD-1
FMD-2
29112 101598