


30
J
1
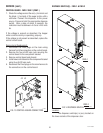
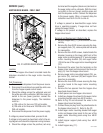
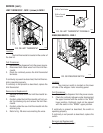
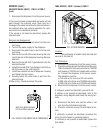
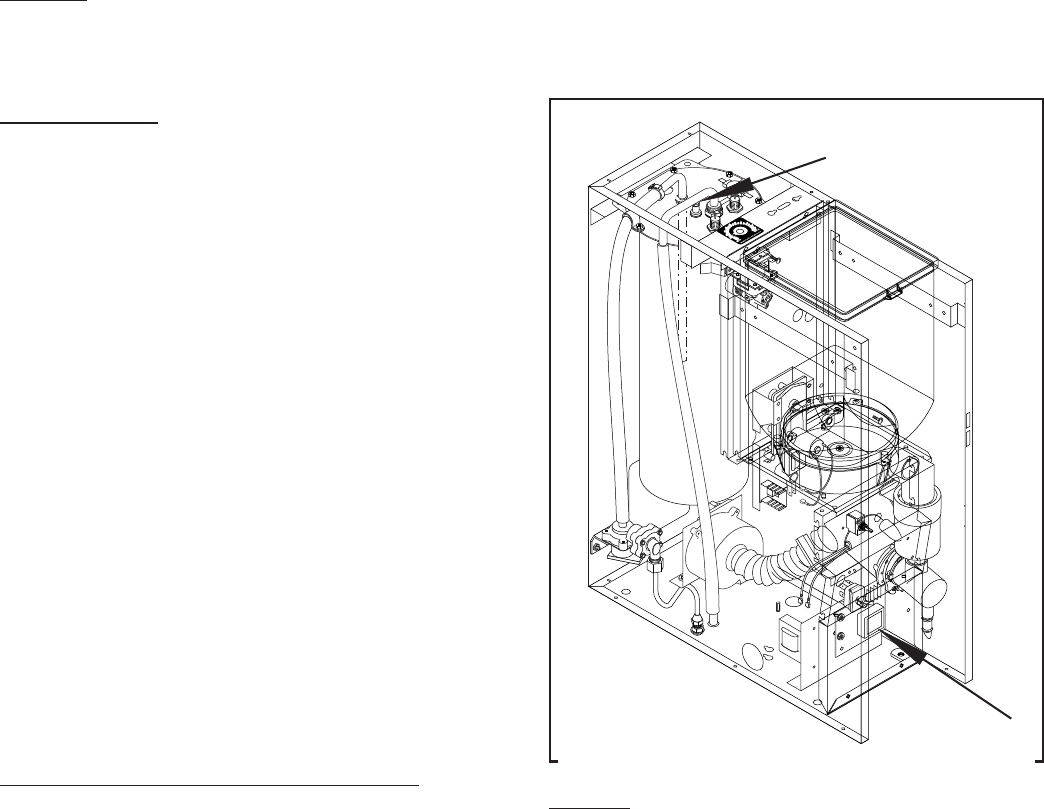
LEVEL CONTROL BOARD AND LEVEL PROBE -
FMD-1 ONLY
FIG. 26 LEVEL CONTROL BOARD AND PROBE
Location:
The level control board is located behind the
lower access panel mounted on the right side of the
component bracket.
The Level probe is located on the left center
of the tank lid just in front of the overflow tube.
P1665
9. Reconnect the plug on the door wiring harness to
the connector on the door interconnect wiring
harness.
10. Install the door lower panel (5) using four #8-32
screws.
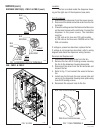
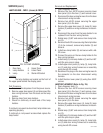
LAMP STARTER and SOCKET (Refer to Fig. 25)
Location:
The lamp starter (6) is located inside the door
assy (1) on the top of the door lower panel (5).
Test Procedures:
1. Disconnect the dispenser from the power source.
2. Disconnect the starter leads from the door wiring
harness.
3. Remove lamp starter from starter socket.
4. Check for continuity on each lead of the starter
socket.
If continuity is present as described the starter socket
is operating properly.
If continuity is not present as described replace the
starter socket.
5. Remove starter (6) from starter socket.
6. Check for continuity across the pins on the bottom
of the starter (6).
If continuity is present as described, replace the starter.
If continuity is not present as described, starter is
operating properly.
Note: If continuity tests are both as described and lamp
does not light, replace the starter.
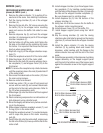
Removal and Replacement (Refer to Fig.25):
1. Open dispenser door assy (1)
2. Remove the four #8-32 screws securing the door
lower panel (5) to the door assy (1).
3. Disconnect the leads on the starter socket from the
door wiring harness.
4. Remove lower door panel (5) and starter w/socket
(6) as assembly.
5. Compress the spring tabs on the socket and re-
move socket from the door bottom cover (5).
6. Rotate starter 90° and remove from the starter
socket.
SERVICE (cont.)
LAMP REPLACEMENT (Refer to Fig.24)(cont.)
7. Insert new starter (6) into socket and turn 90° until
the pins snap in place.
8. Install new socket by compressing spring tabs on
the socket and pushing the socket up through the
hole in the lower door panel (5) and releasing
spring tabs.
9. Connect the sockets leads to the door wiring
harness.
10. Install door lower panel (5) with starter and starter
socket on door assy (1) using four #8-32 screws.
29112 101598