


32
Model 8756Operating Procedures
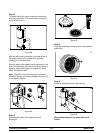
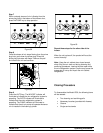
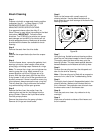
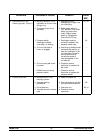
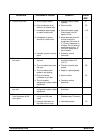
Step 6
Place an empty pail beneath the door spout. Raise
the prime plug and press the WASH and PUMP
keys.
Figure 66
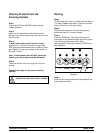
Step 7
When a steady stream of solution is flowing from the
prime plug hole in the bottom of the freezer door,
open the draw valve and draw off the remaining
cleaning solution.
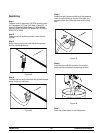
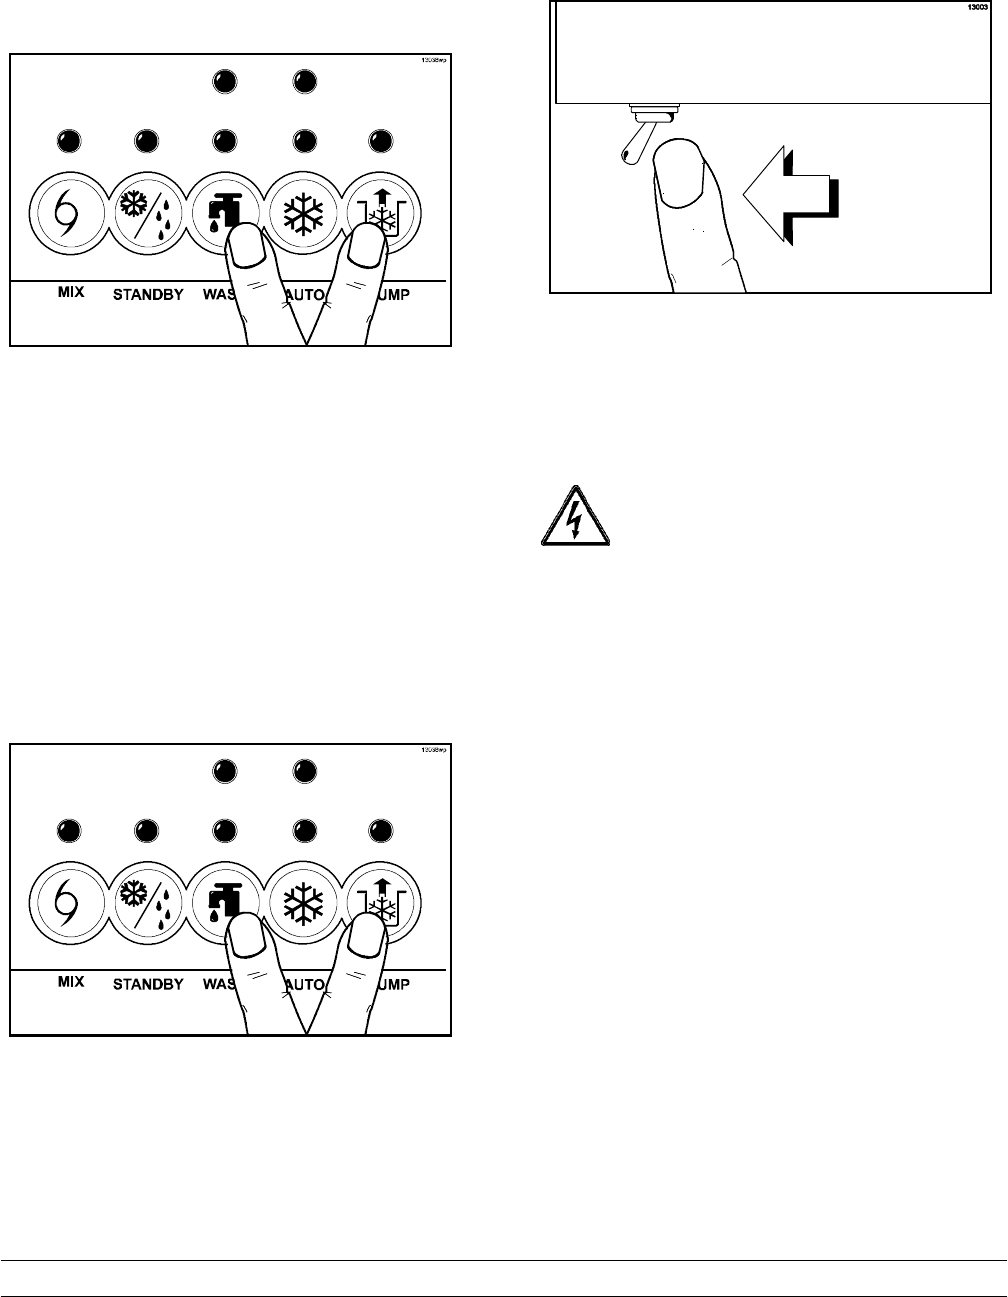
Step 8
Once the solution stops flowing from the door spout,
close the draw valve and press the WASH and
PUMP keys to stop operation.
Figure 67
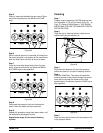
Repeat these steps for the other side of the
freezer.
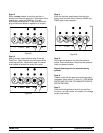
Step 9
Place the power switch in the OFF position before
disassembling the machine.
Figure 68
Disassembly
MAKE SURE THE POWER SWITCH IS IN
THE “OFF” POSITION. Failure to follow this
instruction may result in electrocution or injury to
fingers or hands from hazardous moving parts.
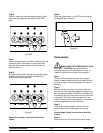
Step 1
Remove the handscrews, freezer door, beaters,
shoes, scraper blades and the drive shafts from the
freezing cylinders. Take these parts to the sink for
cleaning.
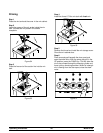
Step 2
Remove the air/mix pump. Unscrew the flare line
from the mix inlet tube. Disengage the pressure line
from the pressure switch and the mix inlet tube. Pull
the retaining pin out of the pump collar and slide the
collar down. Tilt the air/mix pump away from the
machine and take the entire assembly to the sink for
further disassembly and brush cleaning.
Step 3
Remove t he pressure switch cap from the mix
cabinet. Remove the diaphragm from the cap.
Repeat Steps 3 and 4 for the other side of the
freezer.
Step 4
Remove the front drip tray and the splash shield.