


33
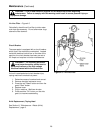
Special Set-Up Procedure
Changing Drive Belt Height
The drive belt assemblies can be raised 50 mm
[2 inches] to provide better conveying of tall boxes.
This change increase the minimum box height
that can be taped to 190 mm [7-1/4 inches].
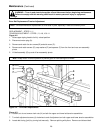
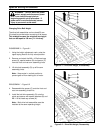
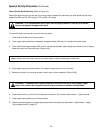
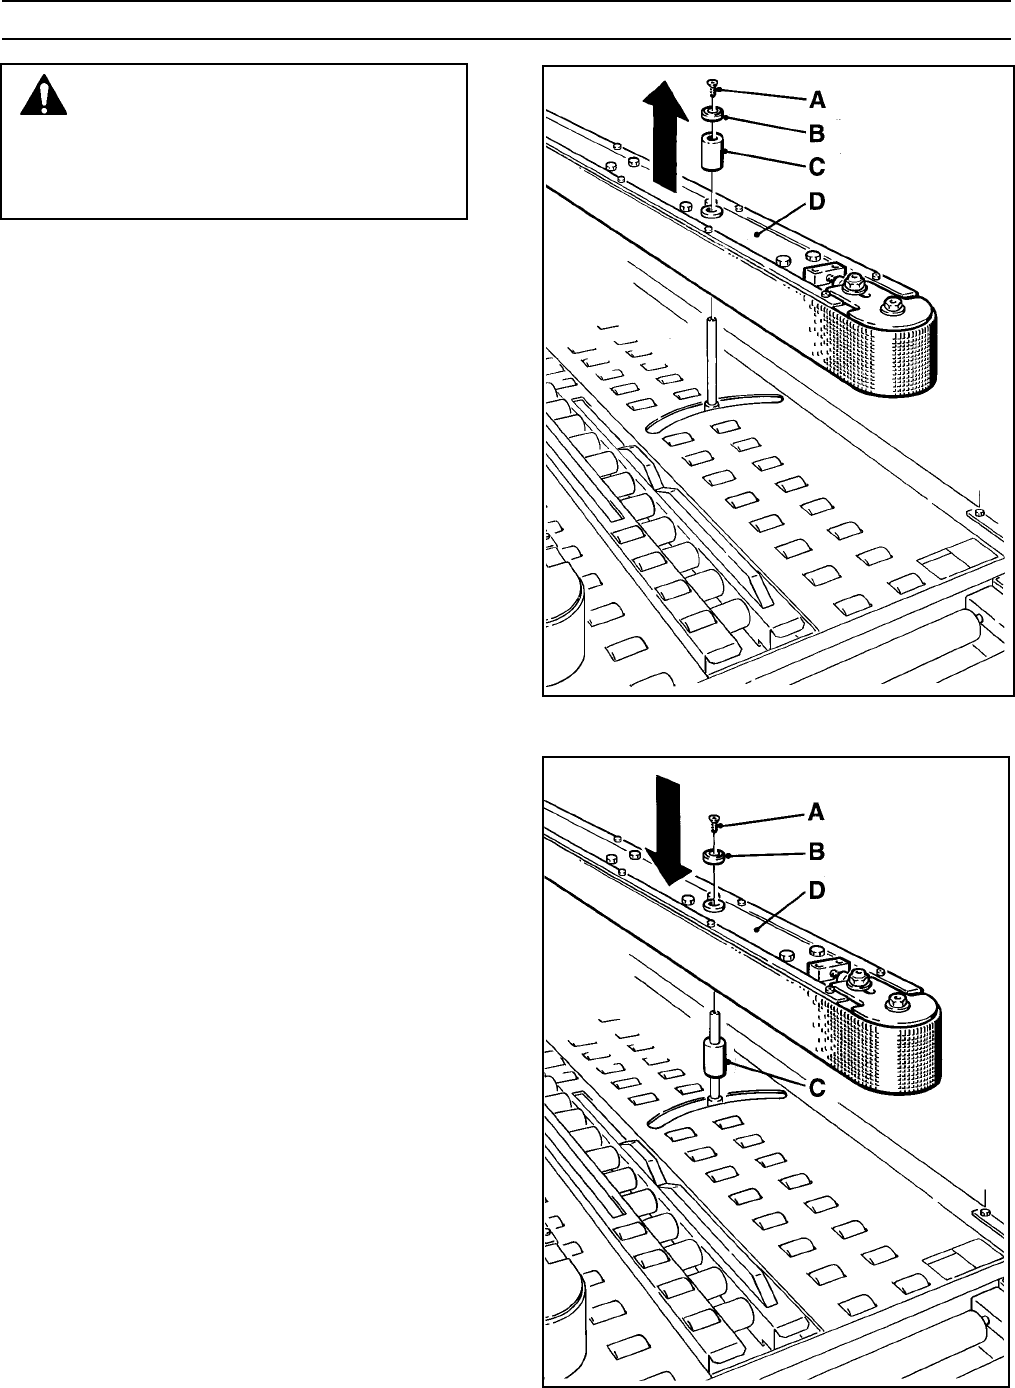
DISASSEMBLY – Figure 6-1
1. Using the height adjustment crank, raise the
upper taping head to its fully raised position.
2. Remove and retain the M6 x 16 flat head cap
screw (A), special washer (B) and spacer (C)
from the front and rear arm assembly pivots.
3. Lift drive belt assembly (D) up off the arm
assembly pivots.
Note – Keep motor in vertical position to
prevent gear oil from leaking out of motor.
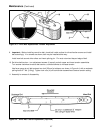
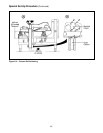
REASSEMBLY – Figure 6-2
4. Reassemble the spacer (C) onto the front and
rear arm assembly pivots first.
5. Install the belt drive assembly (D) onto the
pivots and secure with special washers (B) and
M6 x 16 flat head cap screws (A).
Note – Both drive belt assemblies must be
installed at the same operating height.
Figure 6-1 – Drive Belt Height, Disassembly
Figure 6-2 – Drive Belt Height, Reassembly
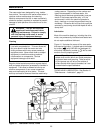
WARNING – Turn off electrical power
and air supply and disconnect power
cord from electrical supply before
beginning special set-up procedure. If
power cord is not disconnected, severe
injury to personnel could result.