


SUPREMA 2001 - OPERATION & SERVICE MANUAL
Suprema 2001 - Operation & Service July 6, 2001 Page 19 of 60
ENABLING SWITCHES
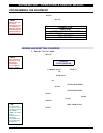
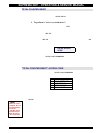
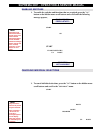
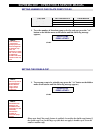
1. To enable the switches and functions that are required, press the "
UP
"
button on the hidden menu scroll buttons and scroll until the following
message appears,
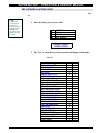
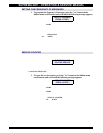
a) Press the "
START
" button to enter set mode.
b) On initial set-up, all the LED's will be illuminated at this point, meaning
that everything is switched "
ON
". To disable certain features, press the
button that corresponds to that feature and the LED will switch off. That
feature has now been disabled.
c) Repeat this procedure for any other feature that you require to cancel.
d) Press the “START” button to save any changes that were made.
e) To exit the "ENABLE SWITCHES" mode and proceed to the next setting,
press the hidden "
UP" or "DOWN" scroll buttons.
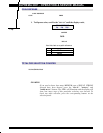
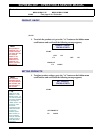
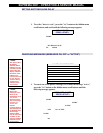
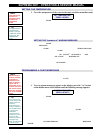
When a selection is disabled and the customer presses the corresponding button for that
selection, the following message appears on the display,
CANCELING INDIVIDUAL SELECTIONS
It is possible to cancel any individual setting on the selection panel (providing this
setting can be priced). For example, if all three cup sizes are required for coffee, but the
customer requires only a large cup for hot chocolate, it is possible to cancel only the
small and medium cups for hot chocolate, without canceling the large cup.
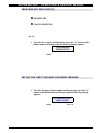
1. To cancel individual selections, press the "
UP
" button on the hidden menu
scroll buttons and scroll to the "
SET PRICE
" menu.
a) Press the "START" button to enter the set mode.
b) At this point, you can now select the price setting for the cup size and
product you want to cancel by pressing the appropriate buttons on the
selection panel. The price setting displayed will correspond to the LED's
that are illuminated.
c) Decrease the price to zero by pressing the hidden "DOWN" button.
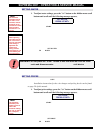
d) Once the price is at zero, press the hidden "DOWN" button once more.
The price will disappear, and a "
DISABLED" message will appear on the
second row of the display. This indicates that this particular product is
now canceled.
e) Repeat this procedure for another product, or press the "
UP
" or "
DOWN
"
scroll buttons to access another menu.
ENABLE SWITCH
PRESS <START>
SELECTION
NOT AVAILABLE
!
Note:
Selections with
illuminated LED’s
will be active, and
those without
illuminated LED’s
will be disabled.
Check the settings
before exiting and
once verified,
press the “
START
”
button to save
them.
!
Note:
Only selections
that can be priced
may be canceled.
Once canceled, a
“
SELECTION NOT
AVAILABLE
”
message appears
on the display
when the product
is selected by the
customer.