SUPREMA 2001 - OPERATION & SERVICE MANUAL
Page 38 of 60 July 6, 2001 Suprema 2001 - Operation & Service
STEP 2 - TRANSFERRING SETTINGS FROM THE DATA LINK
DEVICE TO A SUPREMA
1. Connect the Data Link phone jack harness to the free connector on the
back of the front board.
2. Press the "
SET
-
UP
" button on the back of the front board.
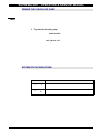
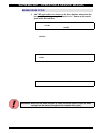
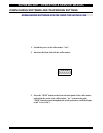
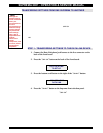
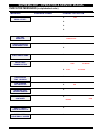
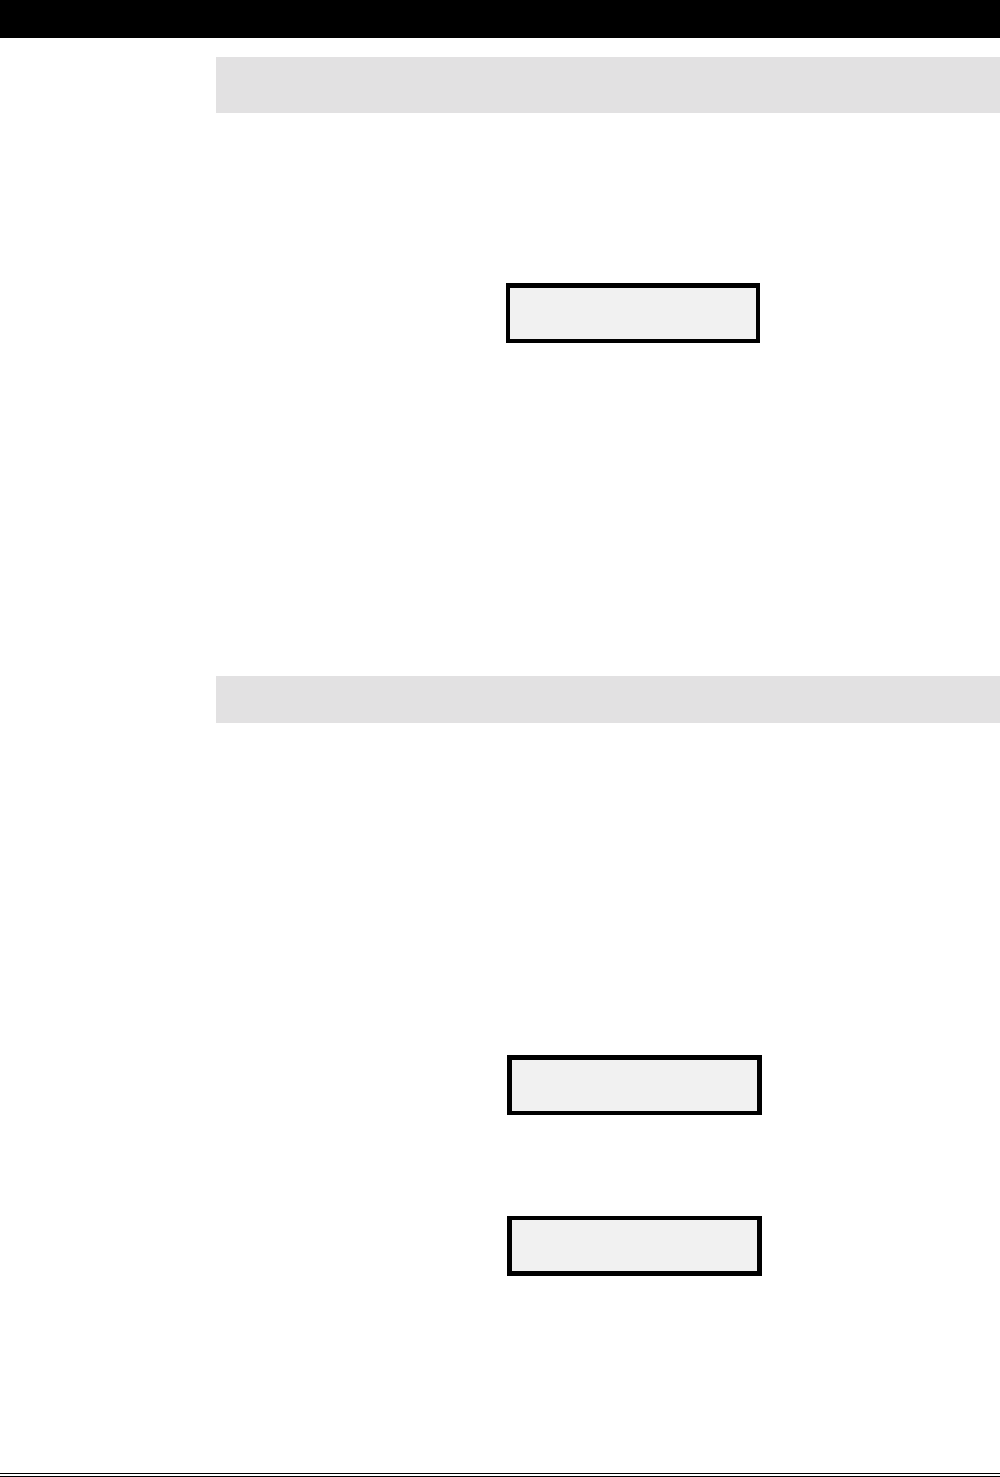
a) The following message will appear on the display,
3. Press the “
START
” button on the Suprema front selection panel.
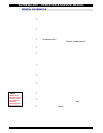
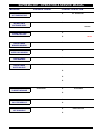
a) A list of options to be transferred will then appear on the display. The
first option is “
COPY ALL
–
SET
-
UP” (defaulted to “YES”) will transfer
“
ALL
” the settings. If the “
UP
” button is pressed, “
NO
” will appear. Press
“
START
” to get to the next option, and repeat as necessary. We
recommend that the “
ALL
” option be used to prevent any possible
conflicts in the set-up.
STEP 3 - TRANSFERRING CUSTOM MESSAGES TO A SUPREMA
(may not be required)
If multiple Suprema coffee makers require the same custom message to be displayed,
this too can be transferred from one unit to several others. Simply program the custom
message on the first unit, and perform STEP 1 on the previous page (Transferring
Settings to the Data Link Device). Once done, follow the procedure outlined below.
This procedure will transfer ONLY the custom message. Please note, however, that
performing STEP 2 (above) will transfer all settings, including custom messages.
1. Connect the Data Link phone jack harness to the free connector on the
front board.
2. Press the "
SET
-
UP
" button on the back of the front board.
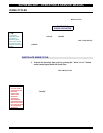
a) The following message will appear on the display,
3. Press the bottom scroll button to the right of the “
START
” button twice.
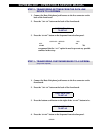
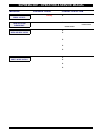
a) The following message will appear on the display,
4. Press the “
START
” button on the Suprema front selection panel.
a) The custom message in the Data Link device will now be transferred to
the Suprema "
SET
-
UP".
COPY DATA LINK
TO SET-UP
COPY DATA LINK
TO SET-UP
COPY CUSTOM MSG.
TO SET-UP


