


7-5
7-4: REPLACE TEMPERATURE PROBE (cont.)
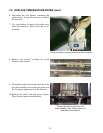
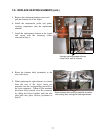
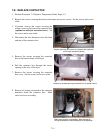
11. Place the new temperature probe assembly
onto the element and secure with the screws
removed earlier. Clip the probe onto the rear
of the element. The temperature probe
assembly should be oriented in the same
manner as the probe being replaced.
12. Thread the probe wires into the harness
connector as removed in Step 7.
13. Lower the element into the frypot.
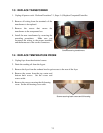
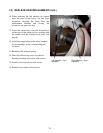
14. Place the tilt housing cover over the tilt
housing assembly and secure with screws
15. Install the top, center and bottom back covers
and secure with screws.
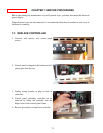
7-5: REPLACE HEATING ELEMENT
1. Perform Procedure 7-4, Replace Temperature
Probe, Steps 1-7.
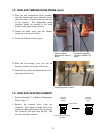
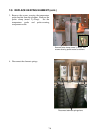
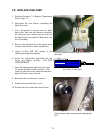
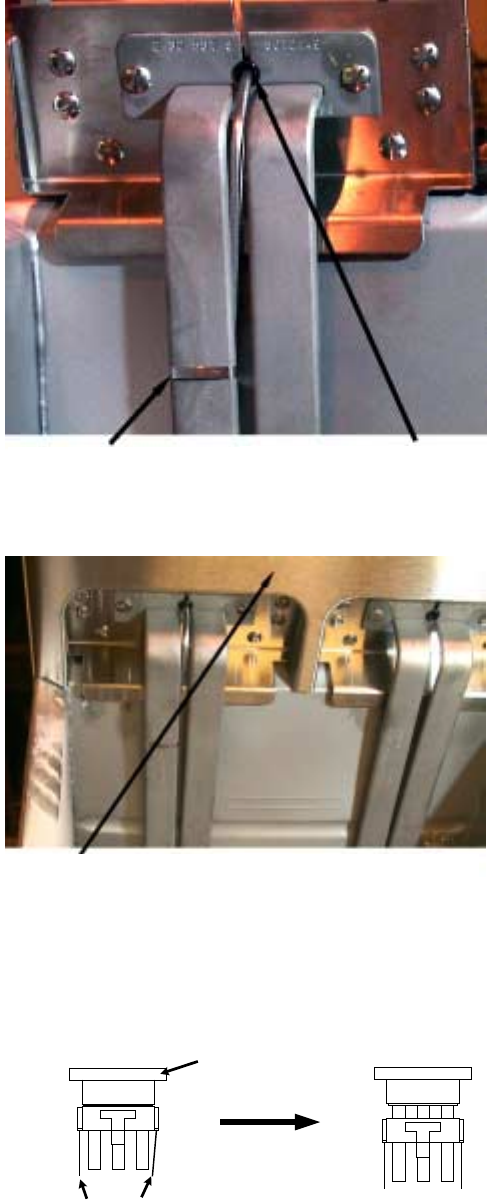
2. Remove the element wires from the
connector. Press down on either side of the
connector while pulling up on the top portion.
The connector will open from the top. Pull
all wires from the connector.
Top Portion
Harness
Connector
Closed
Harness
Connector
Open
Push in on tabs to release
top portion
Secure probe to
element with metal Ty-
Wrap
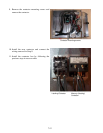
New probe assembly
properly installed in tilt
plate
Tilt housing cover in place