


7-7
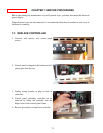
7-5: REPLACE HEATING ELEMENT (cont.)
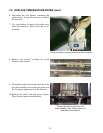
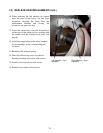
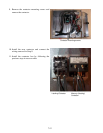
5. Remove the element mounting screws and
pull the element out of the frypot.
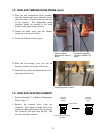
6. Install the temperature probe and probe-
securing components onto the replacement
element.
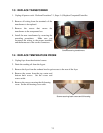
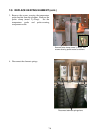
7. Install the replacement element in the frypot
and secure with the mounting screws
removed in Step 5.
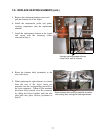
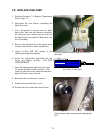
8. Route the element leads (terminals) to the
rear of the fryer.
9. When replacing the right element (as viewed
from the rear of the fryer), insert pin
terminals into the corresponding pin-holes in
the 6-pin connector. When all pin terminals
have been fully inserted, close the connector
by sliding the halves together until the tabs
snap back into place (reverse procedure in
Step 2).
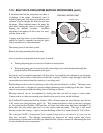
Front
Back
Element-mounting screws and nuts
(Inset Photo- back of tilt plate)
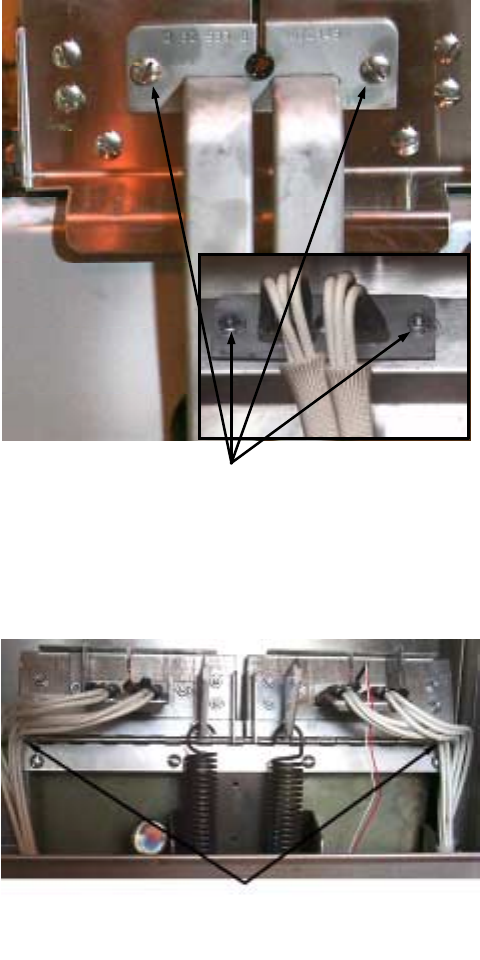
Proper element-wire routing is essential to prevent
wire chafing while raising and lowering elements.