


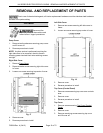
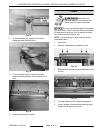


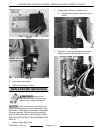

Fig. 51
6. Slide element out of wall.
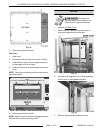
7. Clean off old gasket that may stick to wall or
washer and replace with new gasket (not
included with element).
Fig. 52
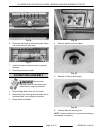
8. Reverse procedure to install.
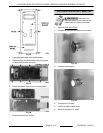
9. Torque element mounting nuts to 45in-lbs. Use
backup wrench on element inside oven to
prevent twisting and damage to element.
10. Torque nuts securing wires onto element to 14-
20in-lbs. Use a backup wrench on back nut to
prevent twisting and damage to element.
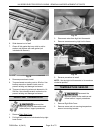
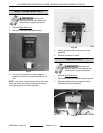
HIGH LIMIT THERMOSTAT
Disconnect the
electrical power to the machine and
follow lockout / tagout procedures.
1. Remove Right Side Cover.
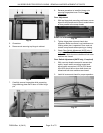
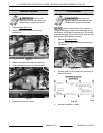
2. Pull high limit probe out of hole located in top right
hand corner.
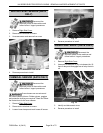
Fig. 53
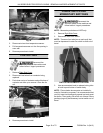
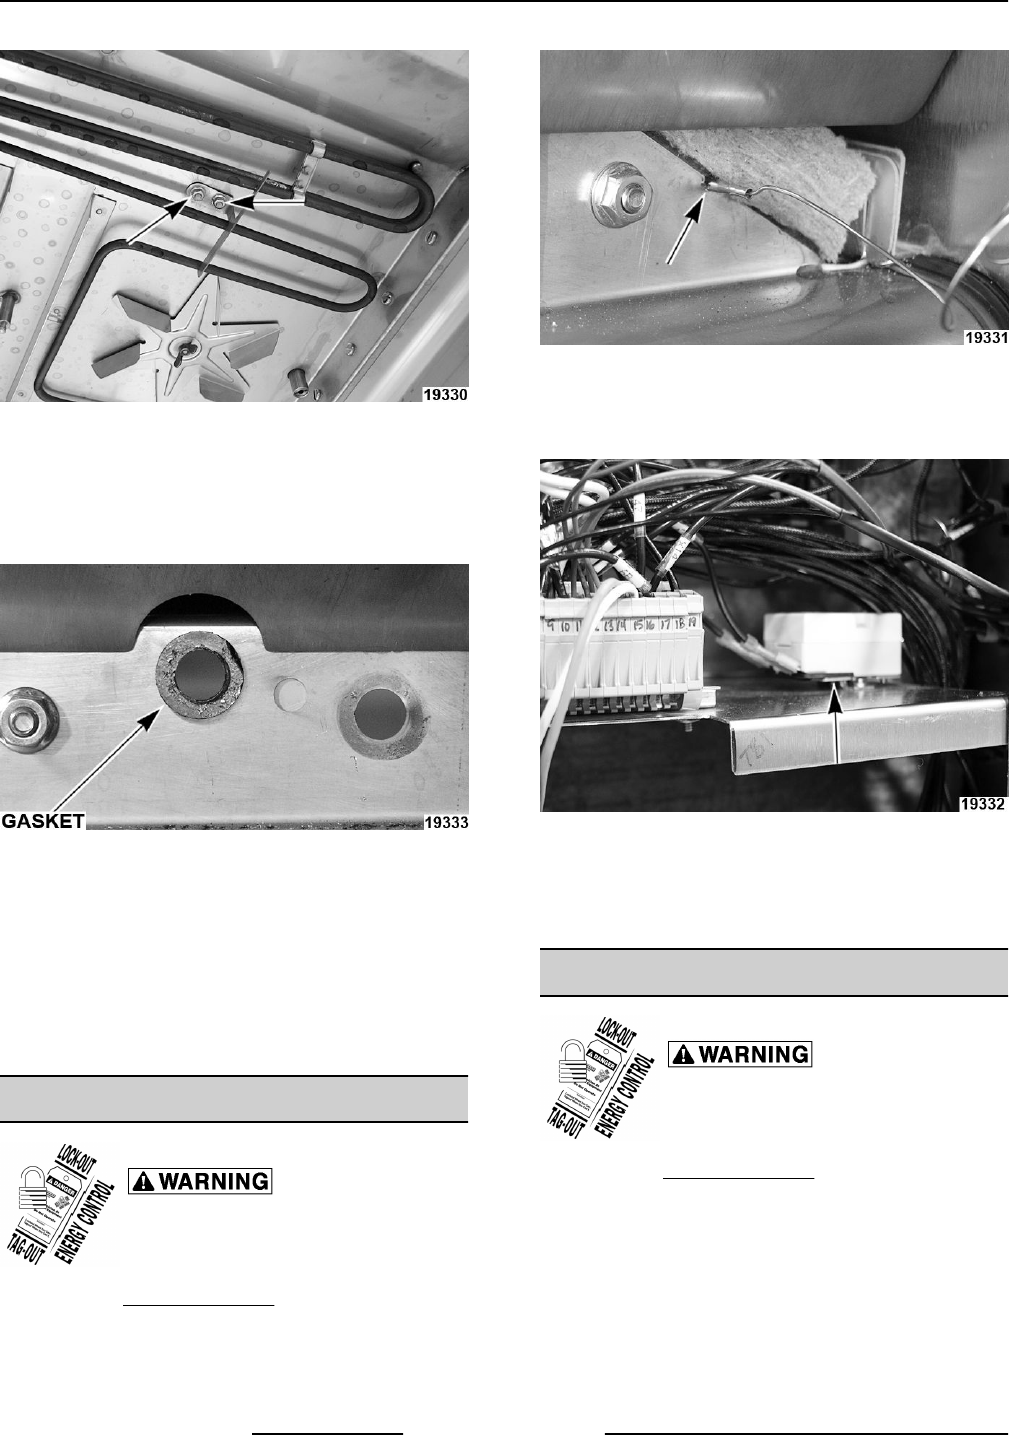
3. Disconnect wires from high limit thermostat.
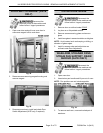
4. Remove screws securing high limit to frame.
Fig. 54
5. Reverse procedure to install.
NOTE: Set the high limit thermostat to its maximum
clockwise position.
TEMPERATURE SENSOR
Disconnect the
electrical power to the machine and
follow lockout / tagout procedures.
1. Remove Right Side Cover.
2. Remove screw and nut securing temperature
sensor to mounting bracket.
KA SERIES ELECTRIC ROTARY OVENS - REMOVAL AND REPLACEMENT OF PARTS
F25294 Rev. A (0412) Page 18 of 72