14
EMC Departmental Switches DS-16M2 and DS-32M2 Installation Guide
Installing the DS-16M and DS-32M Rails
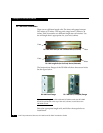
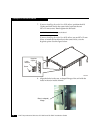
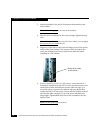
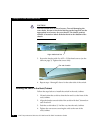
3. Adjust the length of the rail to fit between the channels in the
rack/cabinet.
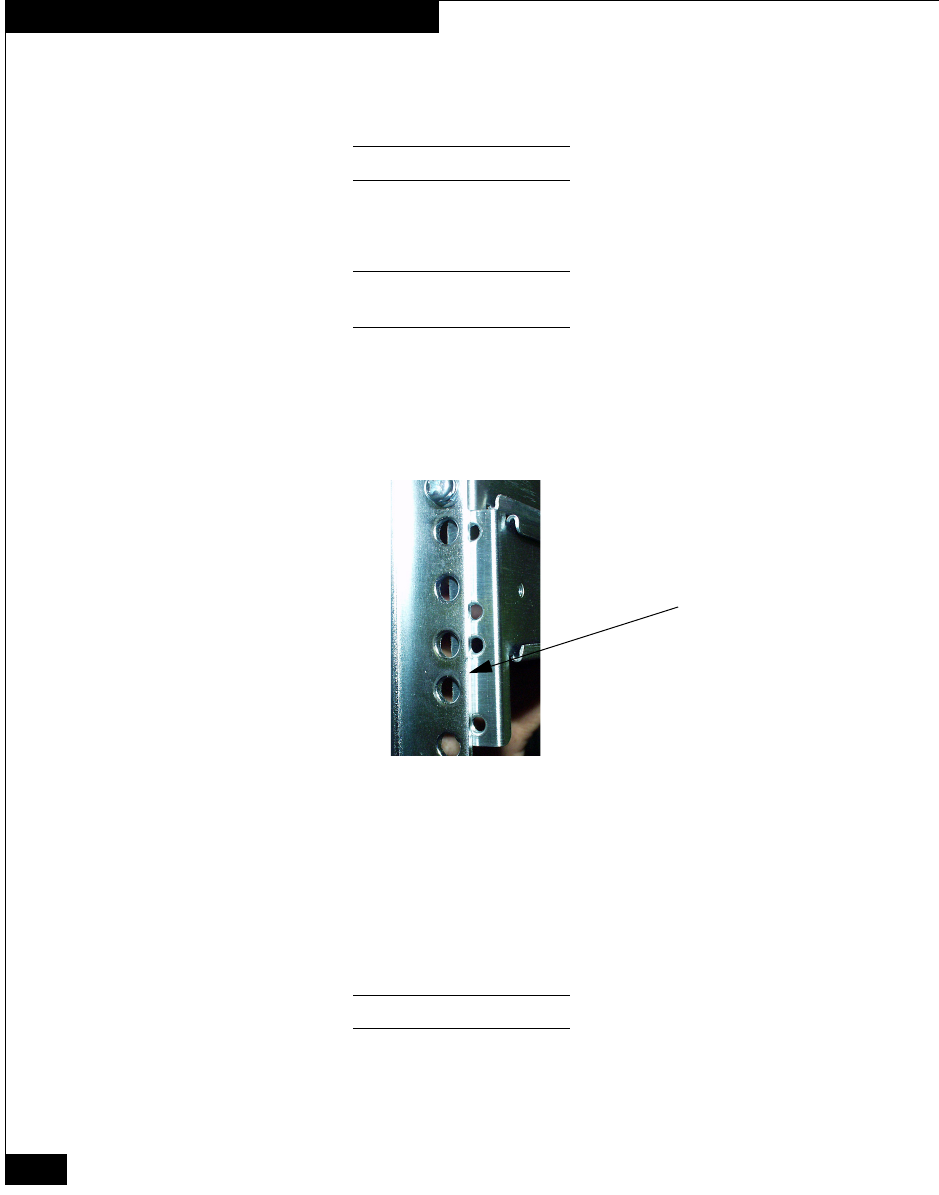
NOTE: The rail flanges go to the inside of the channels.
4. Once the rails are adjusted to the correct length, tighten the kep
nuts.
NOTE: If the side skins are removed on the rack/cabinet, you can tighten
the kep nuts after you install the rails.
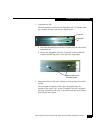
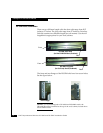
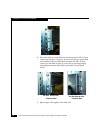
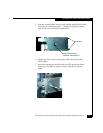
5. Align two of the holes of the front rail flange to two holes on the
inside of the front channel. The top screw hole is used for the
screw; the bottom screw hole is used for the ball stud when
installing in a 39U cabinet.
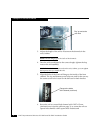
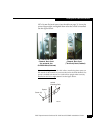
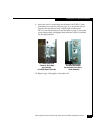
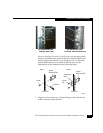
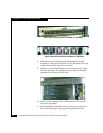
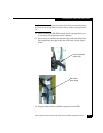
6. If you are installing a switch in a 39U cabinet, secure the rail to a
round-hole channel with one M5 x 12 mm pan-head screws and
one #10 flat washer and ball stud (see the table on page 3), or
secure the rail to a square-hole channel with one square-hole
washer and M5 x 16 mm screw and one #10 flat washer and ball
stud (see the table on page 3). Leave the screw and ball stud
finger-tight. Tighten them after the switch is installed. See the
figures below.
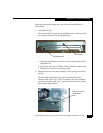
NOTE: The ball studs support the bezel.
Flange to the inside
of the channel


