u
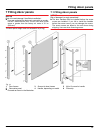
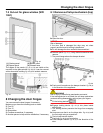
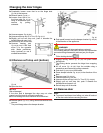
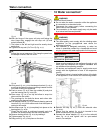
Completely loosen cover that is on the hinge side
Fig. 26 (5)
and remove.
u
Remove panel
Fig. 26 (1)
.
u
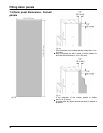
Loosen cover that is on
the hinge side
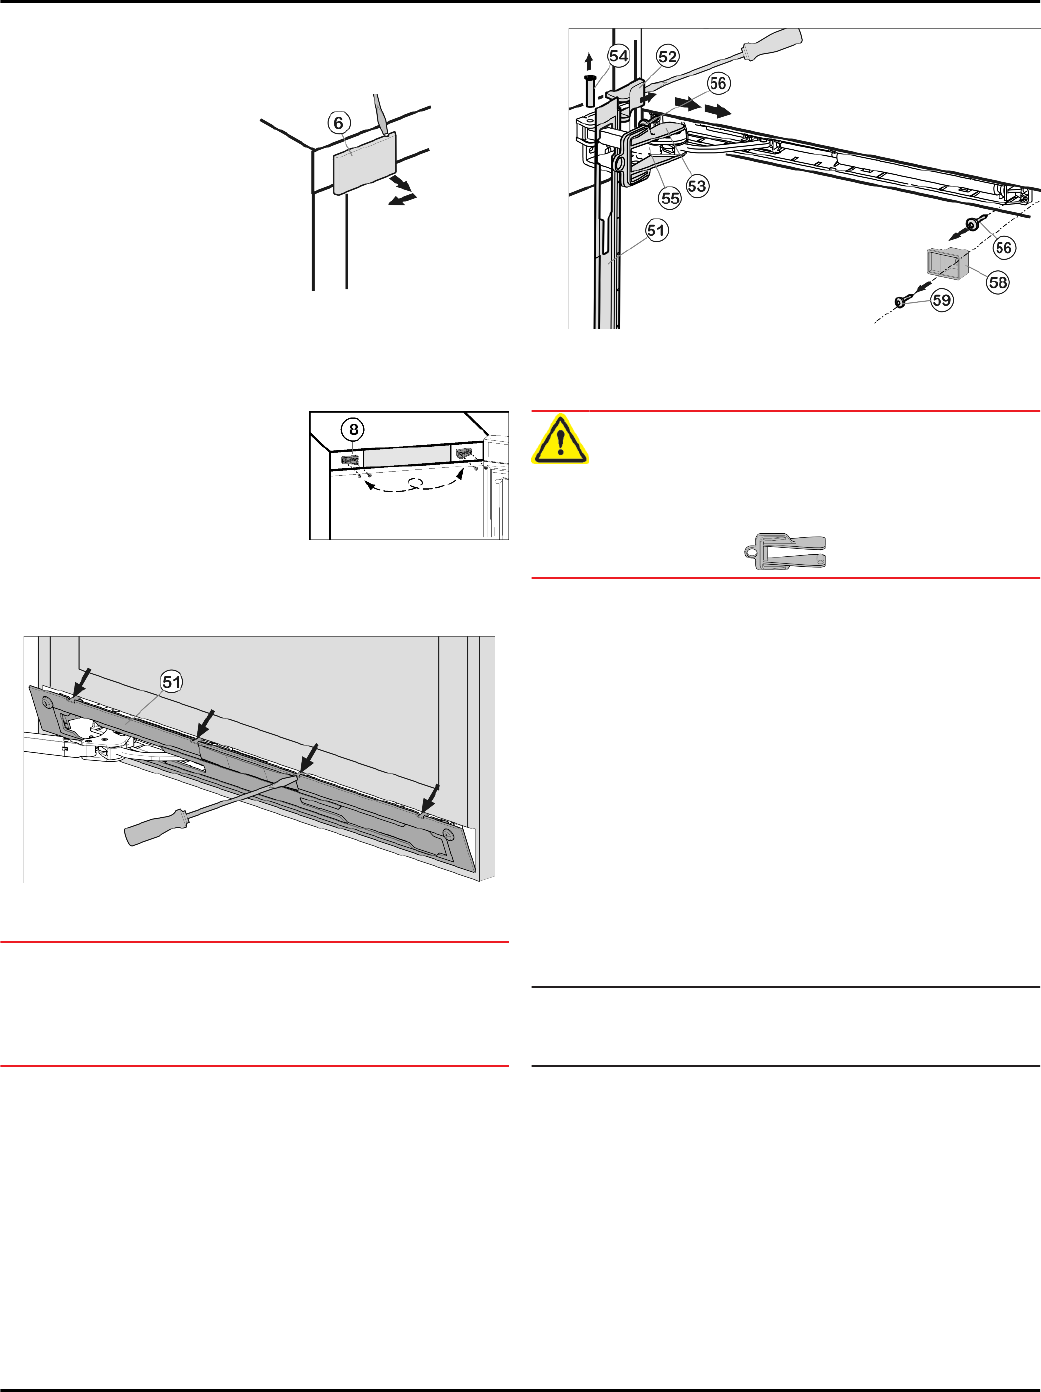
Fig. 27 (6)
using a screwdriver and
remove by pulling
outwards.
Fig. 27
u
Unscrew spacer
Fig. 26 (60)
.
u
Unscrew soft stop unit (2 x Torx 15)
Fig. 26 (7)
.
u
Slightly pull out soft stop unit, push it towards the
handle side and open it out.
u
Set soft stop unit to the side.
u
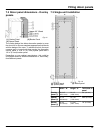
Unscrew bearing part
Fig. 28 (8)
, turn it 180° and
move it to the opposite
side. Make preliminary
holes (optional) or use a
cordless screwdriver.
Fig. 28
8.2 Remove soft stop unit (bottom)
Fig. 29
u
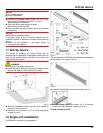
Open the door.
NOTICE
Risk of damage!
If the door seal is damaged the door may not close
properly and the level of cooling is insufficient.
u
Do not damage the door seal with the screwdriver!
u
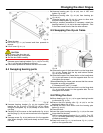
Release panel
Fig. 29 (1)
using slotted screwdriver and
remove.
w
The panel hangs above the damper bracket.
Fig. 30
u
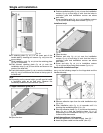
Push panel forward over the damper bracket
Fig. 30 (55)
in the direction of the appliance.
WARNING
Risk of injury if the soft stop mechanism contracts!
If the locking device is not fitted, the soft stop mechanism
contracts during disassembly and can jam your fingers.
u
Fit the locking device!
u
Engage locking device
Fig. 30 (53)
into place inside
oblong hole.
w
The locking device prevents the hinge from snapping
shut.
u
Lift off cover
Fig. 30 (52)
from the outside using a
screwdriver and remove by pulling outwards.
u
Push bolt
Fig. 30 (54)
out from below.
u
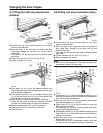
Press damper bracket
Fig. 30 (55)
in the direction of the
door.
u
Remove panel
Fig. 30 (51)
.
u
Unscrew spacer
Fig. 30 (58)
.
u
Unscrew entire soft stop unit (2 x Torx 15)
Fig. 30 (56)
.
u
Slightly pull out soft stop unit, push it towards the
handle side and open it out.
u
Set soft stop unit to the side.
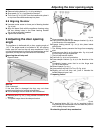
8.3 Remove door
Note*
u
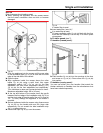
To prevent food items from falling out, take all food out
of the door racks before removing the door.
Changing the door hinges
20


