NOTICE
Risk of damage due to leaking water!
u
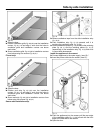
When pushing the appliance into the recess ensure
that the water connection does not kink or become
damaged.
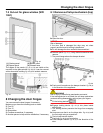
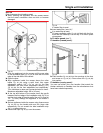
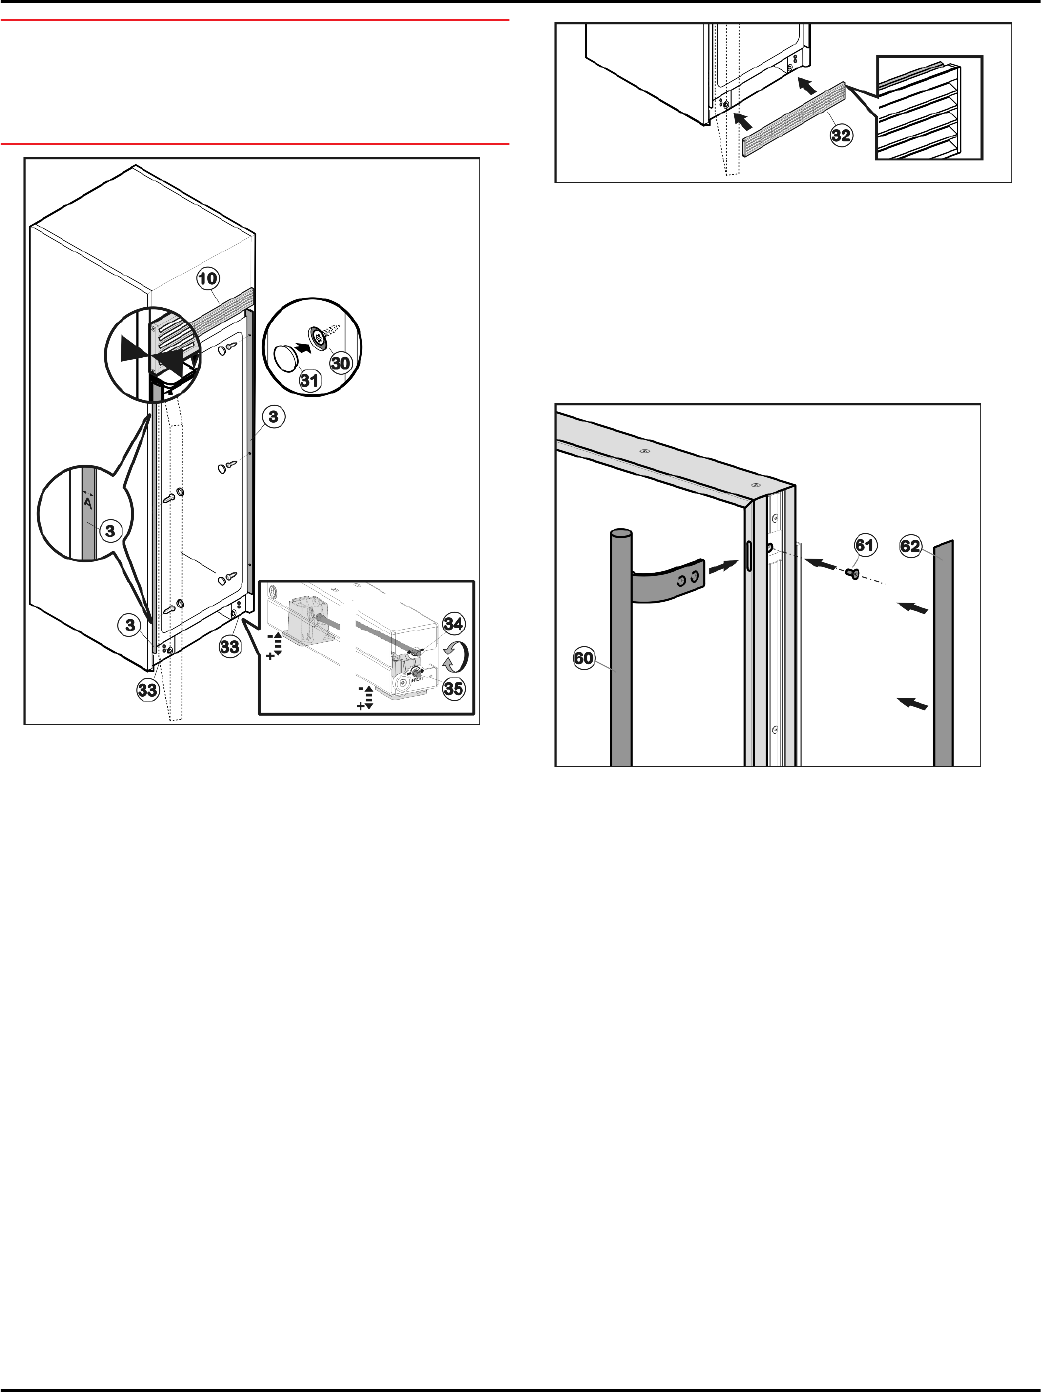
Fig. 52
u
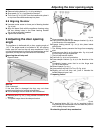
Push the appliance into the recess until the rear edge
of the ventilation grille
Fig. 52 (10)
is flush with the front
edge of the side wall of the cabinet.
u
Open the door.
u
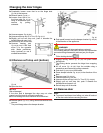
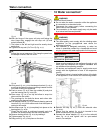
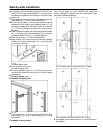
Align appliance inside the recess above the roller
bases
Fig. 52 (33)
using a spirit level: Use upper
adjustment setting (1/4”)
Fig. 52 (34)
for the rear
adjustable foot and lower adjustment setting (1/4”)
Fig. 52 (35)
for the front adjustable foot respectively.
Turn clockwise to raise and counterclockwise to lower.
Maximum adjustable height: 5/8 in (16 mm).
u
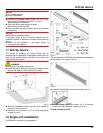
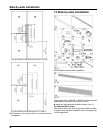
At the top and bottom of the recess check the gap A
between the front edge of the installation strip
Fig. 52 (3)
and the front edge of the side wall of the unit. It must be
1/2 ” (13 mm). Realign the appliance in the recess if
required.
u
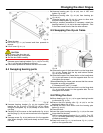
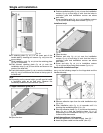
Secure appliance inside the recess using three screws
Fig. 52 (30)
on the handle side and the hinge side
respectively. Do not scratch the side installation strip
Fig. 51 (3)
when doing so.
u
Place cover caps
Fig. 52 (31)
over the screws.
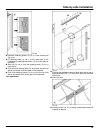
Fig. 53
If a water filter is used:
u
Insert water filter (see 14) .*
If no water filter is used:
u
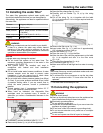
Fit lower ventilation grille
Fig. 53 (32)
flush with the floor
such that the rubber lip is at the top. It is held in place
via magnets.
u
Fit décor panels (see 7) .
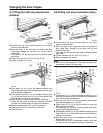
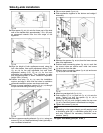
Fit handles (framed panel):
Fig. 54
u
Push handles
Fig. 54 (60)
into the openings in the door
and screw on
Fig. 54 (61)
. Press cover trim
Fig. 54 (62)
into position.
Fit handles (overlay panel):
You can use either your own handles (that match the
kitchen cabinets) or handles from the manufacturer that
have been ordered separately.
Single unit installation
27


