14 Installing the water filter*
The water filter guarantees optimal water quality and
should be installed the first time you use the appliance.
Alternatively, the appliance can also be operated without
the water filter.
Flow rate 0.5 gpm (1.89 lpm)
Water connection Drinking water
Water pressure 40 psi - 90 psi ( 2.8 bar - 6.2 bar/ 0.28 MPa
- 0.62 MPa )
Water temperature 33 °F - 100 °F ( 0.6 °C - 37 °C )
Capacity 300 gal. (1.14 l)
WARNING
Consuming contaminants can be harmful to your health!
u
If there is a chance the water may contain harmful
bacteria or if the water quality is unknown, do not use
this system without appropriate disinfection measures
upstream or downstream of the system.
NOTICE
Leakage water may damage the system!
u
Do not install this system on hot water lines. The
maximum operating temperature of the water in this
system is 100 °F (37.7 °C).
u
This system MUST be installed and used in
compliance with federal and local installation
regulations.
u
Do not install under water hammer conditions. A water
hammer arrestor must be used to prevent water
hammering. If you are unsure how to check these
conditions, consult a professional installer.
u
Do not install with a water pressure greater than 90 psi
(6.2 bar). If your water pressure exceeds 80 psi, install
a pressure limiting valve. If you are unsure how to
check the water pressure, consult a professional
installer.
u
Protect against frost; if temperatures below 33 °F
(0.6 °C) are expected, remove the filter.
u
When used as indicated, the disposable filter
cartridges must be replaced every 6 months or
whenever you notice a considerable decrease in the
flow rate.
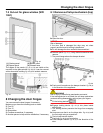
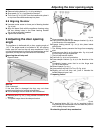
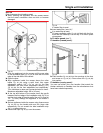
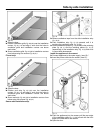
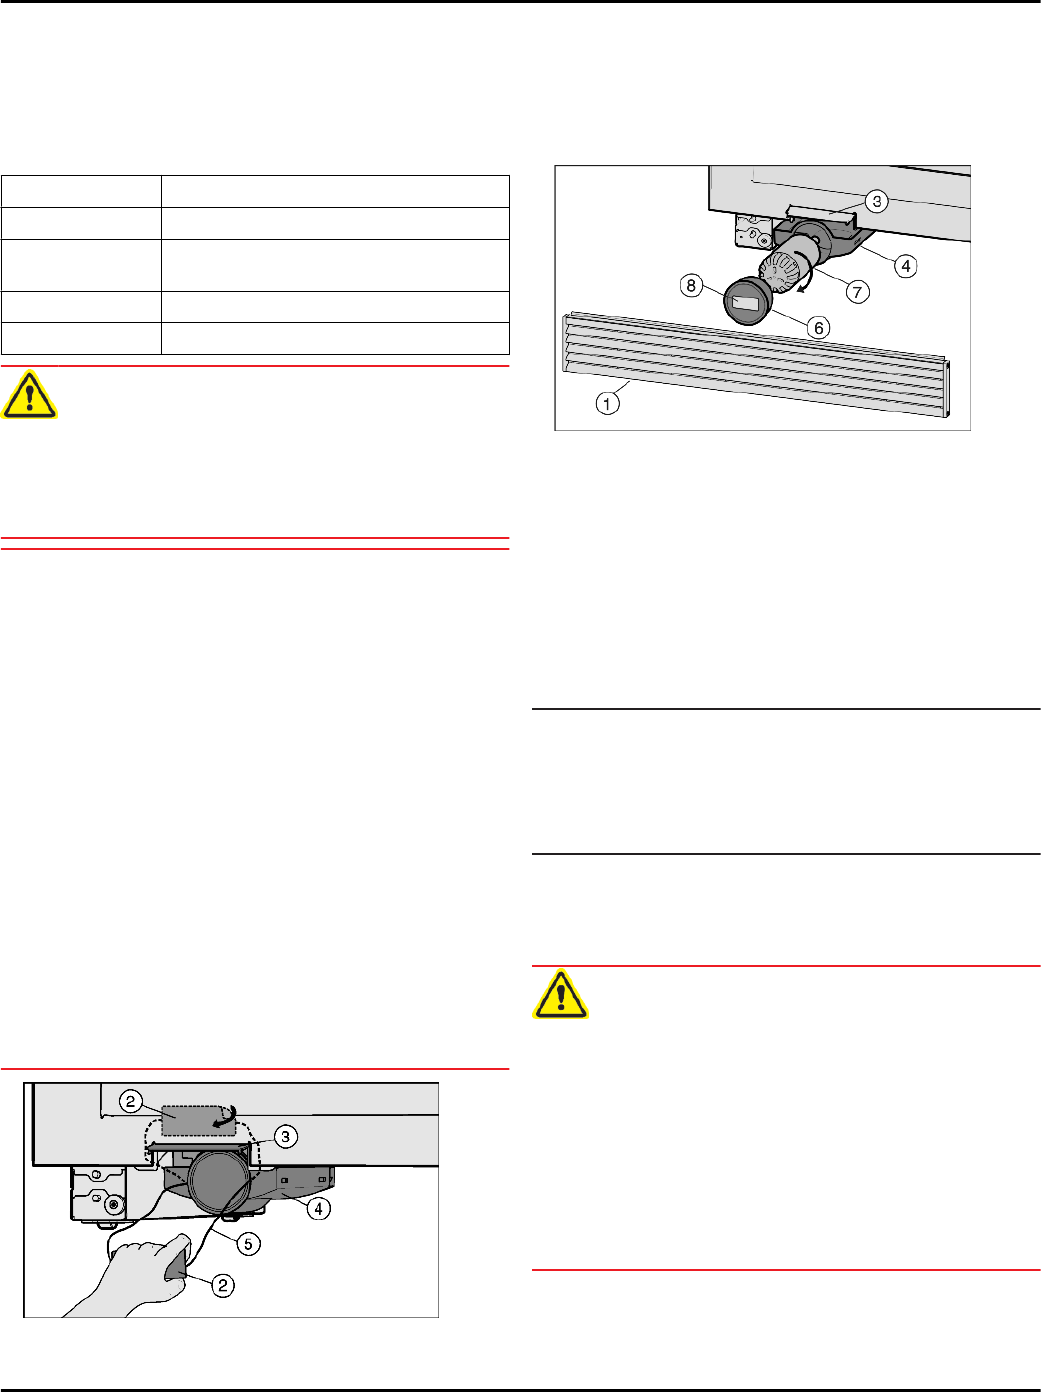
Fig. 76
u
If necessary, remove ventilation grille
Fig. 77 (1)
.
u
Remove any labels
Fig. 76 (2)
from the appliance.
u
Open the filter change flap
Fig. 76 (3)
.
u
Carefully pull out drawer
Fig. 76 (4)
by the string
Fig. 76 (5)
.
u
Cut off the string
Fig. 76 (5)
together with the label
Fig. 76 (2)
and pull out. It is no longer required and can
be disposed of.
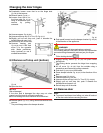
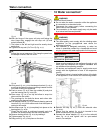
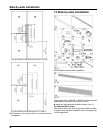
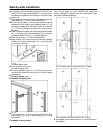
Fig. 77
u
Remove the filter cover
Fig. 77 (6)
.
u
Insert water filter
Fig. 77 (7)
and turn it approximately
100° clockwise as far as it will go.
u
Insert the drawer
Fig. 77 (4)
.
u
Place the cover
Fig. 77 (6)
on the filter.
u
Write the date of the next filter replacement on the label
Fig. 77 (8)
supplied and affix it to the filter cover
Fig. 77 (6)
.
u
Close the filter change flap
Fig. 76 (3)
.
u
Fit ventilation grille
Fig. 77 (1)
.
u
Make sure the filter is leak-tight and no water is coming
out.
Note
New water filters may contain particulate matter and must
be rinsed through before use.
u
To achieve this, do not consume or use the ice cubes
that are produced within 72 hours after the filter is
replaced.
w
The water filter is now ready for use.
15 Connecting the appliance
WARNING
Electrical shock hazard!
u
Start-up should only take place once the appliance has
been installed according to these instructions.
u
Electrically ground appliance.
u
Do not ground to a gas pipe.
u
Check with a qualified electrician if you are not sure the
appliance is properly grounded.
u
Do not have a fuse in the neutral or grounding circuit.
u
Do not use an extension cord, power bar or a multiple
socket adapter.
u
Do not use a power cord that is frayed or damaged.
Installing the water filter
33


