52 Sharpdesk User’s Guide
Displaying an Image Document
This section describes how to open an image document, change the display attributes, display and
resize thumbnails, and create a contact sheet.
Opening the Document
1. On the File menu, click Open. The Open dialog box appears.
2. Navigate to the folder where you installed Sharpdesk Imaging. (The default location is
C:\Program Files\Sharp\Sharpdesk\Imaging.)
3. Open the Samples folder.
4. Select CHAPTER1.TIF and then click Open. The image of a text document appears.
5. On the View menu, click on One Page.
Changing the Display
1. Change the size of the display window in the vertical and horizontal directions to suit your
preference.
2. On the Zoom menu, choose different options to resize the document to fit in the display
window. When you change the size of the document, its height to width ratio is maintained.
a) Click Fit to Height to view the full height of the document page.
b) Click Fit to Width to display the full width of the page.
c) Click Pixel to Pixel. If the entire page does not fit into the display window, scroll
bars appear along the right side and/or bottom.
d) Click Best Fit. This is often the optimum setting.
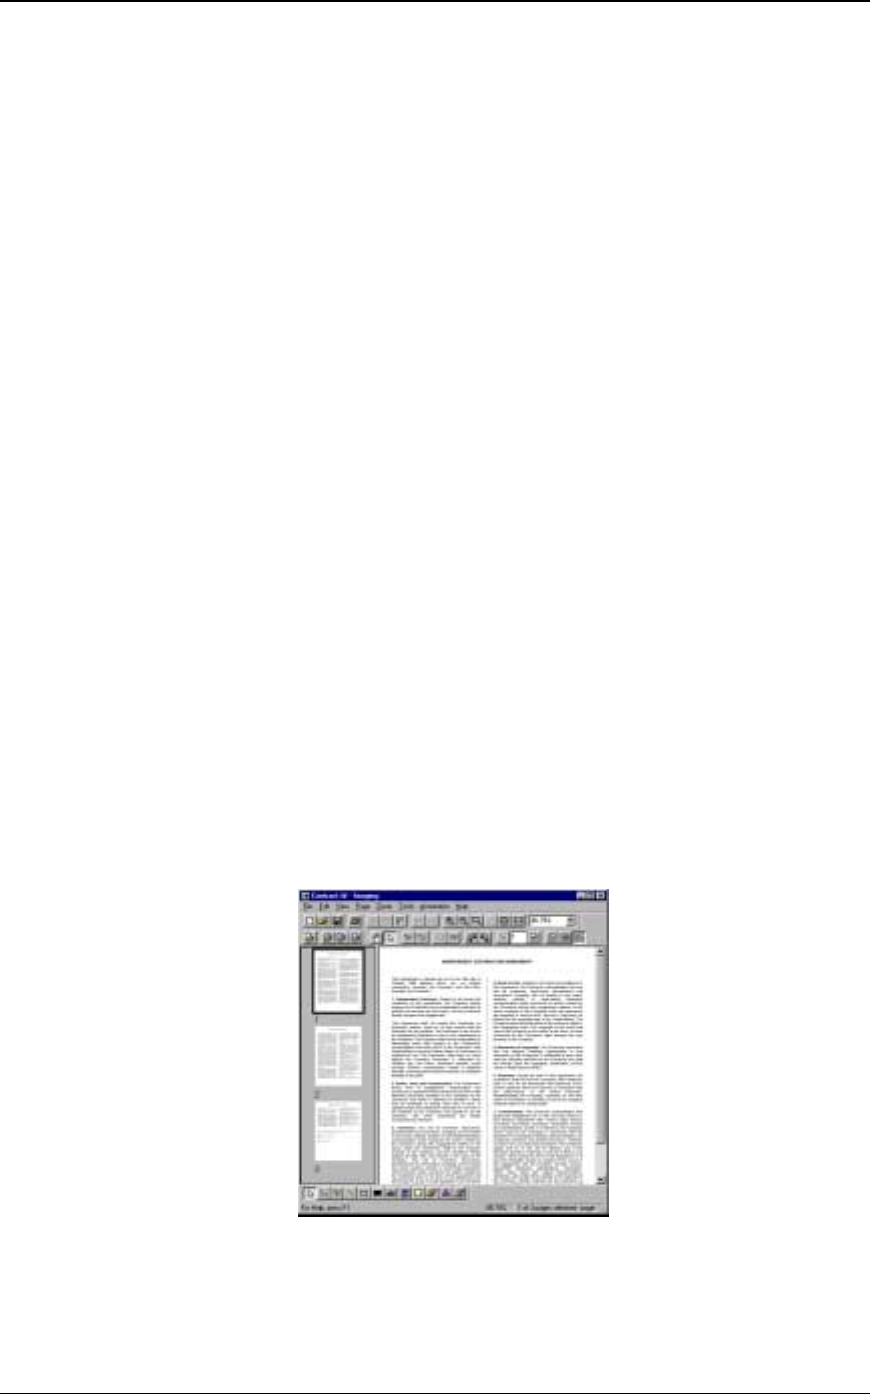
3. On the View menu, click Page and Thumbnails. Thumbnails of pages in the document are
displayed in a window next to the page view. The selected thumbnail has a border around it.
4. Position the pointer over the vertical bar separating the Thumbnail and Page windows and
picture. When the pointer changes shape, hold down the left mouse button and then drag the
bar left or right to resize each window.
Sizing Windows Dialog Box
NOTE:
On the Tools menu, click Magnifier if you want to enlarge only a portion of the document page.
