


MODEL C24EA - HEAT EXCHANGER ELEMENTS AND RELAYS
F35453 (July 2008)Page 19 of 68
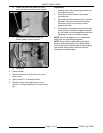
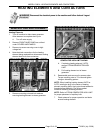
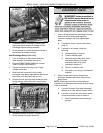
6. Reassemble parts removed in reverse order.
Apply pipe thread sealant to threads of heat
exchanger element before assembly.
7. Check steamer for proper operation and leaks
around heat exchanger element.
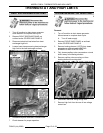
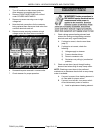
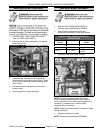
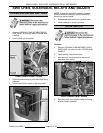
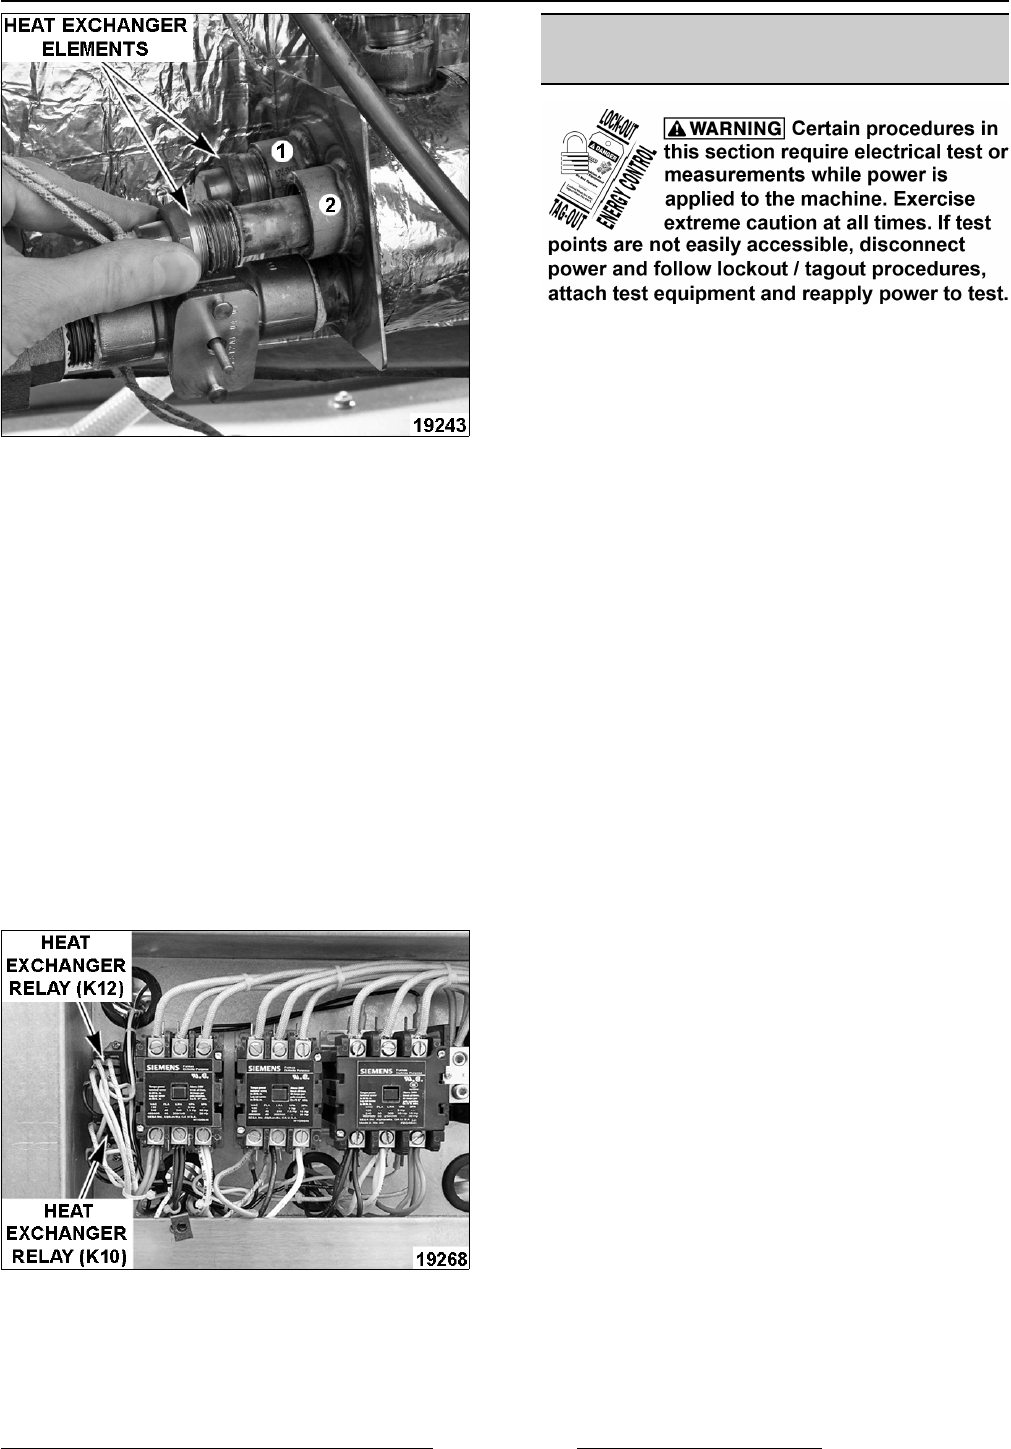
Heat Exchanger Relays (K10, K12)
1. Turn off machine to drain steam generator.
Allow steamer to complete drain cycle.
2. Remove FRONT BASE PANEL as outlined
under COVERS AND PANELS.
3. Remove top screw securing cover to high
voltage control box.
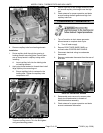
4. Note electrical connections for the heat
exchanger relay being replaced then disconnect
lead wires from relay terminals and coil.
5. Remove screws securing heat exchanger relay
to high voltage control box then remove relay.
6. Reassemble parts removed in reverse order.
7. Check steamer for proper operation.
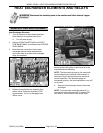
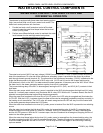
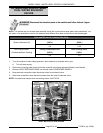
HEAT EXCHANGER ELEMENTS
DIAGNOSTIC CHECK
1. Check voltage across heat exchanger element
lead wires at the limiting and regulating
contactor terminals and verify against data
plate.
A. If voltage is correct, check current draw
(step 2).
B. If voltage is not correct, check the
following:
1) Voltage supply to steamer.
2) Fuses or breaker open.
3) Heat exchanger relay (K10) (heat
exchanger element 1) or heat
exchanger relay (K12) (heat
exchanger element 2).
4) Power to contactor coils.
5) Contactors not pulling in (mechanical
problem)
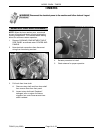
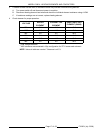
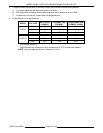
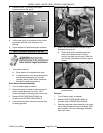
2. Check current draw (amps) through heat
exchanger element lead wires using an amp
clamp meter.
NOTE: Checking current draw is the preferred
method over a resistance check when an amp clamp
meter is available.
A. If current is correct, then heat exchanger
element is ok. See table for proper values.
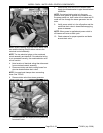
B. If current is not correct, turn power switch
off and disconnect power to machine.
1) Install replacement heat exchanger
element.