MODEL C24EA - SWITCHES, SOLENOIDS, RELAY, AND BUZZER
F35453 (July 2008)Page 29 of 68
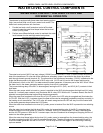
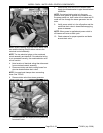
B. Check cut-out pressure after making
adjustment. Repeat Check and Adjustment
as necessary until cut-out pressure is
within 3.5 to 3.7 psi.
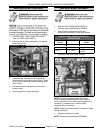
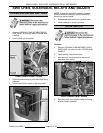
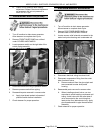
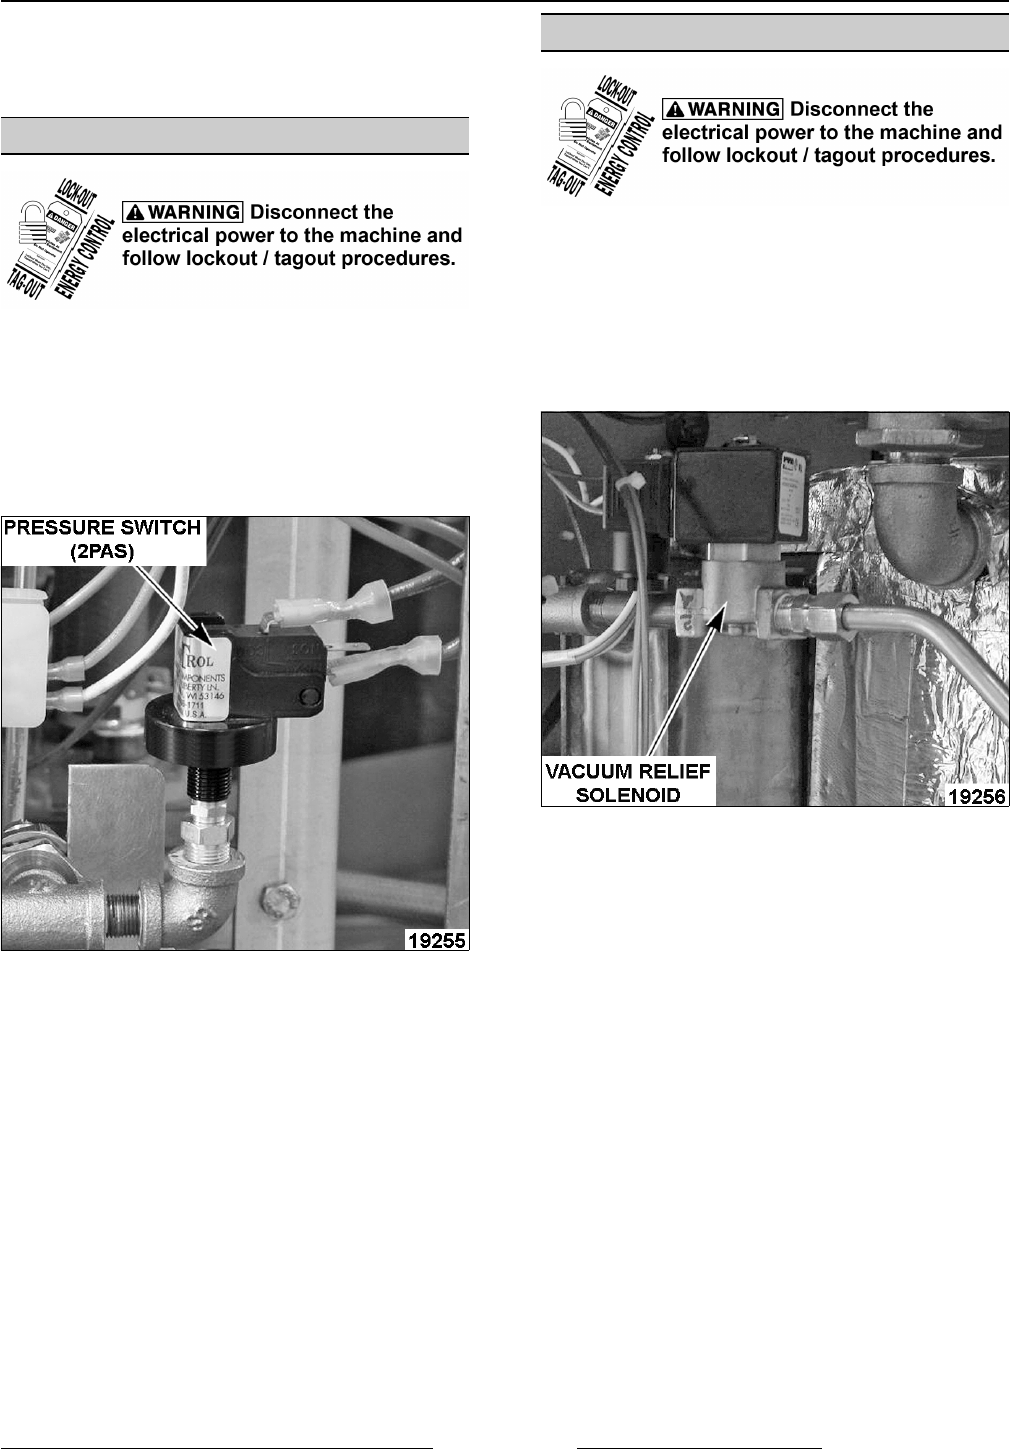
PRESSURE SWITCH (2PAS)
1. Turn off machine to drain steam generator.
Allow steamer to complete drain cycle.
2. Remove FRONT BASE PANEL as outlined
under COVERS AND PANELS.
3. Locate pressure switch on the right side of the
switch piping assembly.
4. Disconnect electrical wiring to pressure switch.
5. Remove pressure switch from piping.
6. Reassemble parts removed in reverse order.
A. Apply pipe thread sealant to threads of
pressure switch before installation.
7. Check steamer for proper operation.
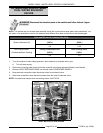
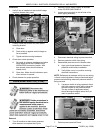
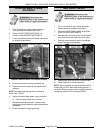
VACUUM RELIEF SOLENOID
1. Turn off machine to drain steam generator.
Allow steamer to complete drain cycle.
2. Remove RIGHT SIDE BASE PANEL as
outlined under COVERS AND PANELS.
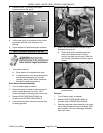
3. Locate vacuum relief solenoid connected to the
water level probe housing and condensate coil.
4. Disconnect electrical wiring to solenoid coil.
5. Disconnect compression fitting from the outlet
side of solenoid valve.
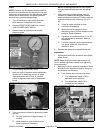
A. Remove solenoid from the pipe nipple and
tee connected to water level probe
housing.
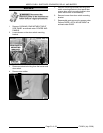
6. Reassemble parts removed in reverse order.
A. When installing solenoid valve, use two
wrenches to avoid bending condensate coil
tubing. Install valve with the outlet side of
valve connected to the vent tubing that
leads to the floor (behind drain box). Apply
pipe thread sealant to pipe threads before
assembly.
7. Check steamer for proper operation.


