


MODEL C24EA - HEAT EXCHANGER
F35453 (July 2008) Page 42 of 68
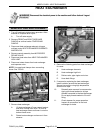
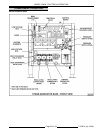
HEAT EXCHANGER
REMOVAL AND REPLACEMENT
1. Turn off machine to drain steam generator. Allow
steamer to complete drain cycle.
A. Turn off water supply.
2. Remove FRONT and RIGHT SIDE BASE
PANELS as outlined under COVERS AND
PANELS.
3. Disconnect heat exchanger element wiring as
outlined under HEAT EXCHANGER ELEMENTS
AND RELAYS.
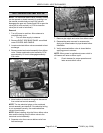
4. Remove control assembly from MOTORIZED
DELIME VALVE.
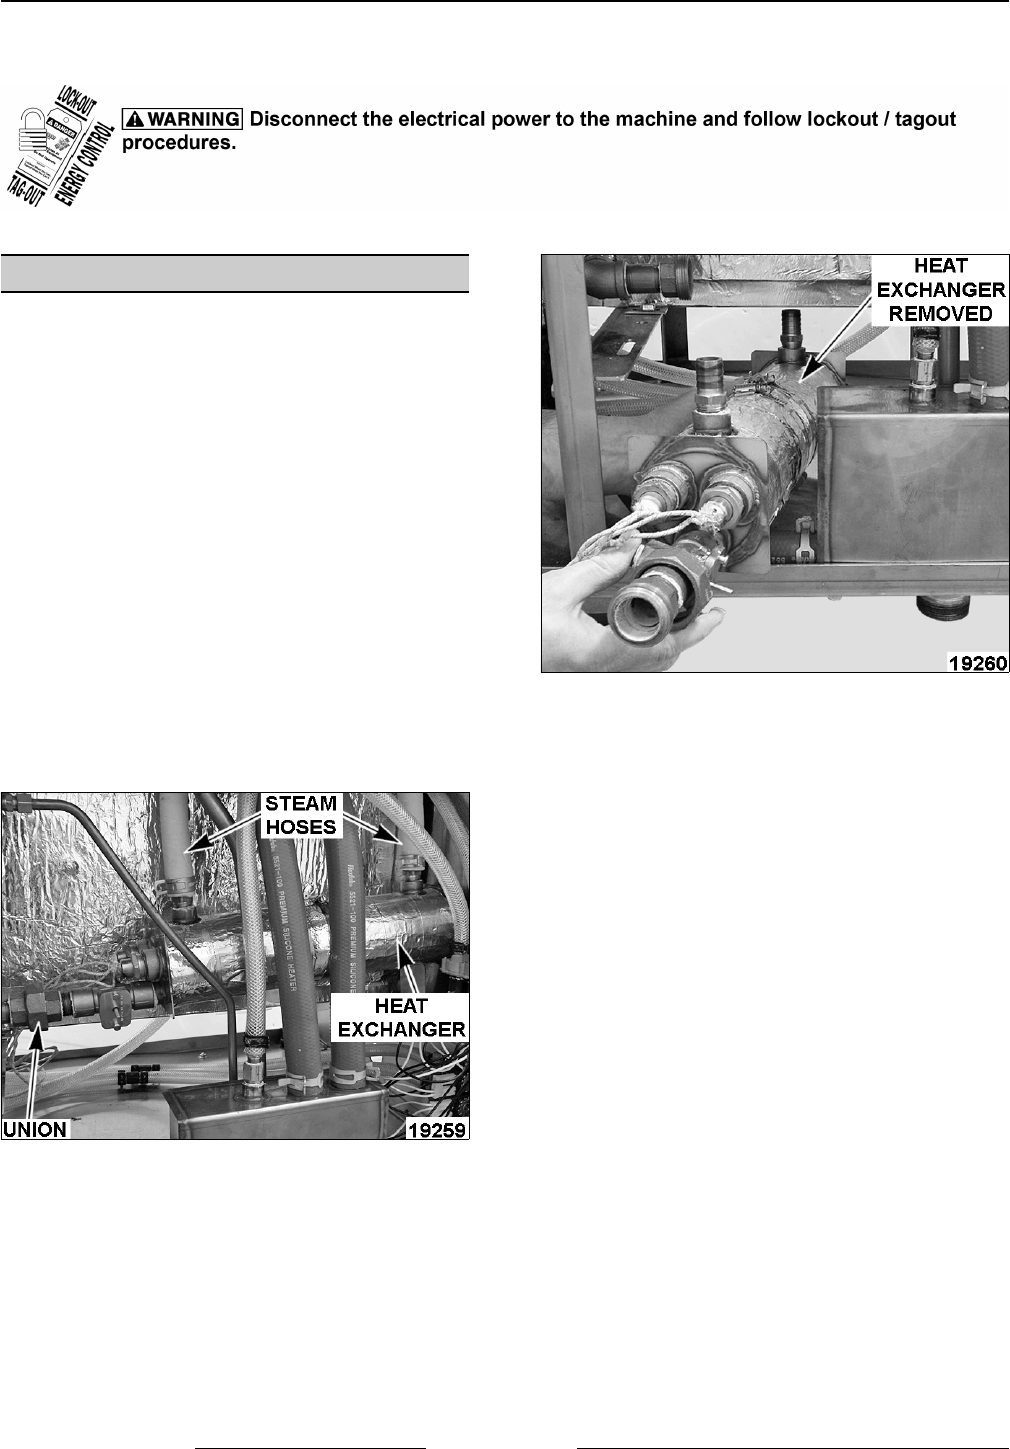
5. Disconnect lead wires from HEAT EXCHANGER
HIGH LIMIT.
6. Disconnect steam hoses from heat exchanger
and separate union.
NOTE: Use new band clamps when connecting
hoses. See TOOLS.
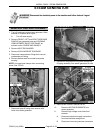
7. Remove heat exchanger.
A. Lift heat exchanger off rear support bracket
and move it away from union. Tilt front of
heat exchanger down and lower it onto the
bottom frame cover.
B. Rotate heat exchanger and remove it from
steamer.
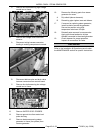
8. Remove the following parts from heat exchanger
for reuse:
A. Heat exchanger elements.
B. Heat exchanger high limit.
C. Delime valve, pipe nipple and union.
D. Hose barb fittings.
9. If removed or replacing the heat exchanger,
install insulation around the heat exchanger.
Secure into position using high temperature
aluminum foil tape.
10. Reinstall parts removed in reverse order.
Apply pipe thread sealant to all pipe
threads connected to the heat exchanger.
Do not apply thread sealant to fill union
fitting.
11. Check steamer for proper operation.
Inspect all connections to the heat
exchanger for leaks.