3-13SGS 408 Switcher • Operation
Using the Image Controls
The LCD front panel controls allow you to make adjustments to the displayed
image.
To access the image controls, press the button below the name of the control at
the bottom of the LCD screen (see item 5 in figure 3-2). The first time the button is
pressed, the image control for the preview image is selected. Pressing the same
control button a second time will select the program image.
After you have selected the desired control, the choices that are available for the
control appear. Turn the front panel adjustment knobs to adjust the item you
want to change. The right knob controls the top item, and the left knob controls
the bottom item.
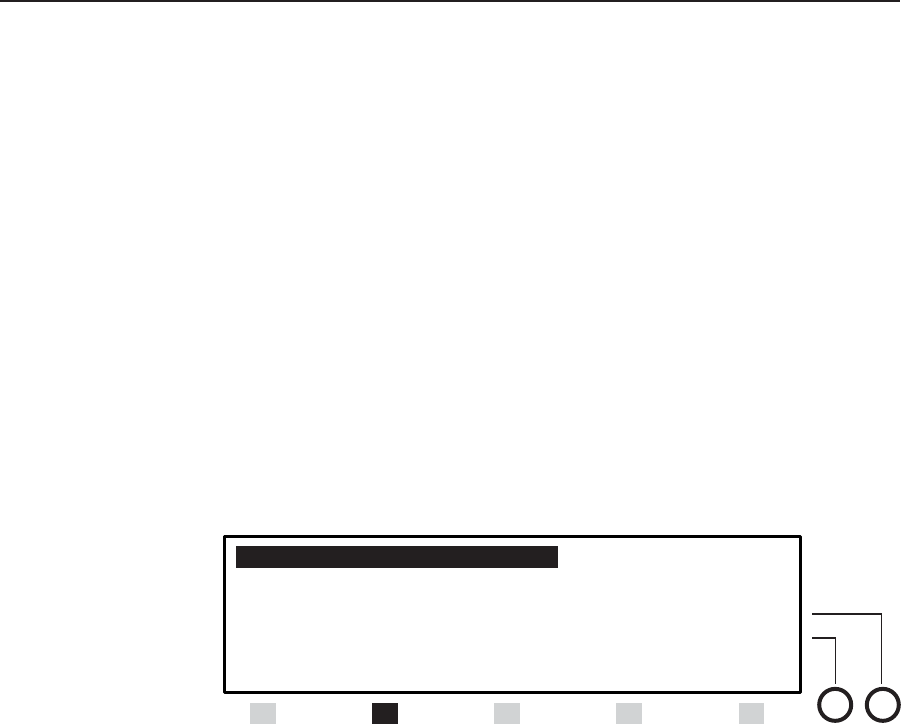
Centering an image
To center an image, do the following:
1. From the default screen, press the Center button (figure 3-26). The preview
input is highlighted.
Figure 3-26 — Centering an image
2. If you want to center the program input, press the Center button again.
3. To adjust the vertical location of the image, turn the left adjustment knob.
To adjust the horizontal location of the image, turn the right adjustment
knob. The adjustment settings range from Min (lowest) to Max (highest). If
no input signal is present, V shift will indicate a Def (default) setting.
Sizing an image
To adjust the size of an image, do the following:
1. From the default screen, press the Size button (figure 3-27). The preview
input is highlighted.
2. If you want to size the program input, press the Size button again.
3. To change the vertical size (height) of the image, turn the left adjustment
knob. To change the horizontal size (width) of the image, turn the right
adjustment knob. The adjustment settings range from Min (lowest) to Max
(highest).
8 XXX.XX KHz XX.XX Hz Dissolve
4 XXX.XX KHz XX.XX Hz N/A
1280 X 1024 @ 60 Hz H Shift Max
True(DVI) only V Shift Def
Menu Center Size Filter Level