Operation, cont’d
SGS 408 Switcher • Operation3-14
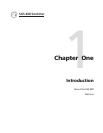
Figure 3-27 — Sizing an image.
Filtering an image
To apply a filter to an image, do the following:
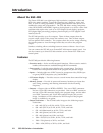
1. From the default screen, press the Filter button (figure 3-28). The preview
input is highlighted.
Figure 3-28 — Applying a filter to an image
2. If you want to apply a filter to the program input, press the Filter button
again.
3. To change the vertical filter, turn the left adjustment knob. Eight levels of
vertical filter are available where Def (0) is the default, then 1 thru 6, and
Max (7) is the maximum. Choose the filter that provides the most
improvement to the image detail.
4. To change the horizontal filter level, turn the right adjustment knob. Eight
levels of horizontal filter are available where Def (0) is the default, then 1
thru 6, and Max (7) is the maximum. Choose the filter that provides the
sharpest image.
Adjusting contrast and brightness
To adjust the contrast or brightness of an image, do the following:
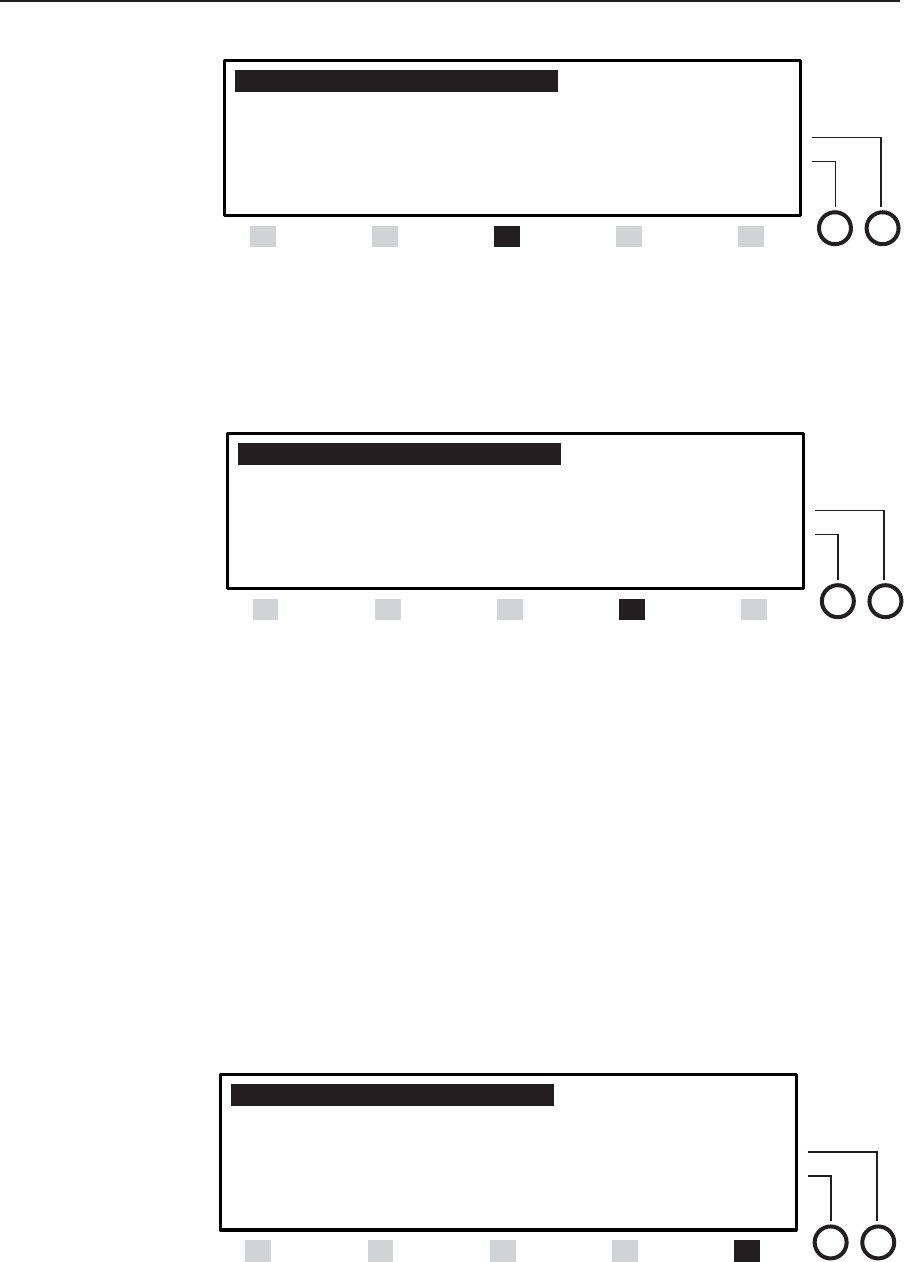
1. From the default screen, press the Level button (figure 3-29). The preview
input is highlighted.
Figure 3-29 — Adjusting contrast and brightness
8 XXX.XX KHz XX.XX Hz Dissolve
4 XXX.XX KHz XX.XX Hz N/A
1280 X 1024 @ 60 Hz Bright Min
True(DVI) only Contrast +029
Menu Center Size Filter Level
8 XXX.XX KHz XX.XX Hz Dissolve
4 XXX.XX KHz XX.XX Hz N/A
1280 X 1024 @ 60 Hz H Filter 2
True(DVI) only V Filter Def
Menu Center Size Filter Level
8 XXX.XX KHz XX.XX Hz Dissolve
4 XXX.XX KHz XX.XX Hz N/A
1280 X 1024 @ 60 Hz H Size Def
True(DVI) only V Size Min
Menu Center Size Filter Level