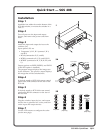
Reference Information, cont’d
SGS 408 Switcher • Reference InformationB-4
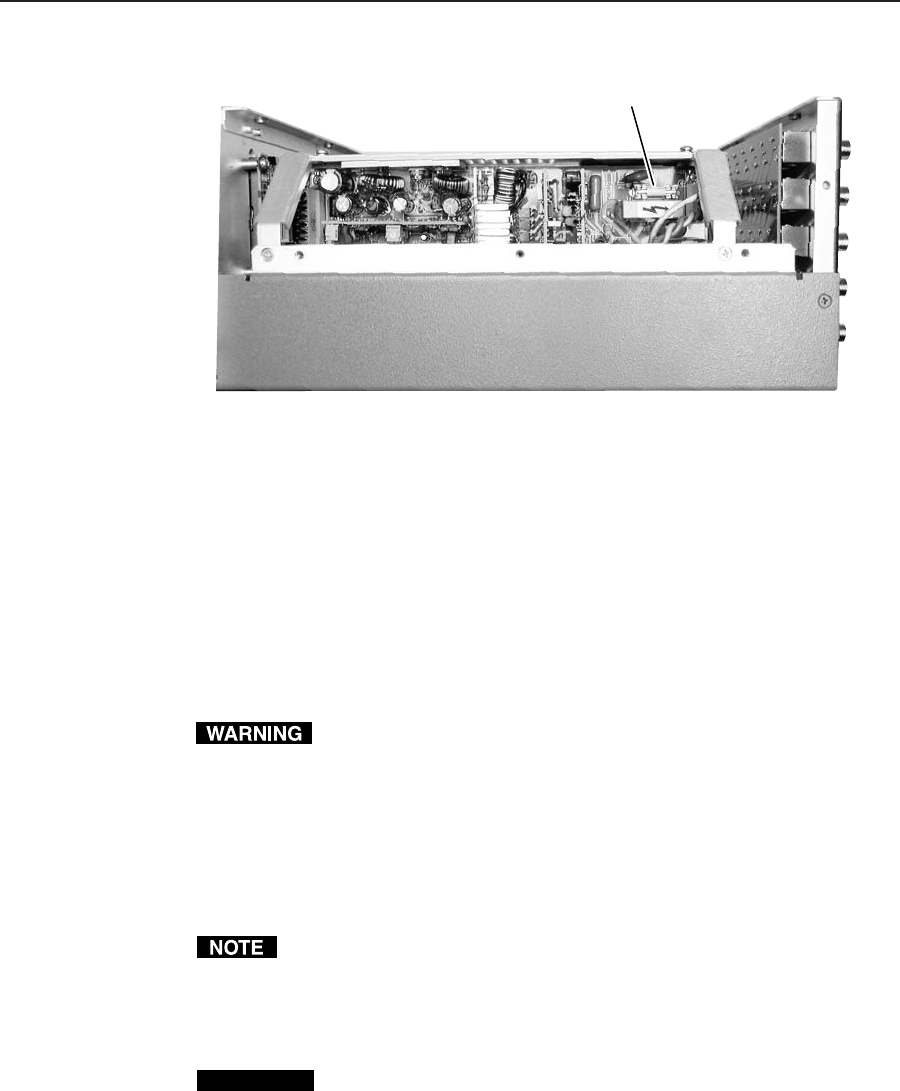
Figure B-3 — Replacing the fuse (viewed from the side)
3. If test equipment is available, you can check the fuse’s functionality.
4. Place a new fuse in the fuse retaining clips.
5. Reinstall the switcher cover.
6. Attach the power cord to the switcher and to the AC power source. Make
sure the switcher is working correctly.
7. If the switcher is rack mounted, remove the power cable, reattach the
switcher to the rack, and reconnect the power cord and input and output
cables.
If you choose to check the power before putting the cover back on, make
sure that tools and hands are outside the switcher, and then connect the
power cord to the switcher and to an AC source. The switcher should
power up normally. Unplug the AC power cord, and follow steps 5 – 8.
Installing a firmware update
To install a firmware update, you may need to replace IC (integrated circuit)
U11 or U16 on the front panel, U92, U93, U94, or U95 on the main board,
U12 on the component video board, or any combination of these. Replacing
these ICs may result in loss of presets and other settings.
1. Remove the cover of the switcher. See “Internal access” on page B-2.
CAUTION
Make sure you are electrically grounded before touching IC chips.
Electrostatic discharge (ESD) can damage IC chips, even if you cannot
sense the discharge.
2. Locate the ICs to be replaced (figure B-4). The update kit will list the
specific ICs.