Chapter 1 Getting Started
Operating the Counter
1-28 Operating Guide
1
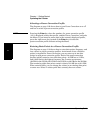
Selecting a Power-Correction Profile
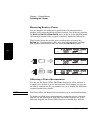
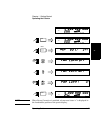
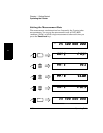
The diagram on page 1-29 shows how to turn Power Correction on or off
and how to select a power-correction profile.
NOTE Pressing the Enter key when the number of a power-correction profile
(1-9) is displayed selects that profile, enables Power Correction, and exits
the Menu. If you intend to enter data in the currently displayed profile,
press the right-arrow key instead of the Enter key to select the
power-correction profile without exiting the Menu.
Entering Data Points in a Power-Correction Profile
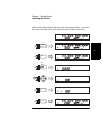
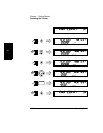
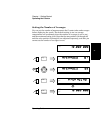
The diagram on page 1-30 shows how to enter data points (frequency and
loss values) in power-correction profiles. A minimum of two valid data
points is required for Power Correction; you can enter up to ten data
points in each power-correction profile. Each of the power-correction
profiles initially contains two valid data points—0.0 dB loss at 1 GHz,
and 0.0 dB loss at the highest frequency the Counter can measure
(20 GHz for the 53150A, 26.5 GHz for the 53151A, or 46 GHz for the 53152A).
The remaining eight data points contain values of 0.0 dB loss at 0.0 GHz.
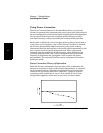
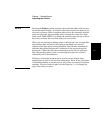
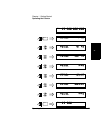
When entering data, you can change the values in an existing data point
or enter new values in a data point that currently has zero values.


