


-27-
Revision 4/F3576 © Moffat Ltd, December 2004
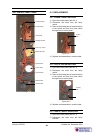
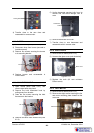
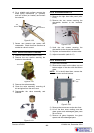
Securing nut
3) Remove fan baffle from inside oven (refer
6.2.2).
4) Unclip thermostat sensing bulb from its
mounts and feed back through rear of
oven.
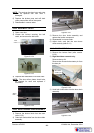
Two screws
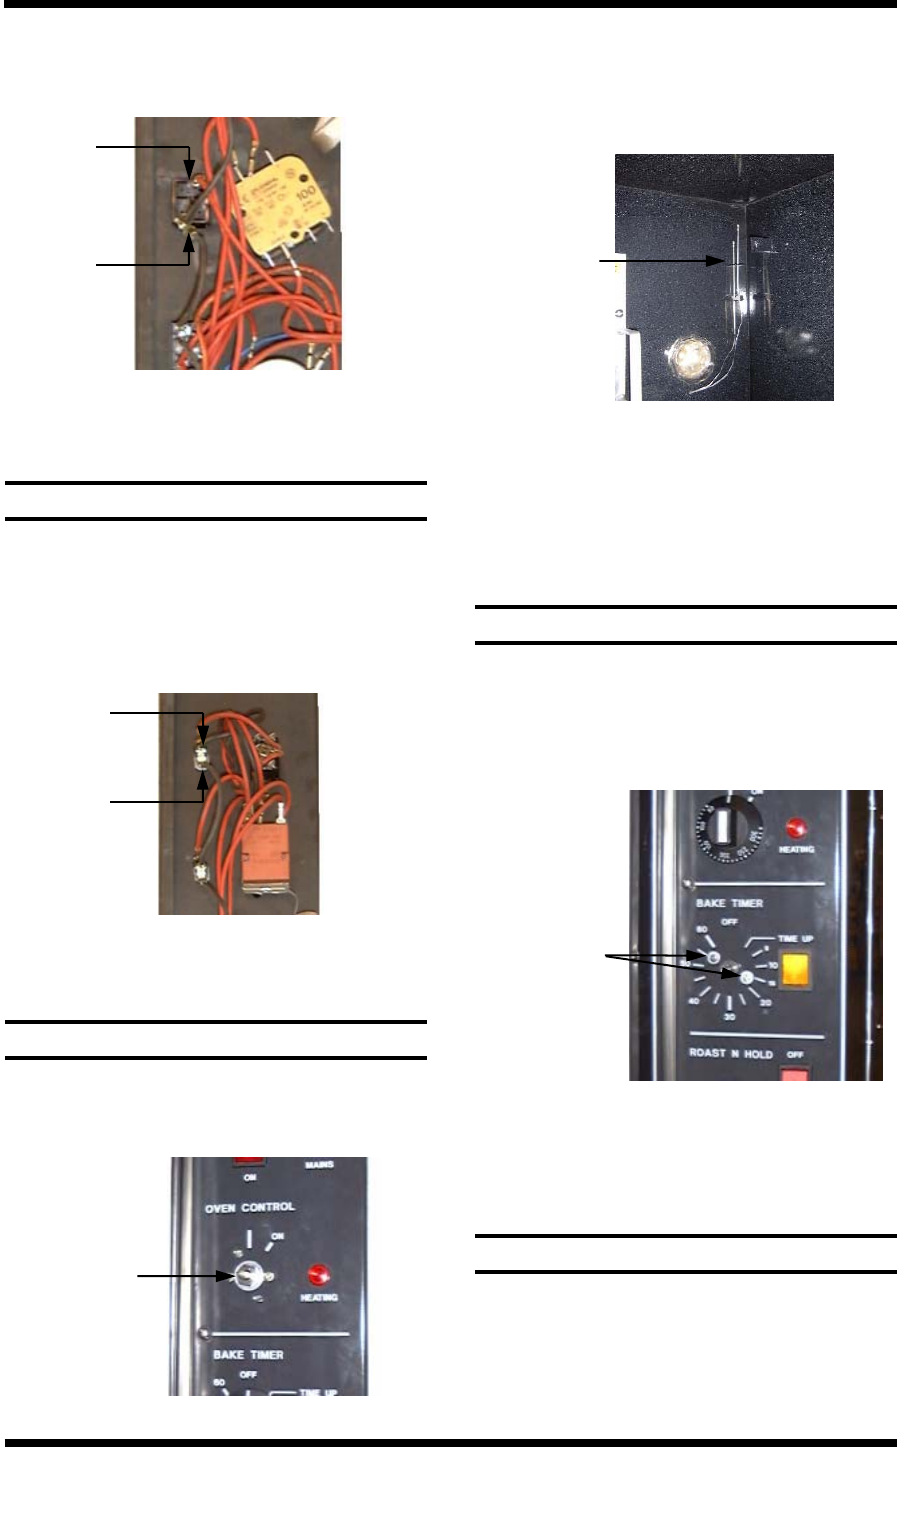
1) Open control panel (refer 6.2.1).
2) Remove thermostat knob and unscrew the
nut securing the thermostat to the control
panel.
1) Open the control panel (refer 6.2.1).
2) Disconnect the wires from the faulty
indicator.
3) Press in the locking tabs at sides of the
indicator and from rear push indicator
through front of control panel.
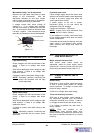
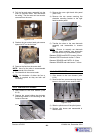
1) Open the control panel (refer 6.2.1).
2) Remove the knob from the timer.
3) Unscrew both screws from the front of the
control panel and remove the timer from
the rear of the control panel.
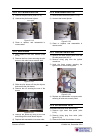
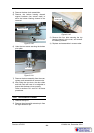
1) Open the control panel (refer 6.2.1).
2) Remove the knob from the timer.
3) Unscrew the locking nut on the front of the
timer and remove the timer from the rear
of the control panel.
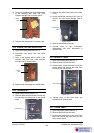
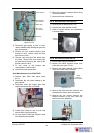
6.3.4 POWER / HEATING INDICATORS
6.3.5 THERMOSTAT
6.3.6 60 MINUTE TIMER
6.3.7 3 HOUR TIMER
4) Replace and reassemble in reverse order.
Figure 6.3.4
Figure 6.3.5
Figure 6.3.6
5) Remove thermostat from oven.
6) Transfer wires to new thermostat.
Reassemble with new thermostat in
reverse order.
4) Transfer wires to the new timer and
reassemble in reverse order.
Figure 6.3.7
3) Press in the locking tabs at top and bottom
of the indicator and from rear push
indicator through front of control panel.
4) Replace and reassemble in reverse order.
Figure 6.3.3
Locking
tabs
Locking
tabs
Thermostat
bulb