


-36-
Revision 4/F3576 © Moffat Ltd, December 2004
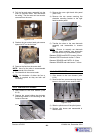
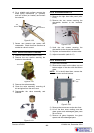
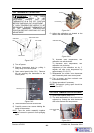
4) The thermostat can now be removed.
5) Carefully remove two screws holding fan
switch to thermostat.
HINT:
Tape fan switch assembly together
before removal to prevent it from springing
apart.
6.4.5 THERMOSTAT CALIBRATION
IMPORTANT: IF THE OVEN
TEMPERATURE NEEDS TO BE
INCREASED, ENSURE THAT THE
THERMOSTAT IS IN THE ‘OFF’ POSITION
BEFORE CARRYING OUT ADJUSTMENT.
IF OVEN TEMPERATURE NEEDS TO BE
DECREASED, ENSURE THERMOSTAT IS
IN THE MAXIMUM TEMPERATURE
POSITION BEFORE CARRYING OUT ANY
ADJUSTMENT.
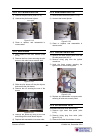
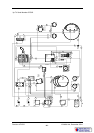
Thermostat Shaft
Fan Switch
Calibration
Nut
Thermostat
Figure 6.4.5
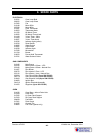
Figure 6.4.6
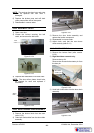
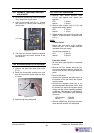
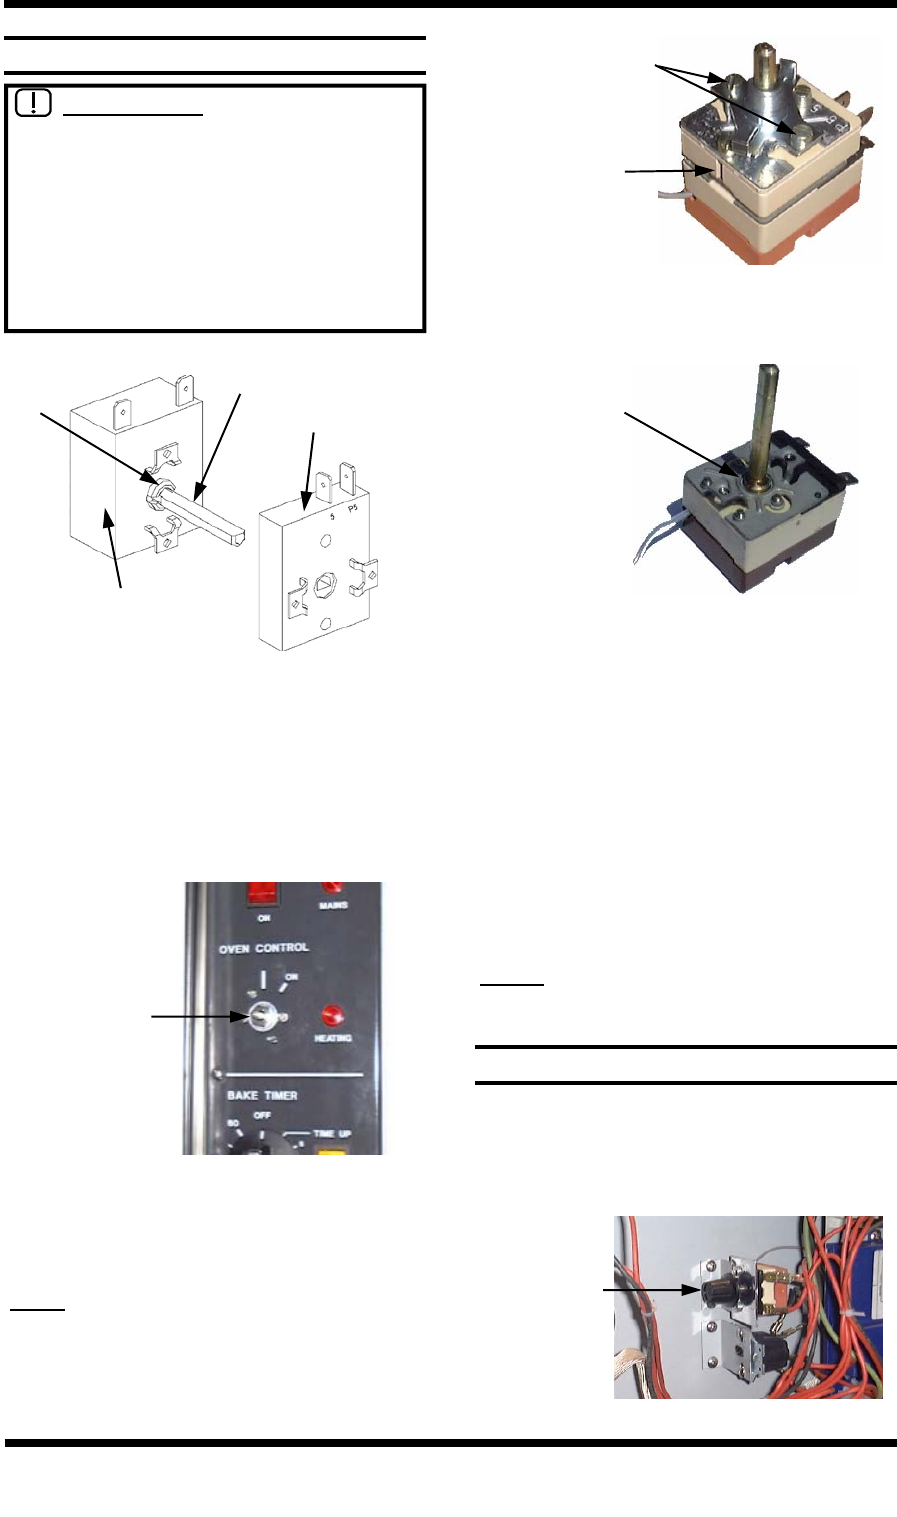
6) Adjust the calibration nut located at the
base of the thermostat shaft.
Figure 6.4.8
Calibration Nut
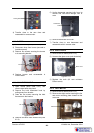
1) Turn off power.
2) Remove thermostat knob by pulling it
firmly away from control panel.
3) Open control panel (refer 6.2.1). Remove
the nut securing the thermostat to the
control panel.
To increase oven temperature, turn
calibration nut anticlockwise.
To decrease oven temperature, turn
calibration nut clockwise.
Adjustment of the calibration nut by 1°
angular will alter oven temperature by
approximately 2°C (3.6°F).
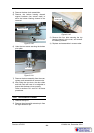
7) Reassemble fan switch onto thermostat
and fit assembly back onto control panel.
8) Turn on power and then recheck oven
thermostat calibration.
9) Repeat procedure if necessary.
NOTE:
Thermostat cycling span should be
±15°C or 27°F.
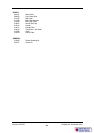
Figure 6.4.9
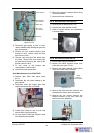
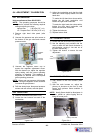
6.4.6 HOLD TEMPERATURE ADJUSTMENT
1) Open control panel (refer 6.2.1)
2) The hold temperature of the oven can be
adjusted by turning the hold thermostat
dial to the desired hold temperature.
Hold Thermostat
Dial
Securing nut
Screws
Fan Switch
Figure 6.4.7