


-37-
Revision 4/F3576 © Moffat Ltd, December 2004
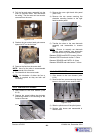
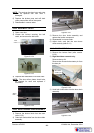
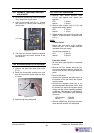
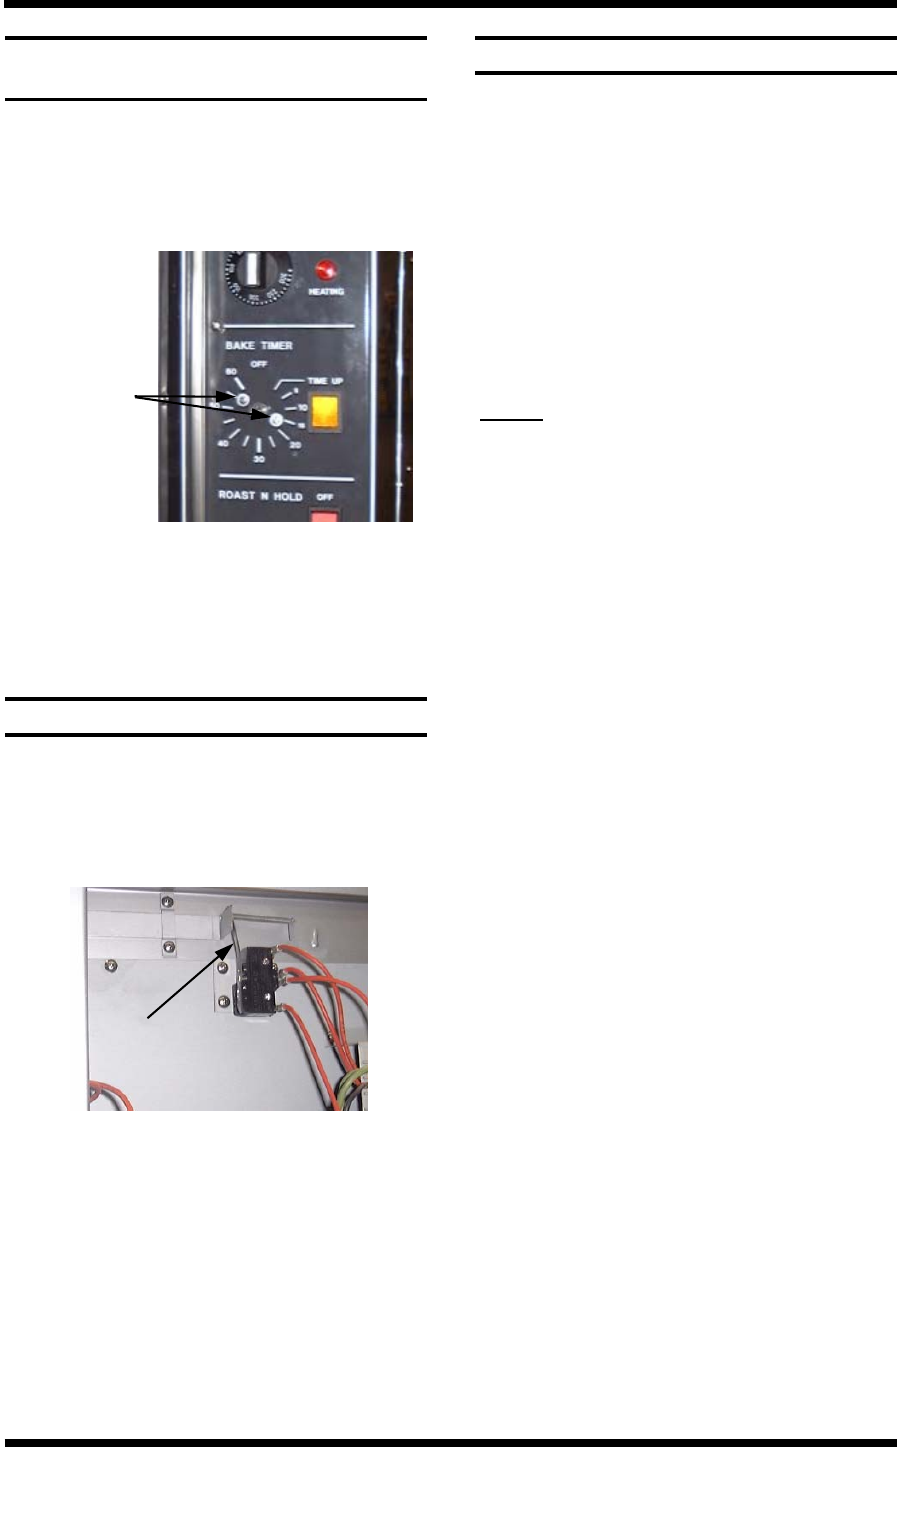
1) Remove 60 minute timer knob by pulling it
firmly away from control panel.
2) Open control panel (refer 6.2.1). Loosen
two screws on control panel holding 60
minute timer.
Figure 6.4.10
6.4.7 60 MINUTE TIMER ZERO POSITION
ADJUSTMENT
3) The timer can now be rotated as required
to ensure that the buzzer sounds at the
zero position.
Two screws
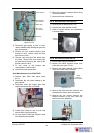
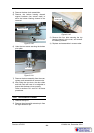
1) Remove the right hand side panel (refer
6.2.4).
2) Bend the microswitch actuator arm such
that the microswitch closes when the door
is closed.
6.4.8 DOOR MICROSWITCH ADJUSTMENT
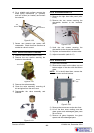
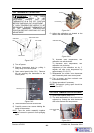
1) Remove main burner injectors (refer
6.3.16), and replace with correct size
injectors.
LPG 1.20 mm
Natural 1.90 mm
2) Remove pilot injector (refer 6.3.14), and
replace with correct injector.
LPG 0.70 mm
Natural 1.10 mm
3) Relight burners and check flame size and
stability. Adjust aeration if required (refer
6.4.1).
NOTE:
To S/N: 275352
Natural gas units have a gas regulator
fitted to the unit. LPG / Propane units are
regulated at the gas supply.
Set test point pressure to:
LPG 2.65 kPa
Natural 0.89 kPa
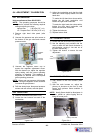
From S/N: 275353
All units have a gas regulator incorporated
in the unit.
• Remove the four screws along the top,
four screws along the bottom, and the four
screws from the rear of the right hand side
panel.
• Remove the panel.
• Unscrew the pressure test point screw at
the bottom of the gas valve and connect
pressure meter.
• Unscrew the regulator screw cap to ac-
cess the regulator adjustment screw. With
the burners on, adjust the regulator spring
setting until the correct operating pressure
is obtained. This regulator is adjustable for
Natural and LPG/Propane gas operating
pressures.
LPG/Propane 2.50 kPa
Natural 0.90 kPa
• Refit the slotted cap, disconnect pressure
meter and refit screws, refit side panel.
6.4.9 GAS TYPE CONVERSION
Figure 6.4.11
Actuator arm
3) Replace right hand side panel.