


-32-
Revision 4/F3576 © Moffat Ltd, December 2004
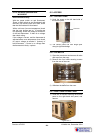
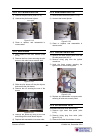
1) Remove the right hand side panel (refer
6.2.4).
2) Remove the two screws securing the
microswitch bracket to the insulation
panel.
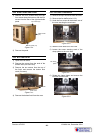
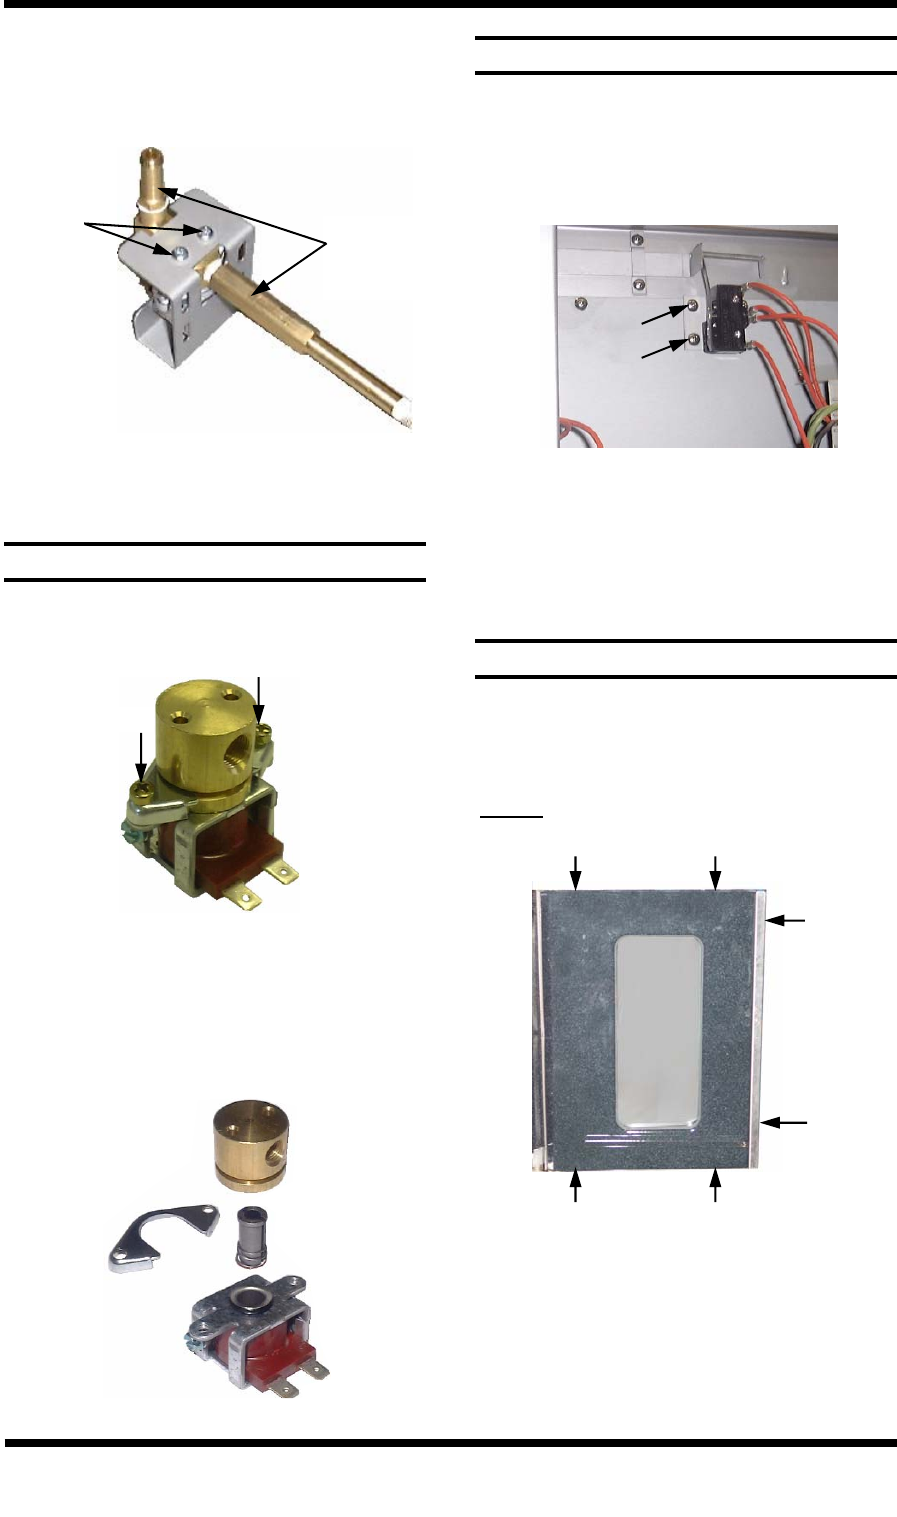
6.3.22 DOOR MICROSWITCH
1) Open the oven doors.
2) Remove the screws on the sides, top and
bottom edges of the door with the broken
glass.
NOTE:
If it is the left hand door, remove the
extra screws and ball catches.
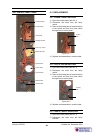
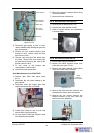
6.3.23 DOOR GLASS
3) Undo the two screws securing the
microswitch to the microswitch bracket.
4) Replace and reassemble in reverse order.
5) Adjust microswitch (refer 6.4.7)
Figure 6.3.32
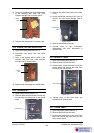
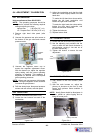
3) Remove the two screws on the door front.
4) Lift off the door outer, making sure that
glass spacer and undamaged glass pane
do not fall out.
5) Remove all glass fragments, the glass
spacer and the undamaged pane.
Figure 6.3.33
Screws
(x6)
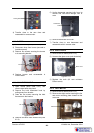
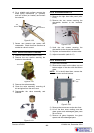
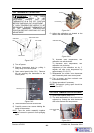
1) Remove water solenoid (refer 6.3.20).
2) Remove the two screws securing the
bracket to the solenoid.
6.3.21 WATER SOLENOID CLEANING
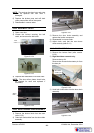
3) Remove the valve assembly.
4) Clean the valve assembly, removing all
dirt and grime from the valve seat.
5) Reassemble the valve assembly and
solenoid.
Figure 6.3.30
Figure 6.3.31
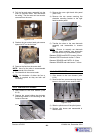
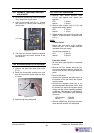
Two Screws
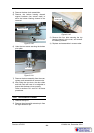
6) On a suitable work surface, remove the
brass piping connections (½” spanner)
and two screws (on bracket) and extract
the solenoid.
7) Secure new solenoid with screws and
reassemble. Check that flow direction as
marked on valve is correct.
Brass
Connections
Two
Screws
Figure 6.3.29