


16
17
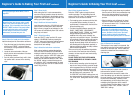
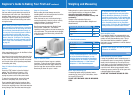
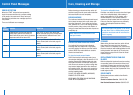
Step 11: Take the bread out of the bread pan
Use oven mitts to gently shake the bread out of
the bread pan onto a wire rack. Check that the
kneading blade remains on the drive shaft of the
bread pan. Place the bread upright on the wire
rack to cool. Allow sufficient cooling time before
slicing the bread.
When baking is finished and the bread has
been removed from the bread pan, remove the
kneading blade from the pan using oven mitts.
Do not remove the blade with bare hands, as
it is very hot! If the kneading blade is difficult
to remove from the drive shaft, pour some
warm water with detergent into the pan and
allow to stand for 10 minutes. The kneading
blade should then be easily removed from the
shaft. Follow ‘Care and Cleaning’ instructions
on page 25.
Note
Step 12: Making another loaf
Allow approximately one hour for the Baker’s Oven
to cool before using again.
Open the lid to help cool the bread machine. If the
Baker’s Oven is too hot the LCD screen will show
an error code (refer page 24) and will not operate
until it cools to the correct operating temperature
for kneading and rising.
Step 13: Switch off and unplug the bread
machine
Press the ‘STOP’ button to clear the finished
setting. The LCD screen will reset to 1 1KG
MEDIUM. Switch off at the power outlet and
unplug the power cord from the power outlet.
To store the bread machine, ensure the bread
machine is completely cool, clean and dry.
Place kneading blades into the bread pan then
insert into the baking chamber and close the lid.
Do not place anything on top of the bread machine
during storage. Store the bread machine upright.
Step 14: Cut the bread
Before cutting the bread always ensure the
kneading blade is in the bread pan and not in the
bottom of the baked bread loaf.
When the bread is cool, cut the bread using a
serrated bread knife or electric knife on a firmly
seated breadboard. A standard knife is not
suitable as it will tear the bread.
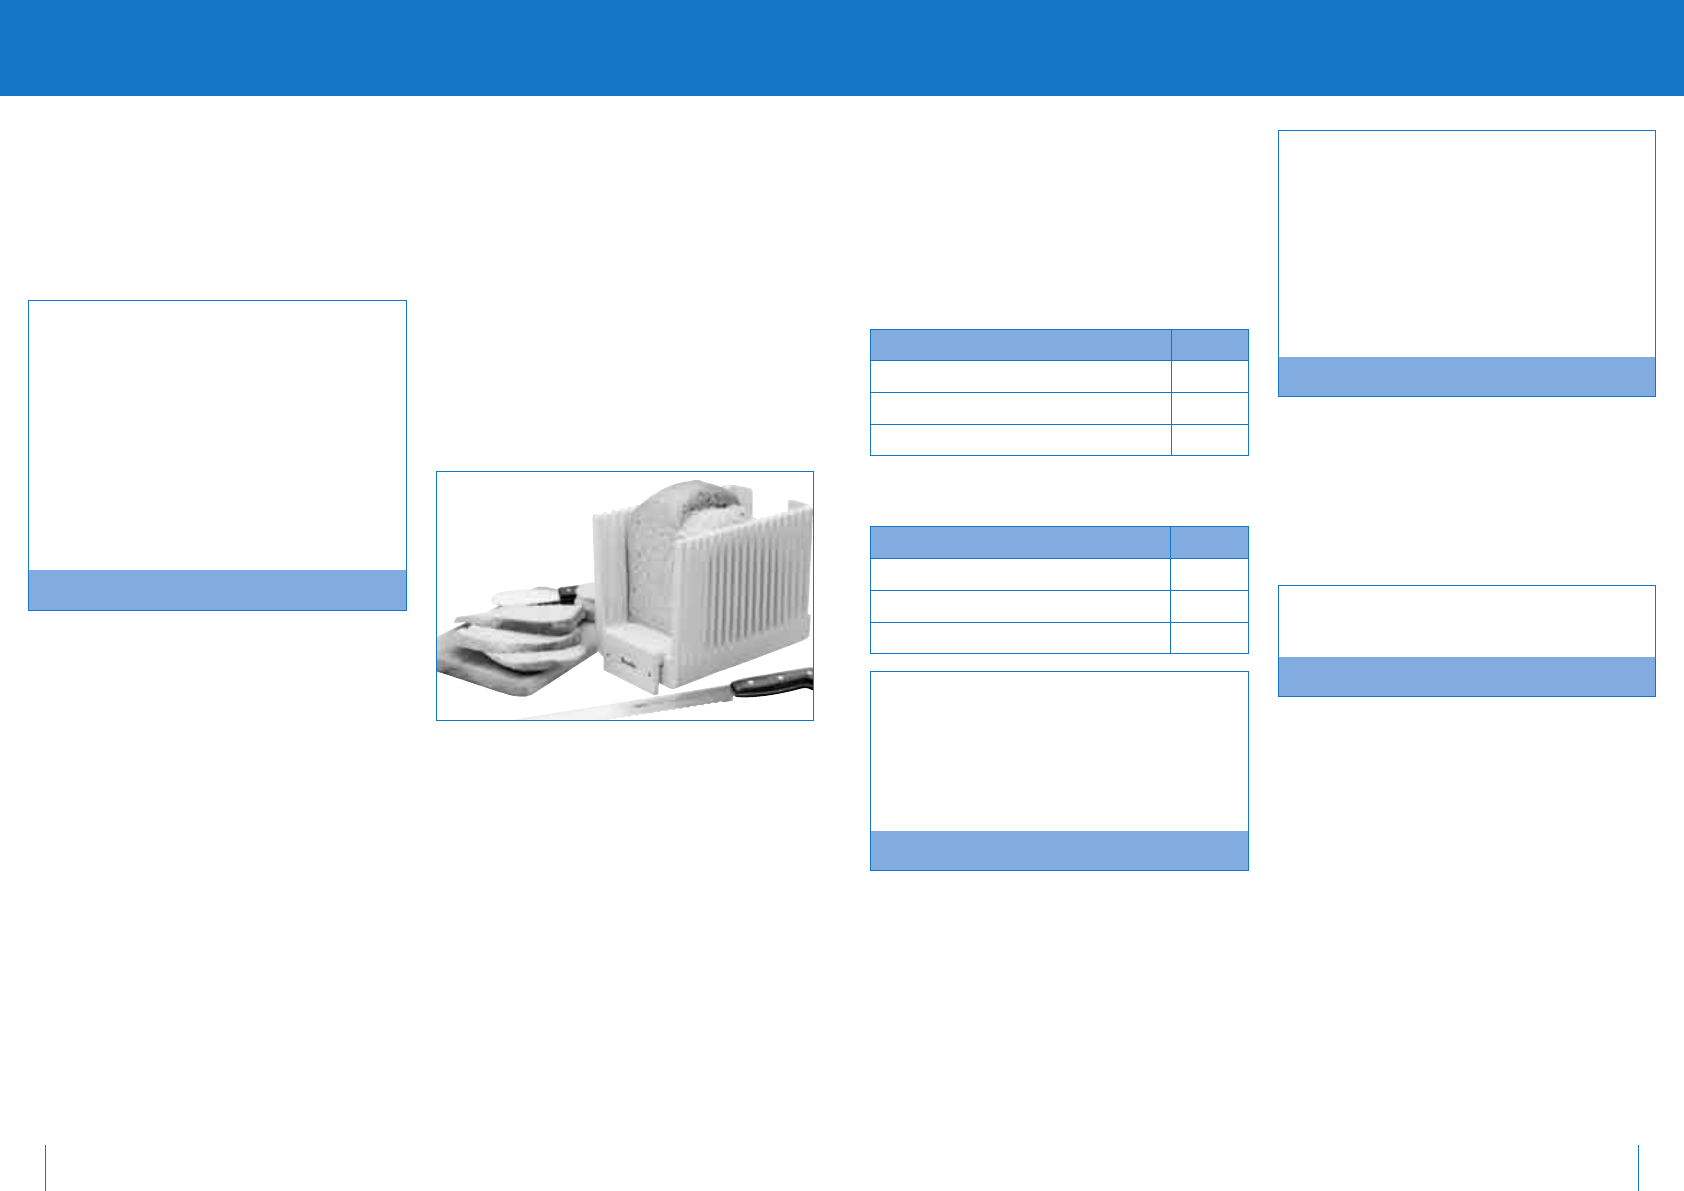
Breville recommends using the Breville Bread
Slicing Guide – Model BS1. This foldable,
lightweight cutting guide is the ideal accessory for
any bread maker. The guide slots ensure straight,
even slices every time when using a bread knife
or electric knife.
Step 15: Store the bread
Store the bread in freezer bags or a sealable
bread box. To store for more than a few days,
place the bread into freezer bags. Remove air
from the bags then secure with ties and label.
Bread may be frozen for up to 1 month.
Beginner’s Guide to Baking Your First Loaf continued
Baking bread is in part a science and an art with
each ingredient playing an integral role. Care
should be taken when weighing and
measuring ingredients to ensure accuracy and
consistency.
Recipes in this Instruction Book were
developed using Australian Metric Weights and
Measurements.
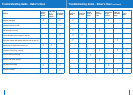
AUSTRALIAN METRIC MEASUREMENTS
mls
1 teaspoon 5
1 tablespoon 20
1 cup 250
For New Zealand customers
NZ METRIC MEASUREMENTS mls
1 teaspoon 5
1 tablespoon 15
1 cup 250
The New Zealand tablespoon is 5ml less than
that of the Australian tablespoon, so care
should be taken when measuring ingredients
to compensate for the variance. For example,
1 Australian tablespoon = 1 New Zealand
tablespoon + 1 New Zealand teaspoon.
Note
Metric liquid measuring jugs
If measuring liquids using a graduated, metric
measuring jug, place jug on a flat surface, check
for accuracy at eye level.
DO NOT USE TABLEWARE JUGS OR MEASURING
CUPS.
It is important to note that New Zealand
ingredients, especially flour and yeast, differ
from the Australian equivalents. In the Vital
Ingredients section (pages 18-20) suitable New
Zealand products have been listed. We suggest
these New Zealand products be substituted
for the Australian products in the Easy Bake
Recipe section. For further New Zealand bread
making assistance Telephone: 0800 273 845.
Note
Metric weighing scales
For consistent results it is recommended to use
metric weighing scales if possible as they provide
greater accuracy than measuring cups. Tare (or
zero) the scales with the container in position
then spoon or pour ingredients in until the desired
weight is achieved.
In general, water weighs the same in grams as
it measures in millilitres.
Note
Metric measuring cups and spoons
If using the graduated, metric measuring cups, it
is important to spoon or scoop the dry ingredients
loosely into the required cup. Do not tap the cup
on the bench, or pack the ingredients into the cup,
unless otherwise directed. Level the top of the
cup with a knife. When using graduated, metric
measuring spoons, level the top of the spoon with
a straight edged knife or spatula.
DO NOT USE TABLEWARE SPOONS OR CUPS.
Weighing and Measuring