3-4
Installation 3
Connecting the Tubing
Connecting the Tubing
Tubing connectors should be hand-tightened,
tools should not be used as their use will damage
the connector’s thread.
Single-syringe Model
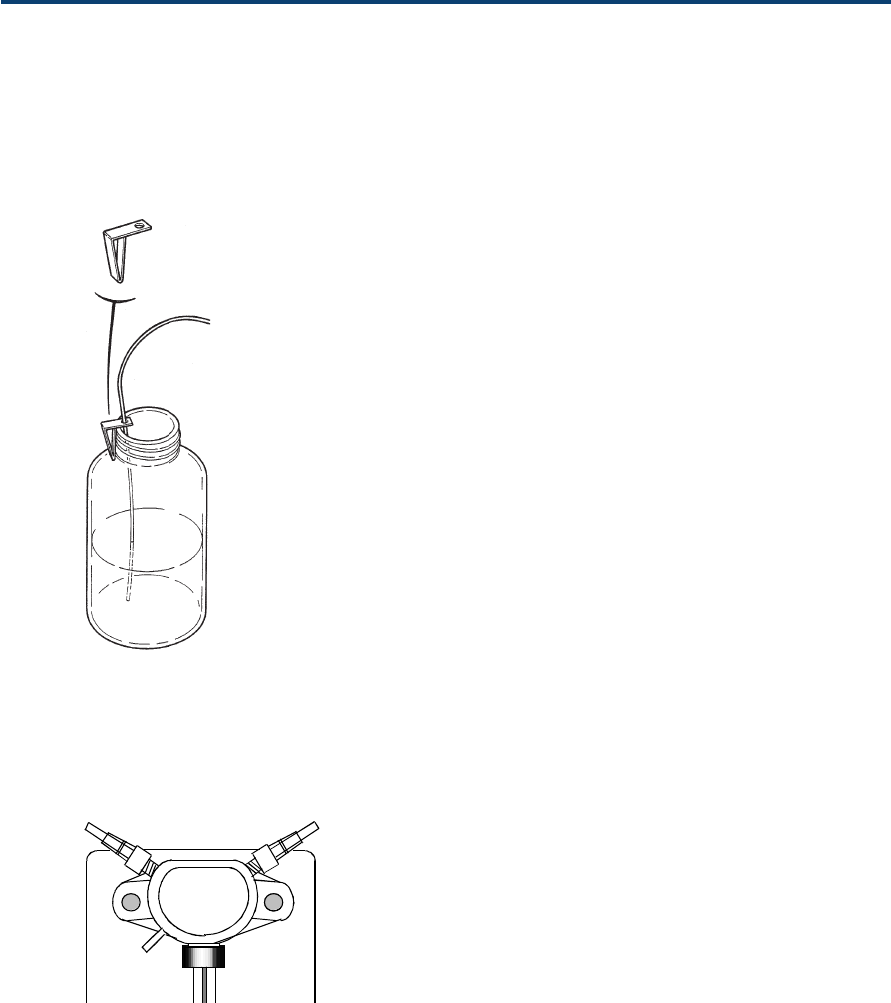
Valve Inlet Tubing
A length of Fluoride Ethylene Propylene (FEP)
tubing, supplied with the 402, is used to connect
the inlet port to the solvent reservoir. Screw the
connector into the inlet port (left-hand) of the valve
and put the other end into the reservoir. A bottle
clip is provided to hold the tubing securely in the
reservoir (see opposite Figure).
An alternative tubing, fitted with a connector at
one end and a 20 µm filter at the other, is available
as an accessory (reference 3645357).
Waste Tubing
Connect a suitable length of tubing from the waste
outlet of the valve to a suitable receptacle. The valve
releases liquid through the waste outlet if the pressure
inside the valve is too high. For the pressure limits
of the valve, refer to Appendix C, Technical Data.
Transfer Tubing (Probe)
This tubing (FEP) allows the transfer of samples
aspirated from the probe and prevents the contami-
nation of the syringe(s). The size of transfer tubing
is chosen as a function of the volumes of samples,
reagents, and air gaps that have to be handled via
the probe. The total volume transferred must be less
than the volume of the transfer tubing.
The transfer tubing connects the outlet port (right-
hand) of the valve to the probe. A 2 mL tapered
tubing is supplied as standard; 1 mL, 5 mL, and
10 mL are available as additional accessories.
Self-adhesive clips are provided for holding the
transfer tubing securely against the side of the 402.
The 1 mL transfer tubing is recommended for trans-
ferring volumes smaller than 1 mL. To avoid move-
ments of the tubing that could affect the precision,
the 5 mL and 10 mL transfer tubings are rolled and
held by magnets on the left-side of the 402.
From
reservoir
Transfer tubing
to probe
To waste
Valve


