


3-9
Installation 3
Syringes
Syringes
The 402 Dilutor-Dispenser is supplied without
syringes. Order a syringe (or syringes), appropriate
to your Method, for your 402 Dilutor-Dispenser.
Mount the syringe on the valve or Tee-junction.
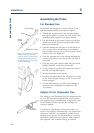
Assembling a Syringe
The syringe and its piston are supplied assembled.
However, if you remove the syringe from the piston,
ensure that the piston and the piston nose are free
from dust and contamination before reinserting the
piston into the syringe.
Wet the piston nose (with water), insert the piston
nose into the syringe body, and then push the
piston into the syringe.
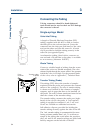
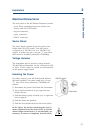
Fitting a Syringe
Before fitting one of the smaller syringes (100 µL,
250 µL, 500 µL and 1 mL), prime it manually by
placing its open end in the solvent reservoir, then
aspirate using the piston. This manual prime is not
necessary for the 5 mL, 10 mL and 25 mL syringes.
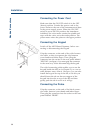
You must use the keypad software to lower the
piston operating rod. You should therefore refer to
Chapter 4, which describes the complete procedure
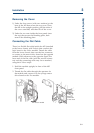
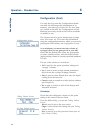
for fitting a syringe. When changing a syringe, you
should first undo the piston securing-screw in order to
free the piston assembly from the piston operating-rod.
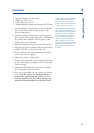
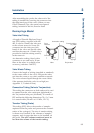
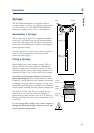
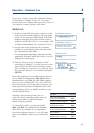
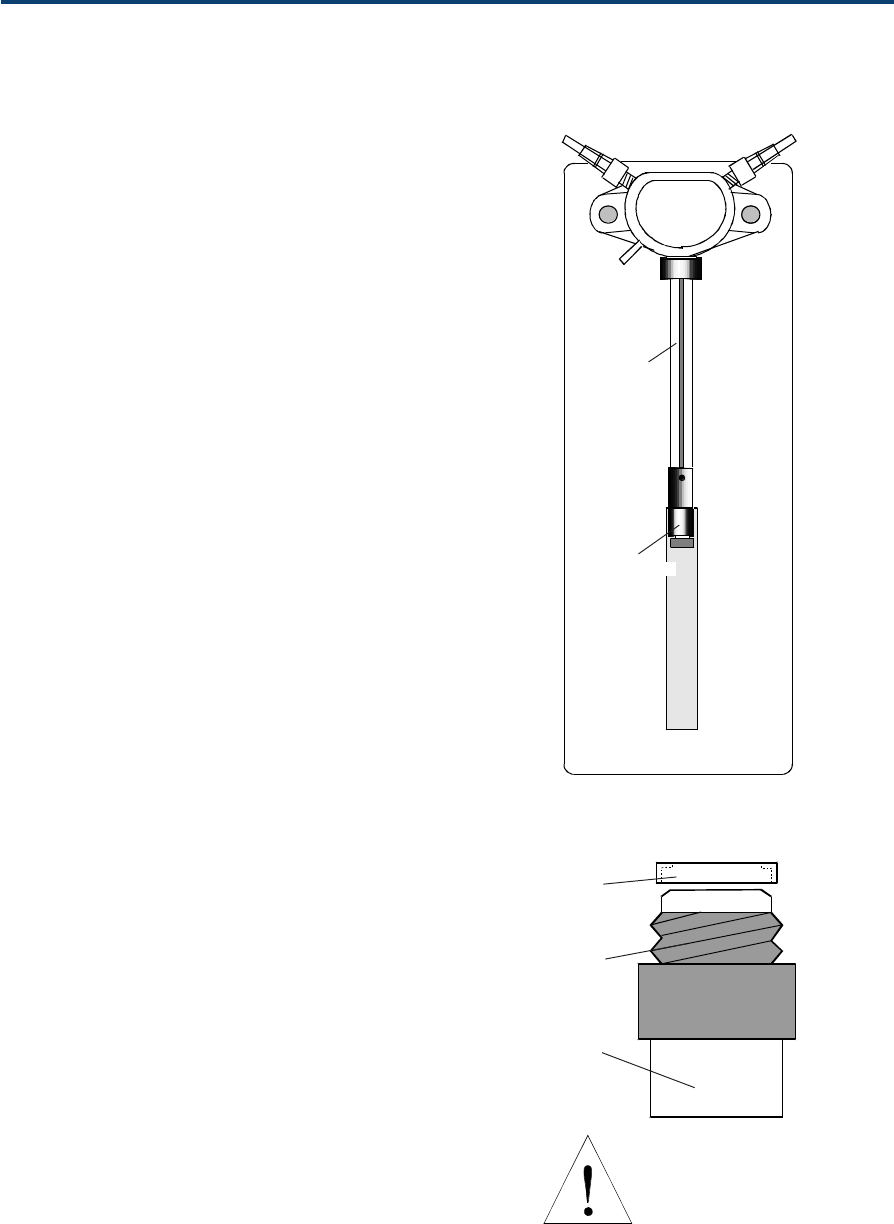
The 100 µL, 250 µL and 500 µL syringes are sup-
plied with a cover seal to ensure an airtight fit
between the syringe and the valve or Tee. Refer to
the opposite figure for the correct orientation of the
cover seal.
If you change the syringe size, don’t forget to
change the declared syringe volume in your soft-
ware’s system configuration.
Inlet
Outlet
Waste
Valve
Syringe
Cover
seal
Valve
screw
Syringe
body
Piston
operating rod