Model EEE-141,142, 143, 144
To avoid burns when pouring hot solution, wear gloves
and protective gear and take care to avoid splashing.
11. Return empty filter drain pan to fryer and press
√√
√√
√ button.
Display then shows “VAT EMTY” “YES NO”.
12. Once vat is empty, press
√√
√√
√ button and display shows “SCRUB
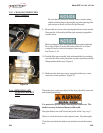
VAT COMPLETE” “YES NO”. Use brush to clean element
and scour pad to clean vat, if needed.
Do not scrape the electric fryer elements, or use scouring
pads on the elements. This produces scratches on the
surface of the element causing breading to stick and burn.
Do not use steel wool, other abrasive cleaners, or cleaners/
sanitizers containing chlorine, bromine, iodine, or ammonia
chemicals as these will deteriorate the stainless steel material
and shorten the life of the unit.
Do not use a water jet (pressure sprayer) to clean unit or
component damage could result.
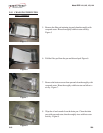
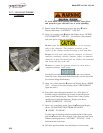
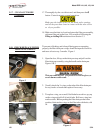
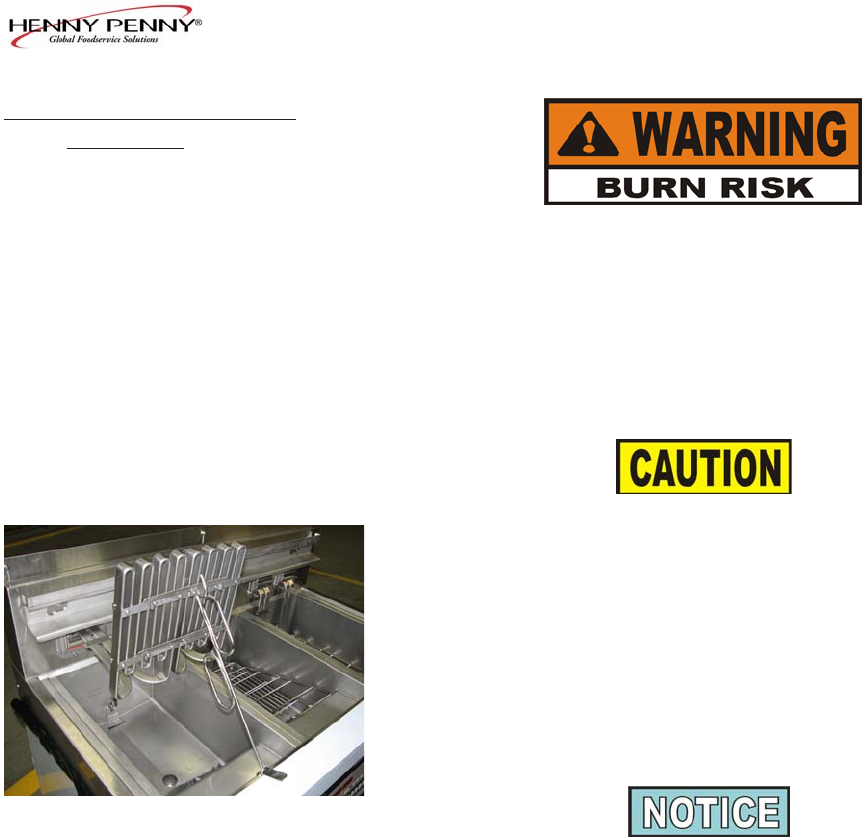
Use the lift tool and lift the elements from the vat as needed.
(Auto-lift fryers, hinge back the basket hooks over the top of the
fryer before lifting the elements.)
13. Once vat is clean, press the
√√
√√
√ button and display shows “RINSE
VAT”. (If drain is not open, display shows “OPEN DRAIN”
Open the drain.)
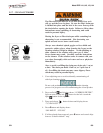
14. Pour clean water and approximately 8 ozs. (0.24 liters) of
distilled vinegar solution into vat to rinse vat and allow rinse
water to drain into drain pan. Rinse at least 3 times, but be
careful not tooverfill the drain pan. Display now shows
“RINSE COMPLETE” “YES NO”
15. Once vat is completely rinsed, press the
√√
√√
√ button and display
shows “CLEAR SOLUTION FROM OIL LINES”
“
√ √
√ √
√ =PUMP” “X =DONE”
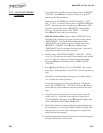
To make sure no cleaning solution remains in the oil lines, press
and hold
√√
√√
√ button for a few seconds. Once lines are clear, press
X button and display shows VAT DRY?” “YES NO”. Push
drain knob and close drain.
16. Pull drain pan from under fryer and dispose of rinse water.
3-17. CLEAN-OUT MODE
(Continued)
Figure 1
3-23 110


