


8
Care and Cleaning
1. Press the OFF button to turn unit off.
Unplug cord from outlet.
2. Remove Stoneware and Glass Lid
from Base and let cool.
3. Wash Stoneware and Glass Lid in hot,
soapy water. Rinse and dry. They
may also be washed in dishwasher.
4. Wipe the Base/Control Panel with a
damp cloth. Do not use abrasive
cleansers.
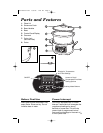
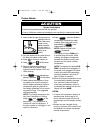
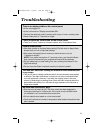
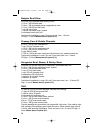
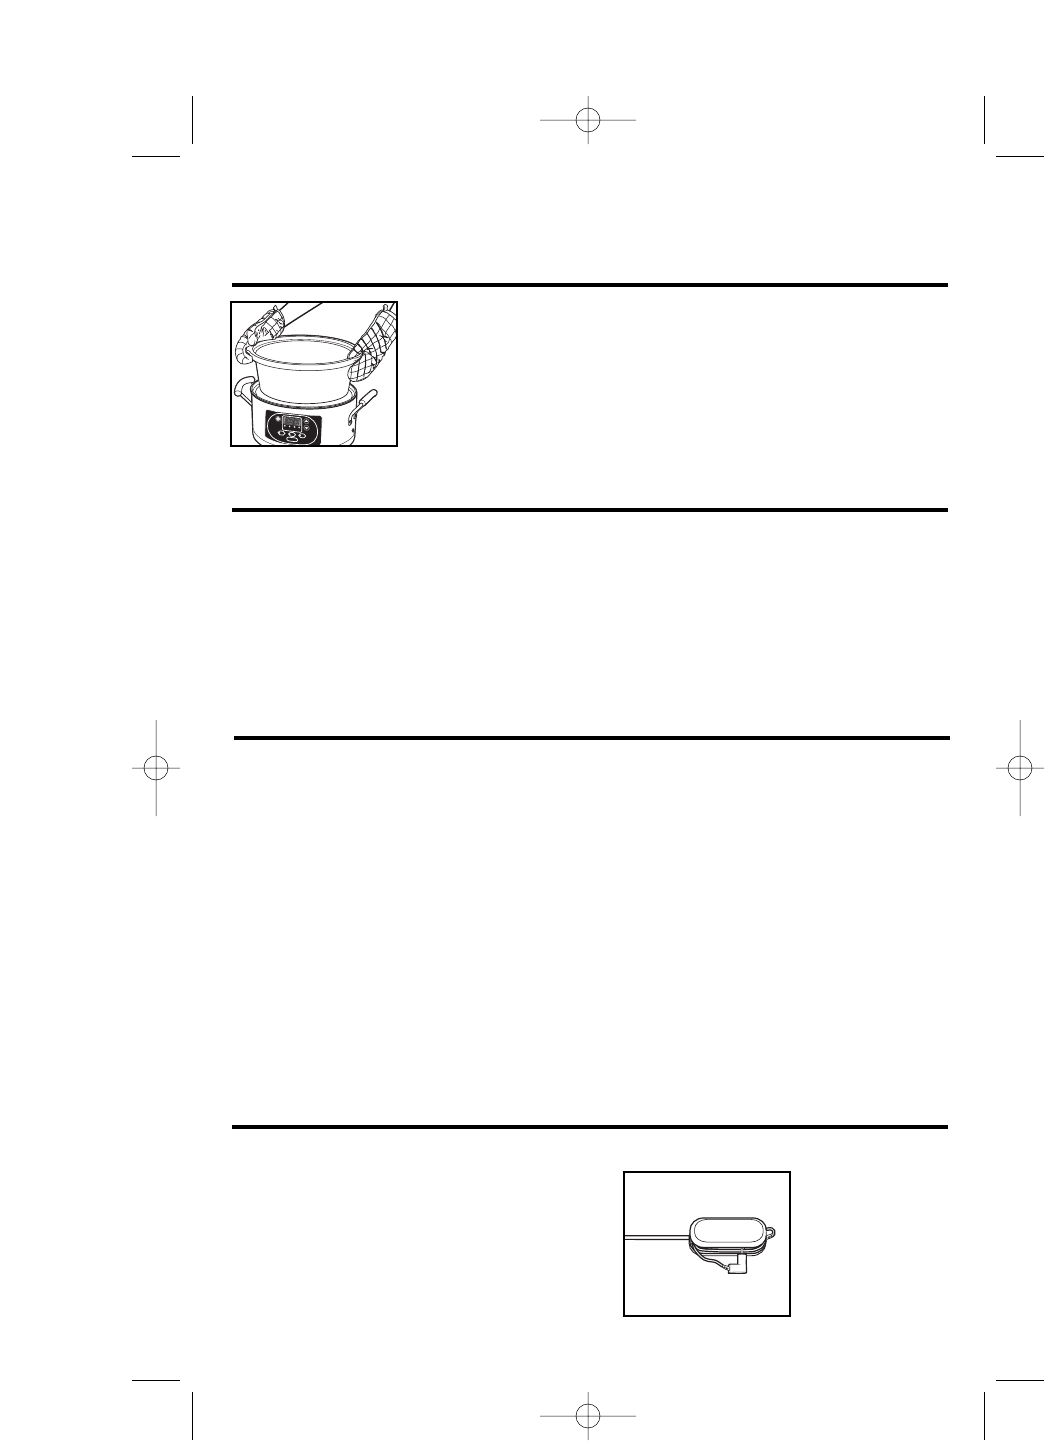
When removing the Glass Lid, tilt so that the opening
faces away from you to avoid being burned by steam.
The sides of the Base of the slow cooker get very warm
because the heating elements are located there. Use the
handles on the Base if necessary. Use hot mitts to remove
the Stoneware.
Removing Glass Lid and Stoneware
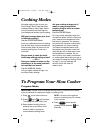
P
RO
G
RA
M
C
o
ok
in
g
H
e
atD
e
sir
ed
A
c
tu
a
l
Tem
p
Tem
p
S
e
tt
in
g
T
ime
M
A
N
U
AL
EN
T
ER
PR
O
B
E
• Handle the Stoneware and Glass Lid
with care to ensure long life.
• Avoid sudden, extreme temperature
changes. For example, do not place a
hot Stoneware and Glass Lid into cold
water, or onto a wet surface.
• Avoid Stoneware and Glass Lid
coming in contact with OR bumping
against a faucet or other hard surfaces.
• Do not use Stoneware and Glass Lid if
chipped, cracked, or severely
scratched.
• Do not use abrasive cleansers or metal
scouring pads.
Caring for the Slow Cooker
• The bottom of the Stoneware is very
rough and can damage the counter-
top. Use caution.
• The Stoneware and Glass Lid can
become very hot. Use caution. Do not
place directly on any unprotected sur-
face or countertop.
• The Stoneware is microwave safe
and oven proof, but never heat the
Stoneware when empty. Never place
the Stoneware on a burner or stove top.
• Do not place the Glass Lid in a
microwave oven, conventional oven, or
on the stove top.
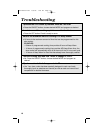
Cleaning the Slow Cooker
1. Do not touch the stainless steel
probe with bare hands during or just
after cooking as the probe will be hot.
2. Never immerse probe and probe wire
in water.
3. After probe is cool, wipe probe han-
dle and probe with a damp cloth or
sponge. Dry thoroughly.
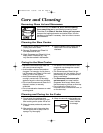
4. Wrap wire around probe handle and
press plug into
hole in handle
for storage.
Cleaning and Caring for the Probe
840149500 Ev05 6/8/06 1:26 PM Page 8