BeforeUsingYourOven
1.Lookatthe controls.Be sureyouunderstand
3. Readovertheinformationandtipsthatfollow.
howto setthemproperly.Readoverthedirections
for theOvenControlssoyouunderstandhowto
4. Keepthisguidehandysoyou canreferto it,
especiallyduringthefirst weeksof usingyour
usethem.
newrange.
2. Checktheoveninterior.Lookatthe shelves.
Takea practicerun atremovingandreplacing
themproperlytogivesure,sturdysupport.
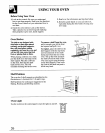
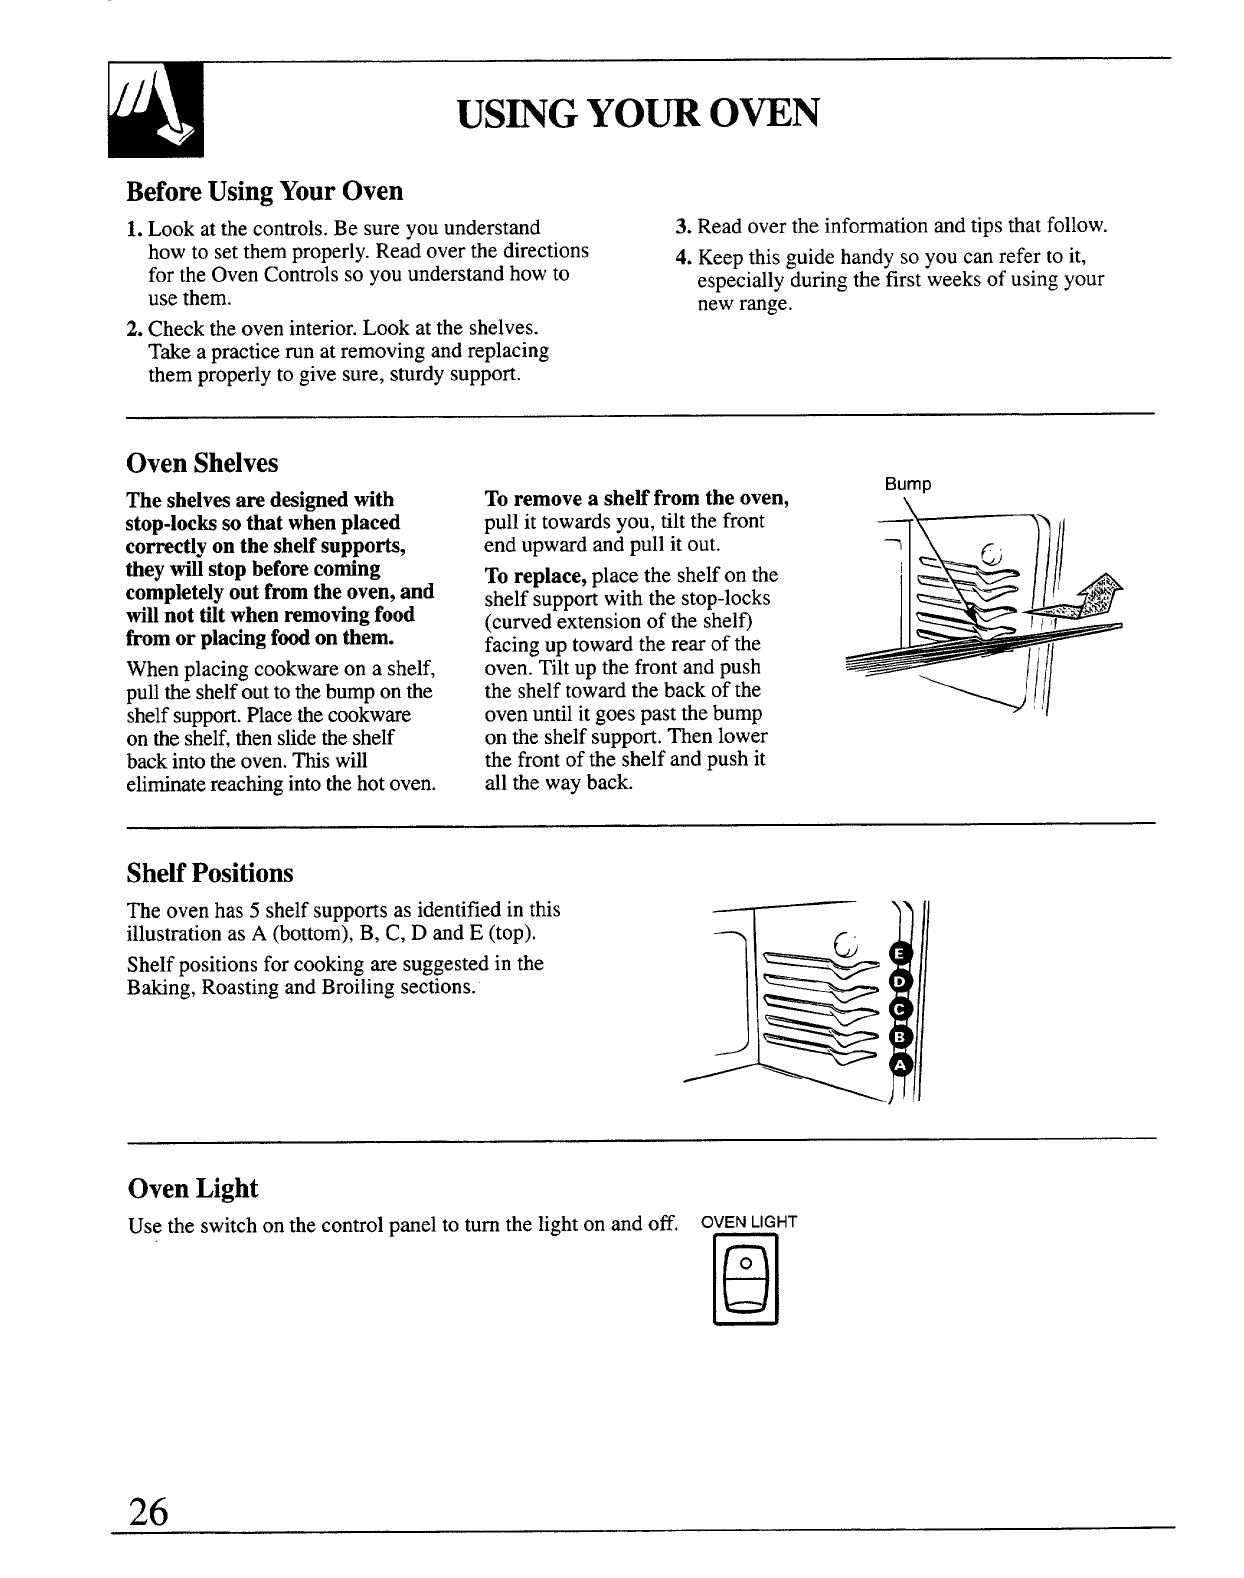
Oven Shelves
Theshelvesared=ignedwith
stop-lockssothatwhenplaced
correctlyontheshelfsuppoti,
theywillstopbeforecoming
completelyoutfromtheoven,and
willnottiltwhenremovingfood
fromorplacingfoodonthem.
Whenplacingcookwareon a shelf,
pulltheshelfoutto thebumponthe
shelfsupport.Placethecookware
ontheshelf,thenslidetheshelf
backintotheoven.Thiswill
eliminatereachingintothehotoven.
Toremovea shelffromthe oven,
Bump
pullit towardsyou,tiltthefront
endupwardandpullit out.
7
Toreplace, placethe shelfon the
shelfsupportwiththe stop-locks
* II
(curvedextensionof the shelo
‘ ‘G,;
4
facingup towardtherear ofthe
oven.Tiltup thefrontandpush
the shelftowardthebackof the
/’/
ovenuntilit goespastthebump
–\//
!,
onthe shelfsupport.Thenlower
thefrontof theshelfandpushit
allthe wayback.
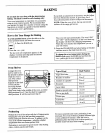
Shelf Positions
The ovenhas5 shelfsupportsas identifiedin this
illustrationas A (bottom),B, C, D andE (top).
r
6
))11
Shelfpositionsforcookingare suggestedin the
Baking,RoastingandBroilingsections.
a
7
‘ all>’
Oven Light
Usethe switchon thecontrolpanelto turnthe lighton andoff. ovENLIGHT
PI
o


