


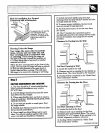


Step 7
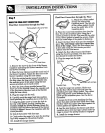
CONVERTINGFROMA +WIRETOA&WIRE
HWER CORD
1. Removethe rear wire cover.
2. Removethe bottom strain refief screw and
retain it for further use.
3. Removethe screw/hex nuts from the
terminal block and retain them for further use.
4. Remove~ Swire or cable leads from the
terrnind block and proceed to remove the power
cord from the unit by pu~g in a downward
motion so that the cord is removed born the
strain retiet
5. Removethe grounding strap attached to the
center terminal on the terminal block. The
groundhg strap is not needed for this
initiation. Mso remove the green ground screw
and retain it for future use.
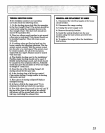
6. To ins~ the 4wire cord, fo~owSteps 4
through 9 of “hs-g a 4Wire Cord”.
7. Rekstil the rear cover and secure it with tie
screw removed eartier.
~ electrid connections should be inspected
before poweris turned on, to make certain that
they are tight.
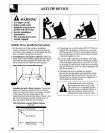
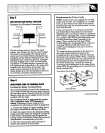
Step 8
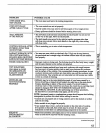
INSTWLTHESIDETRIM(optional)
Udesired, the optionalside trim provided can be
kstiled on the range. The side trim must be
instiled above countertop level and tapped
down into place.
The side trim can be mounted in several
different positions depending on the countertop
opening, cabinet structure and range features,
Frees~@ tith
Backpbsh
Tomounttrimflushwiththe frontofthe
countertop,use number3 trimholesand‘N
rangeholes.
4“ BacW
andBacksplash
To mountthe trimflushwith thefront ofthe
countertop,use number3 trimholes and‘An
rangeholes.
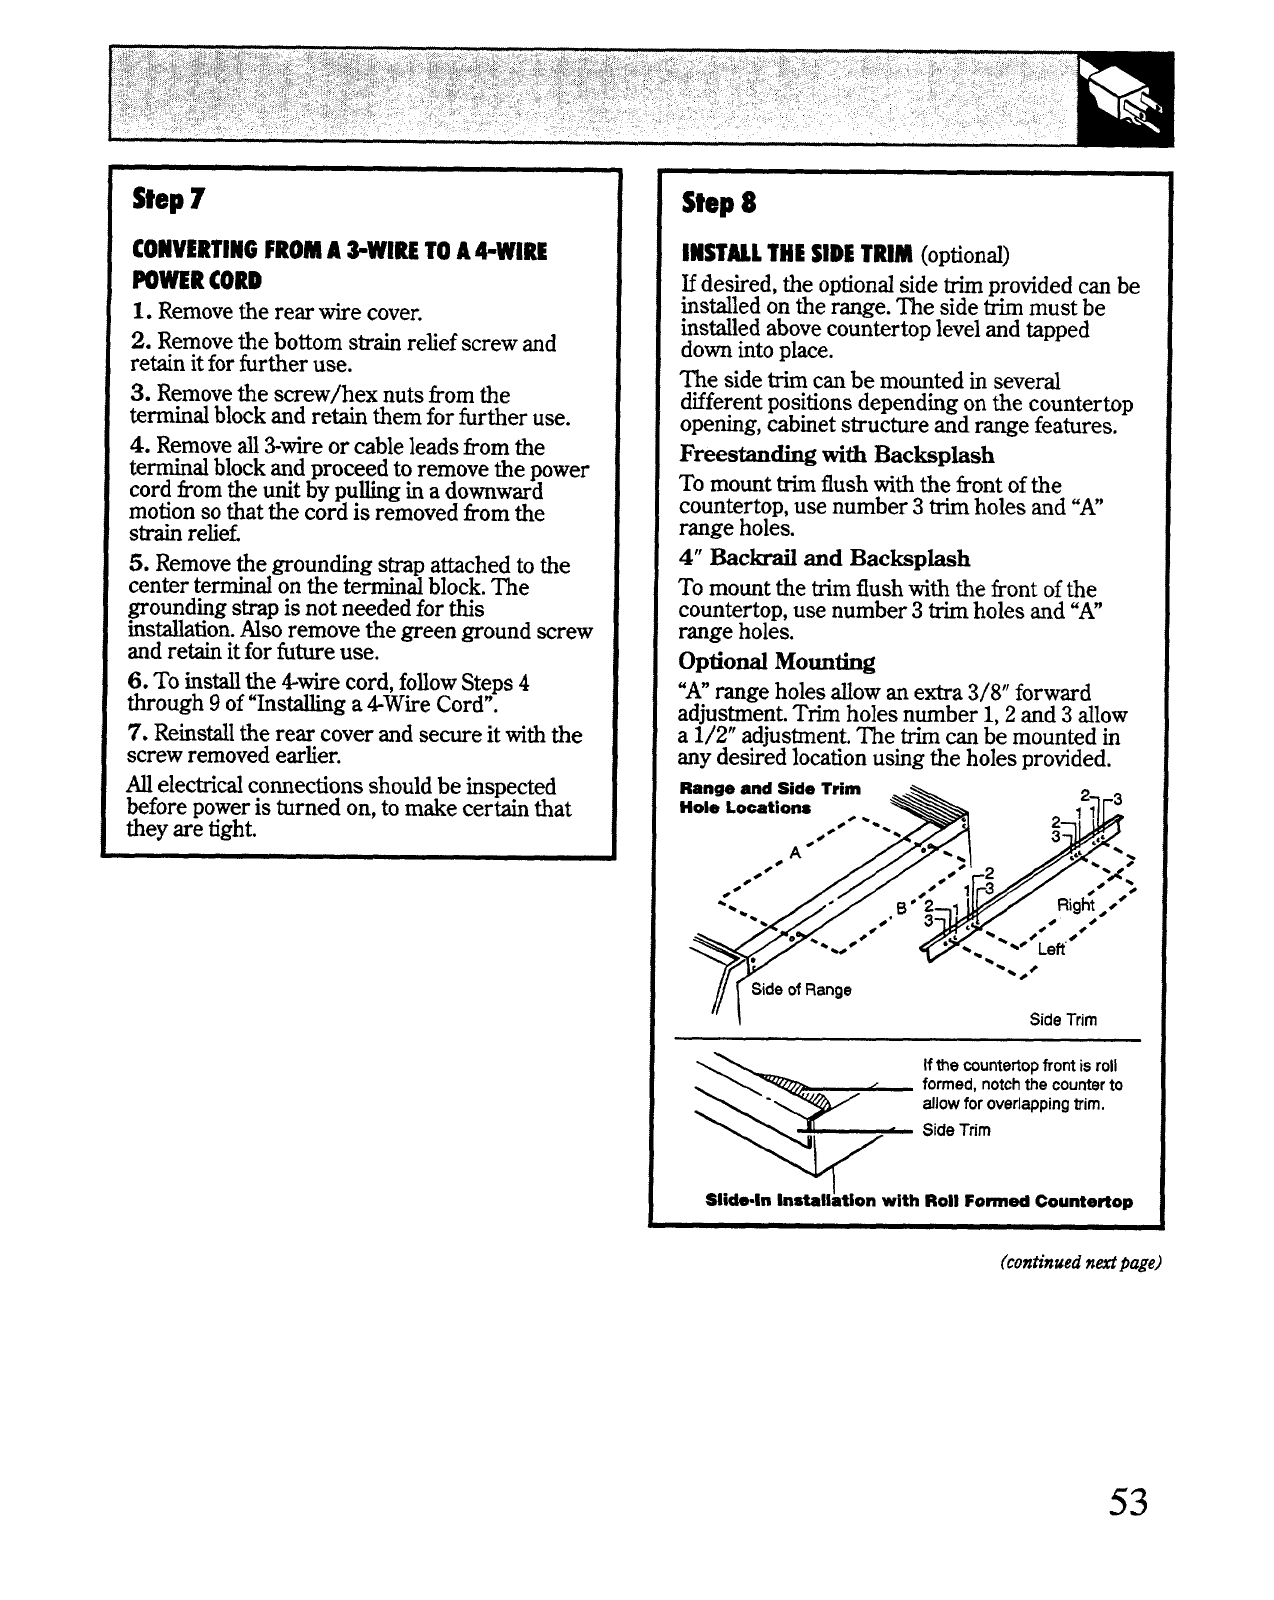
Optiod Montig
‘Amrangeholes Wowanextra3/8 forward
adjustment.Trimholes number1,2 and3 allow
a 1/2” adjustment.me trimm be mountedin
anydesiredlocationusing the holes provided.
Ii I
SideTrim
\
Ifthewuntefiopfrontisroll
*
formed,notchthecounterto
allowforoverlappingtrim,
SideTrim
Sfide.in Installation with Roll Fomad Countertop
(continuedn&page)
53