– 32 –
Oven Removal
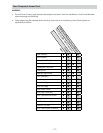
The replacement of certain components require
oven removal. (See Oven Component Access Chart.)
WARNING: The oven is heavy and requires two
people to remove it from the installation.
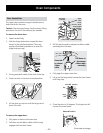
To remove the oven:
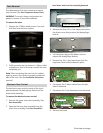
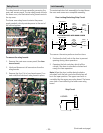
Remove the 2 Phillips-head screws (1 on each 1.
side) that hold the oven in place.
2. Pull the oven forward to remove it. Utilize a table
or platform in front of the oven and pull the oven
completely out.
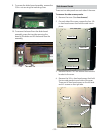
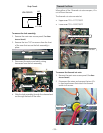
Note: When reinserting the oven into the cabinet
opening, ensure the conduit is properly positioned
behind the oven. (See the
Installation Instructions
manual.)
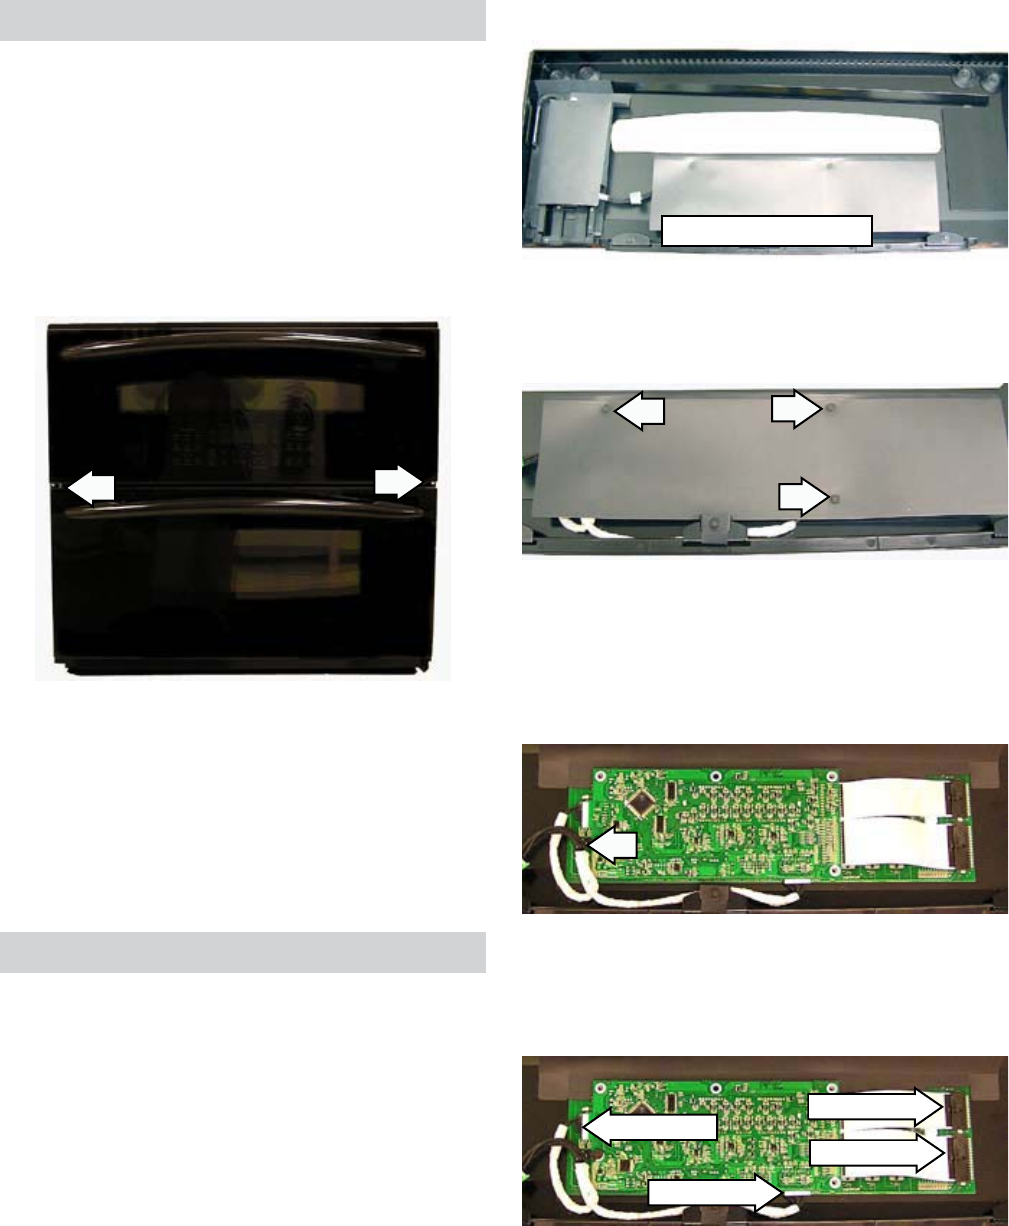
Electronic Oven Control
The electronic oven control consists of the touch
glass keyboard, the display/logic board, and the
slider board assembly.
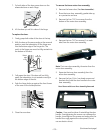
To remove the electronic oven control:
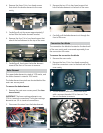
Remove the upper outer door assembly. (See 1.
Door Assemblies.)
Separate the inner door assembly from the 2.
outer door assembly. (See
Door Assemblies.)
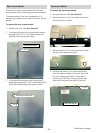
Remove the three 3.
1/4-in
. hex-head screws from
the plastic cover that protects the display/logic
boards.
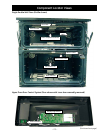
Door Shown with Inner Door Assembly Removed
Outer Door Assembly
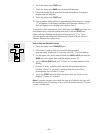
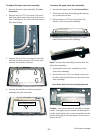
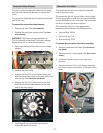
4. Lift the bottom edge of the plastic cover to
expose the display/logic boards.
5. Remove the
1/4-in
. hex-head screw from the
logic board that holds the board in place.
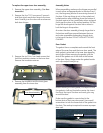
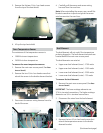
6. Disconnect the 2 ribbon cables from the right
side of the board.
7. Disconnect the 2 wire harnesses from the board.
Disconnect
Disconnect
Disconnect
Disconnect
8. Remove the board.
(Continued next page)


