


– 42 –
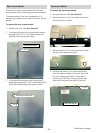
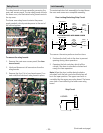
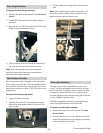
Door Hinge Receivers
To remove the door hinge receivers:
Remove the side access panels. (See 1.
Side Access
Panels.)
Carefully lift the insulation from the outside of 2.
the oven.
Remove the two T20 Torx screws that hold each 3.
hinge receiver to the oven frame.
4. Push the hinge receiver through the opening in
the oven frame and remove from the rear.
Note: Upon reassembly, ensure the displaced
insulation around the oven and components is
returned to its original position.
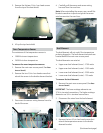
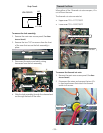
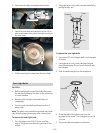
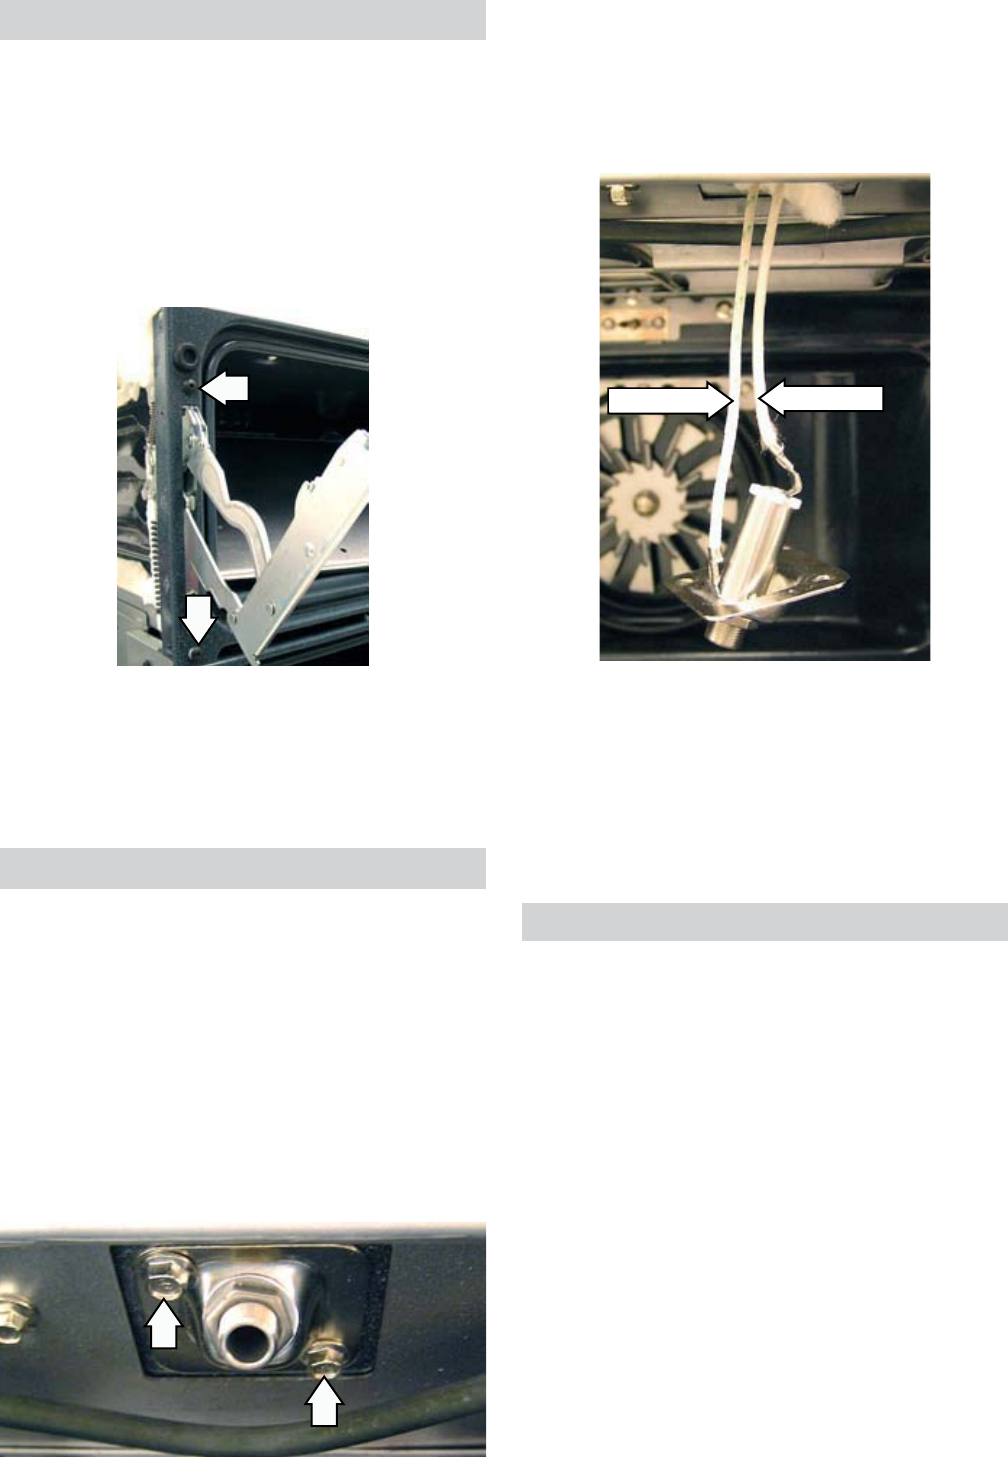
Meat Probe and Outlet
The meat probe outlet is located on the top of the
oven cavity, near the front. The meat probe outlet is
connected to the electronic oven control. The meat
probe has a resistance value of 30K-50K Ω at room
temperature.
To remove the meat probe outlet:
Open the lower oven door.1.
Remove the two 1/4-in. hex-head screws that 2.
attach the meat probe outlet to the top of the
oven cavity.
3. Pull the outlet and wiring down from the oven
wall.
Note: When replacing the meat probe outlet, cut
the probe wires and splice the new probe using
approved heat-resistant connectors.
Cut Here
Cut Here
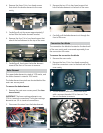
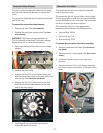
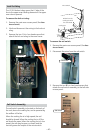
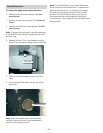
Oven Light Assembly
The oven has two light assemblies in each oven
cavity. The light assemblies are located on the top
rear of the oven. The lights come on when the door
is opened or when the oven is in a cooking cycle.
The oven lights do not come on during self-cleaning
or if the Sabbath Feature is set.
Each light assembly consists of a removable light
cover, a light bulb socket, and a light bulb.
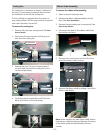
To remove an oven light assembly:
Remove the main rear access panel. (See 1.
Rear
Access Panels.)
Remove the three 1/4-in. hex-head screws that 2.
attach the panel securing the lighting assembly
wires to the rear of the oven.
(Continued Next Page)