6712FR Refrigerated Sampler
Section 5 Extended Programming
5-38
Example: I/O Pin Programming
Although the screens displayed may vary depending on
your site setup, the programming sequence will be the
same or similar to the following example.
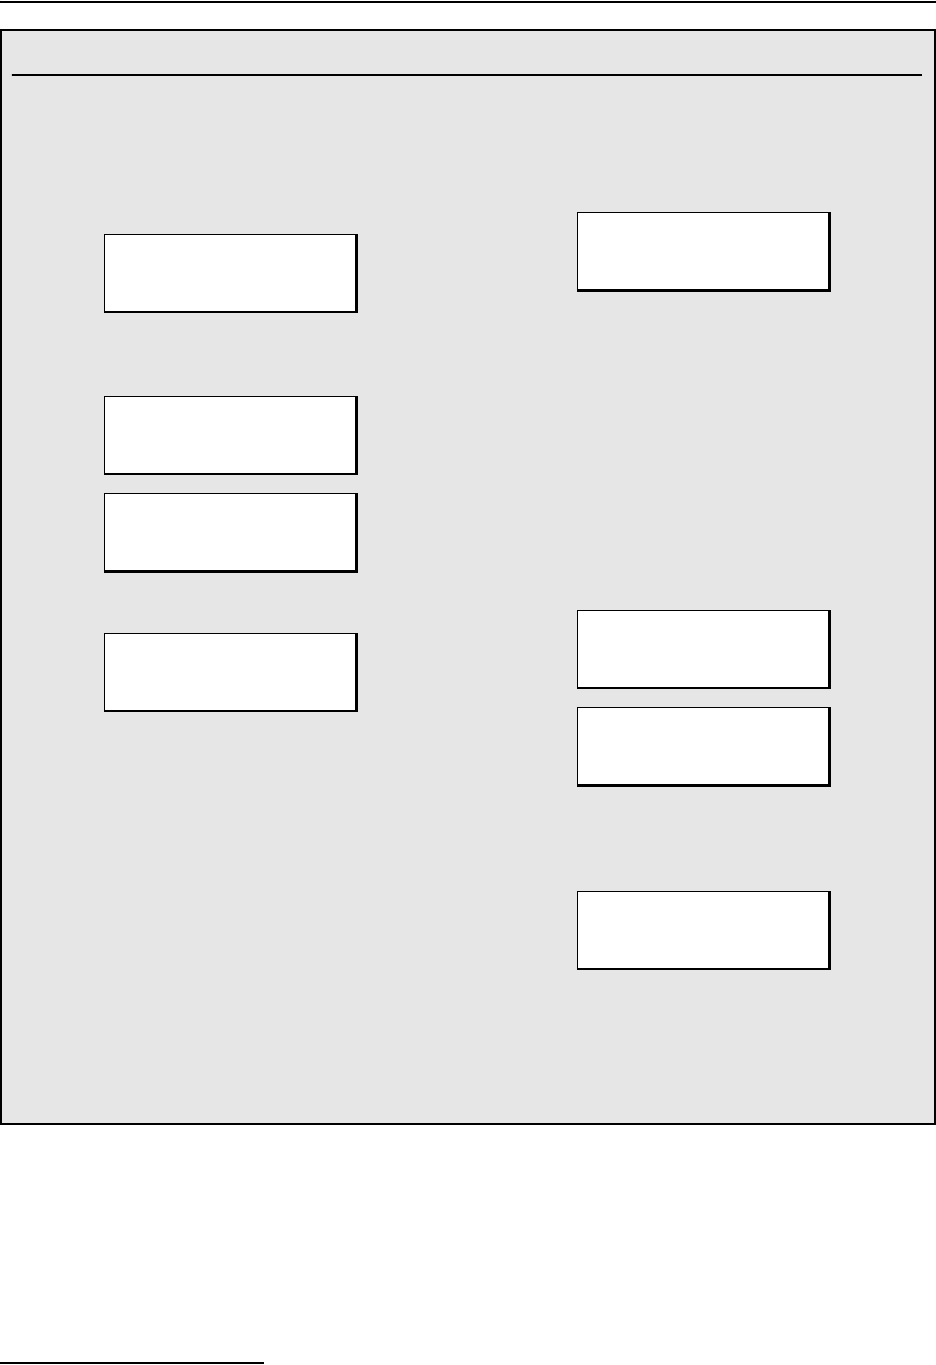
1. Select
OTHER FUNCTIONS to enable the dialout
alarm.
2. Select hardware and use the down arrow to scroll
to the I/O screen.
3. Select the first pin to program.
From this screen, your choices are viewed by
scrolling with the arrow buttons:
PGM RUNNING
PGM
ENABLED
‘A’ ENABLED
‘B’ ENABLED
PROGRAM
DONE
‘A’ DONE
‘B’ DONE
RUN
ERROR
FLOW
-THRU
CONDITIONS
NONE
I
/O ENABLE
Note: All choices listed are alarm output settings,
except for I/O ENABLE. This is the input function to
enable the sampler via an external device.
4. If you select
CONDITIONS, the sampler will display:
Depending on what equipment is connected to your
sampler, you may see other parameters in addition to
RAIN, such as LEVEL, FLOW, VELOCITY, etc. Under
CONDITIONS, you can program limits for a condition to
trigger the alarm when the measured parameter
exceeds its limit. You can use one or two conditions to
trigger one alarm, using AND or OR operators.
5. When you select a parameter with the arrow keys
and Enter, you can then program the limits for
alarm triggering. For example, if you select rain,
the sampler will display:
“
I/O IS HIGH” means “Alarm is triggered.” Select
ABOVE or BELOW, then select whether or not to reset
rainfall history when the alarm is triggered:
Continue with programming I/O2 and I/O3 in the same
manner, or if additional alarms are not needed, select
NONE.
RUN “EXTENDED 1”
PROGRAM
VIEW REPORT
OTHER FUNCTIONS
MAINTENANCE
MANUAL FUNCTIONS
SOFTWARE OPTIONS
HARDWARE
↑
I/O1 = NONE
I/O2 = NONE
I/O3 = NONE
↓
SET I/O1:
I/O1:
RAIN NONE
"RAIN" SET POINT:
1.00 INCHES PER
1 HOURS, 0 MINUTES
I/O IS HIGH WHEN:
ABOVE SET POINT
BELOW SET POINT
RESET RAIN HISTORY?
YES NO


