O
PERATING THE OVEN
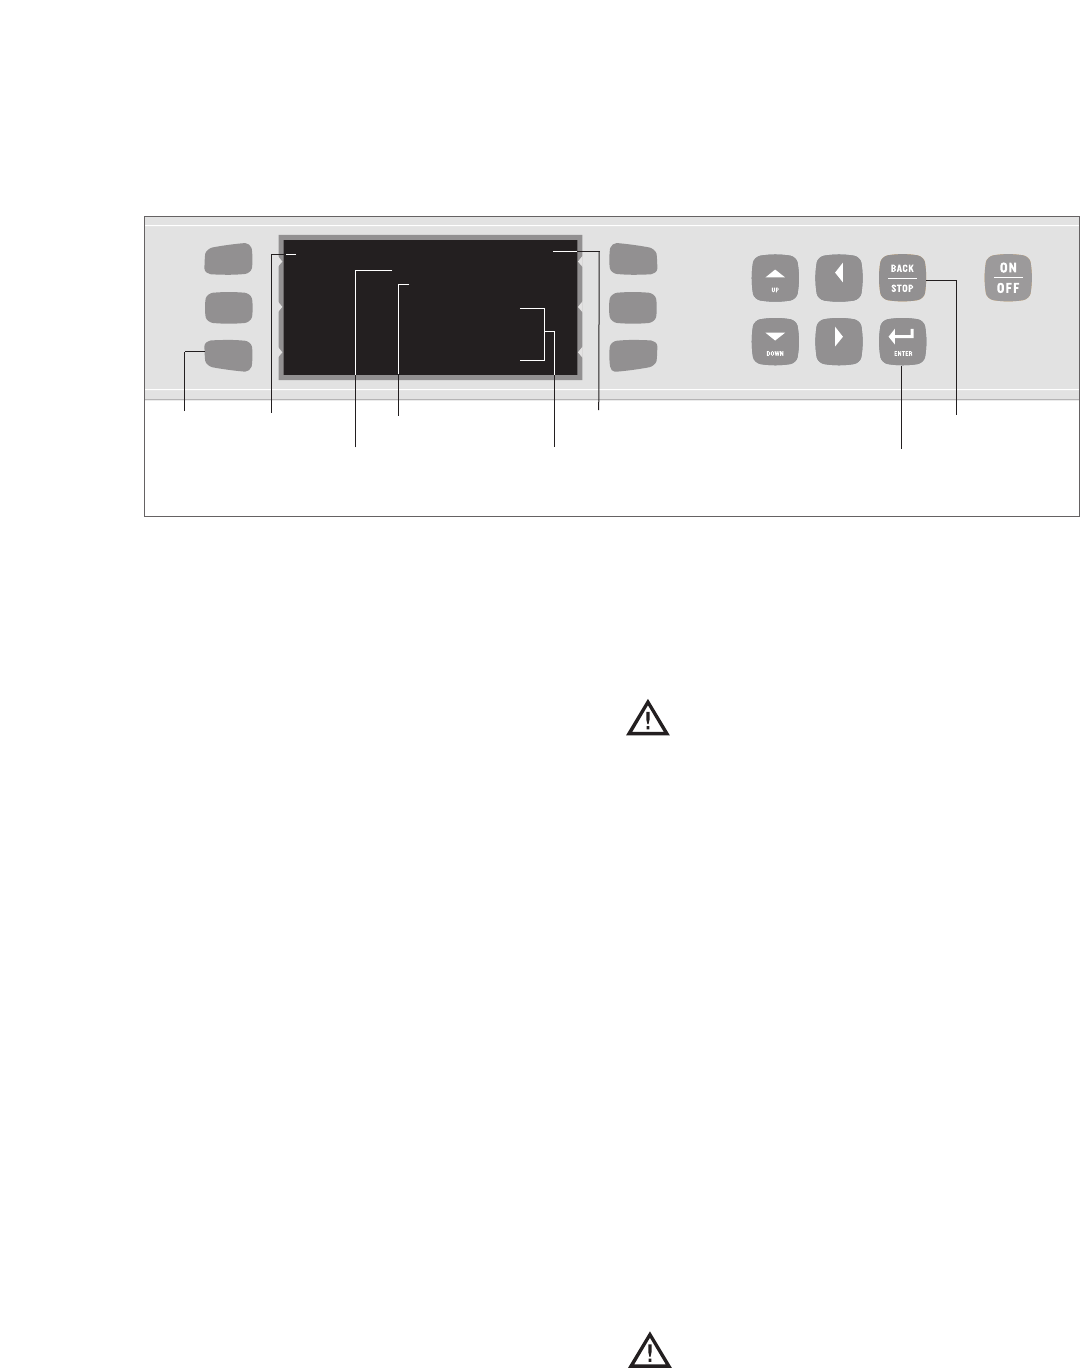
7. From “Food Item” Screen (Figure 18, page 14),
the operator can:
a. Enter/change food group name.
b. Enter/change food item name.
c. Set cook time b
y using the “UP” and
“DOWN” Keys (5-second increments).
d. Choose whether to turn rack on or off by
using the “UP” and “DOWN” Keys.
e. Specify Events, which allow each food item to
cook in different phases at different air levels.
Enter percentage of cook time per event
(total must equal 100%).
E
nter per
centage of air per ev
ent
(10% increments).
8. To test settings before saving, press bottom left
Soft Key. Oven will initiate a Cook Cycle to the
specifications of new settings.
9. To save settings, press “ENTER” Key until SET-
TINGS SAVED is displayed (can be up to three
(3) times
befor
e SET
TINGS SAVED displays).
10. Press the “BACK/STOP” Key 3 times to exit
the menu (doing so before saving settings will
erase changes).
Loading Menu fr
om Smart Card (Figures 19 and 20)
CAUTION: Loading a menu from a Smart
Card will overwrite all existing recipes
programmed into the oven.
To load a menu from a Smart Card:
1. Ensure oven is in either the Off State or Cool-
down S
tate.
2. Insert Smart Card into Smart Card Reader.
Orient card as shown in Figure 19.
3.
Press bottom left Soft Key.
4.
Press middle left Soft Key to LOAD MENU
FROM CARD (Figure 20).
5. Press the “ENTER” Key to confirm or the
“BACK/STOP” Key to cancel. After approxi-
mately 5 seconds, screen will display that menu
has loaded from card (Figure 20).
Saving Menu to Smart Card (Figures 19 and 21)
CAUTION: Saving a menu to a Smart
Card will overwrite all existing recipes
pr
ogrammed into the S
mart Card.
To save a menu to a Smart Card:
1. Ensure oven is in either the Off State or Cool-
do
wn S
tate.
LEFT
RIGHT
<
1ST GROUP> FIRST ITEM
COOK TIME 00:00
RACK ON
EVENT
% TIME
% AIR
TEST
1
100
100
2
0
100
3
0
100
4
0
100
WARMING UP
: Modifying Recipes – Steps 7-10
Step: 8
Step: 10
Step: 7a
Step: 7b
Step: 7d
Step: 7c
Step: 9
Step: 7e
14
