34
THE CONTROL SYSTEM
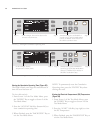
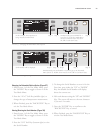
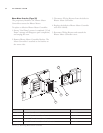
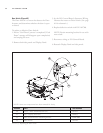
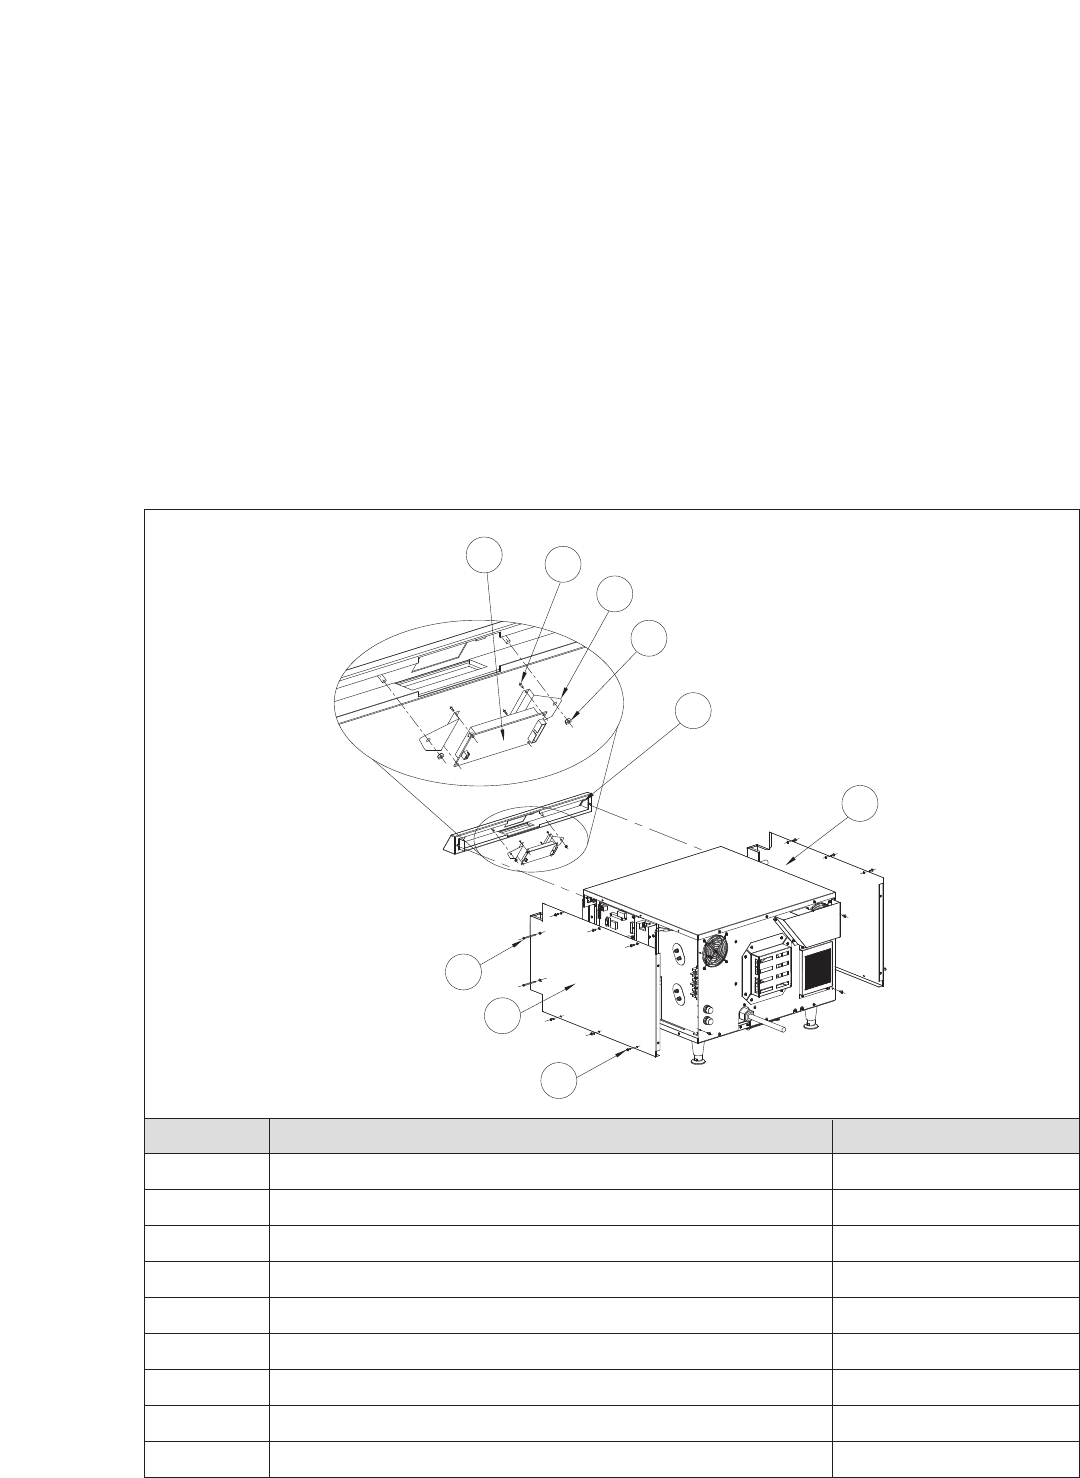
Display (Figure 41)
To replace a defective Display:
1. Ensure “Cool Down” process is completed (“Cool
Down” message will disappear upon completion)
and unplug the oven.
2. Remove both side panels.
3. Remove Display Panel.
4. If ribbon cable is damaged, replace with P/N
103024 (not pictured) and jump to step 10.
5. If Display is defective, remove from Display
Panel.
6. Remove Display Brackets from Display.
7. Replace Display with P/N 100505.
NUMBER PART PART NUMBER
10 Display 100505
11 Screw – Display (x4) 101520
12 Bracket – Display (x2) HHB-8130
13 Nut – Display (x2) 102963
14 Panel – Display HHB-8025
15 Panel – Left Side HHB-8023-2
16 Screw – Side Panel (x8 per side) 101688
17 Panel – Right Side HHB-8024-2
18 Screw – Front Side Panel (x2 per side) 101663
10
11
12
13
14
15
16
17
18
: R
eplacing the D
isplay


